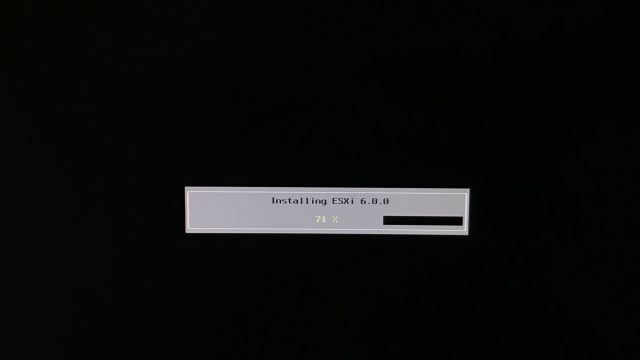
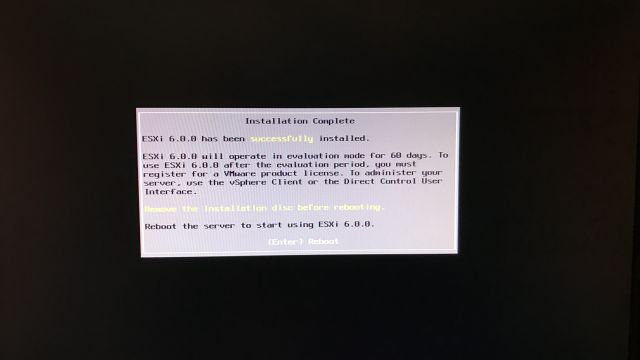
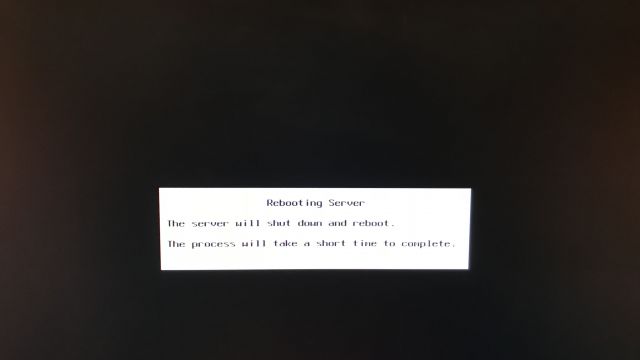
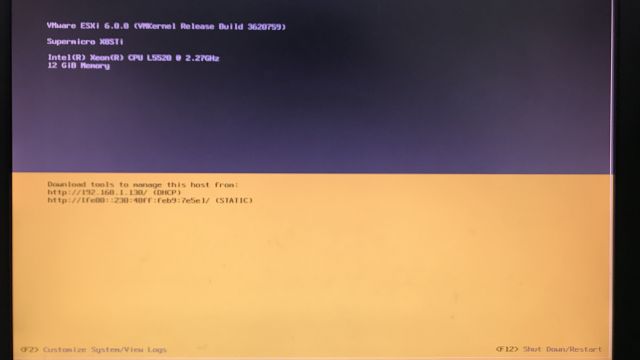
If you are not familiar with VMware ESXi and how to install it, I will walk you through that process now. I am using an older version of ESXi (6.0) because I have a complete installation of vSphere (ESXi & vCenter) with this older version.
First you need to acquire the ESXi software which you can download from VMware:
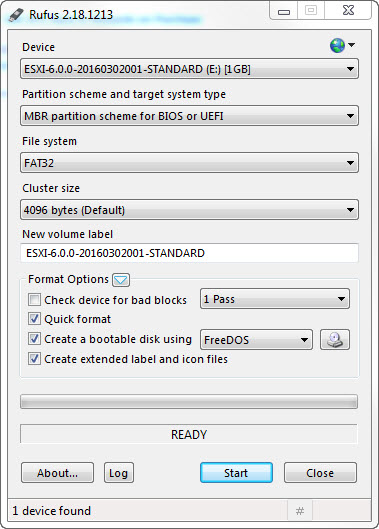
Second you will need create a bootable USB. There are multiple options available for this task, but I prefer to use Rufus as it just seems to work everytime.
After we have created our bootable USB we can then begin the installation process:
- Insert your bootable USB containing ESXi 6.0 and power on your server
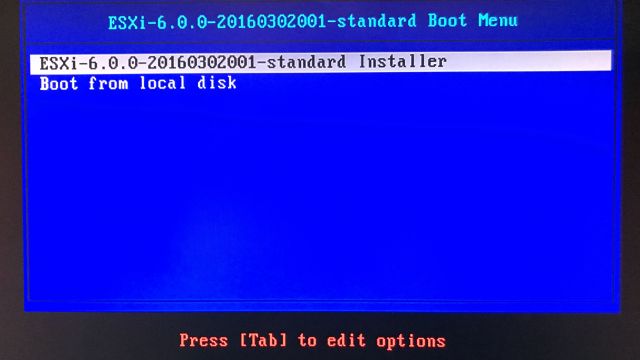
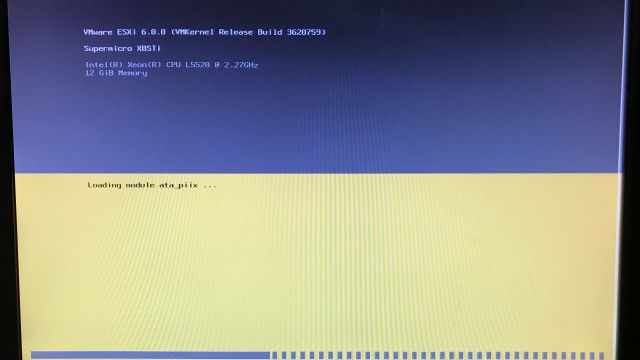
- The Standard Installer will be selected automatically after 5 seconds
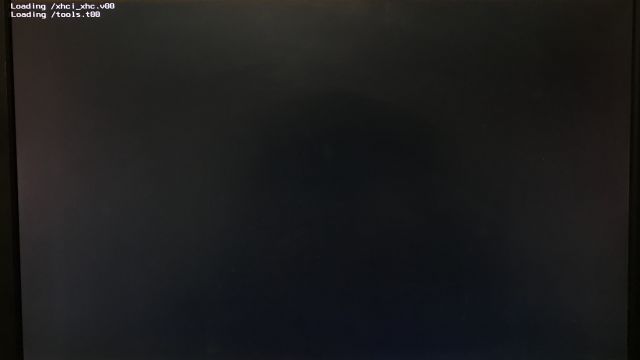
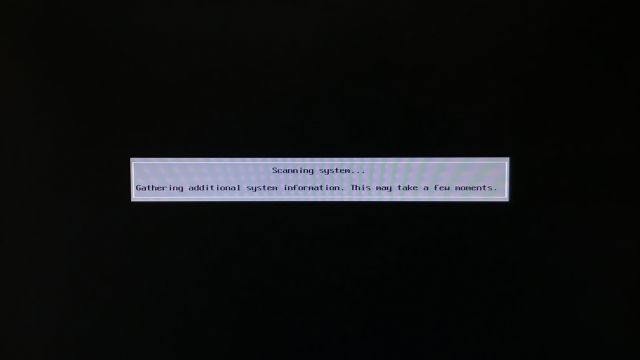
- Installer will load
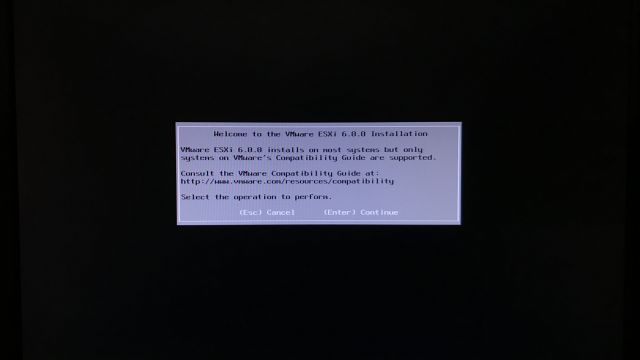
- Press Enter to begin the installation process
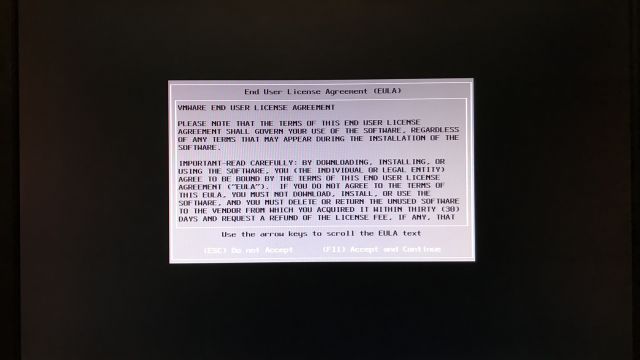
- Press F11 to Accept the EULA
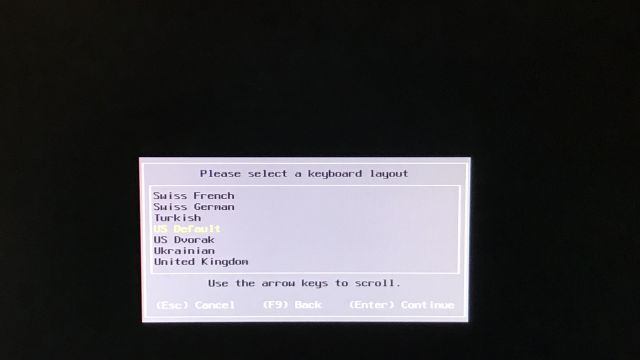
- Select the keyboard layout
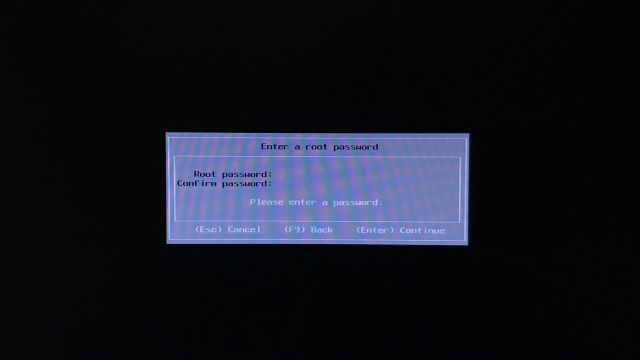
- Enter a password
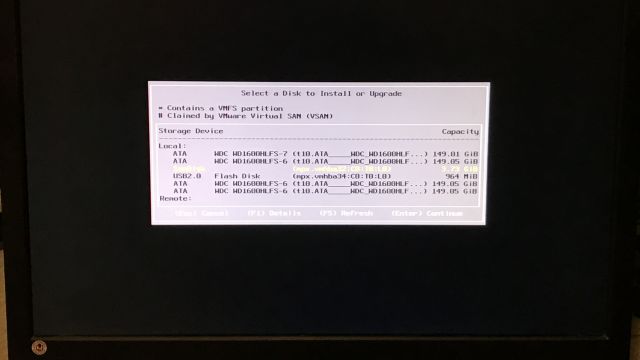
- Select a disk to install ESXi on
- I installed a 4GB USB on the back of my server, so I will use this for the installation
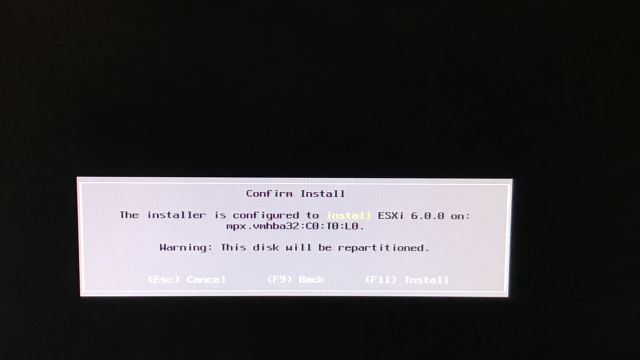
- Press F11 to install ESXi to the drive that was just selected
- You will get the Installation Complete message, remove the bootable USB and press Enter to Reboot
- The reboot takes a little while, just be patient.
After the installation is complete we will now configure networking and DNS.
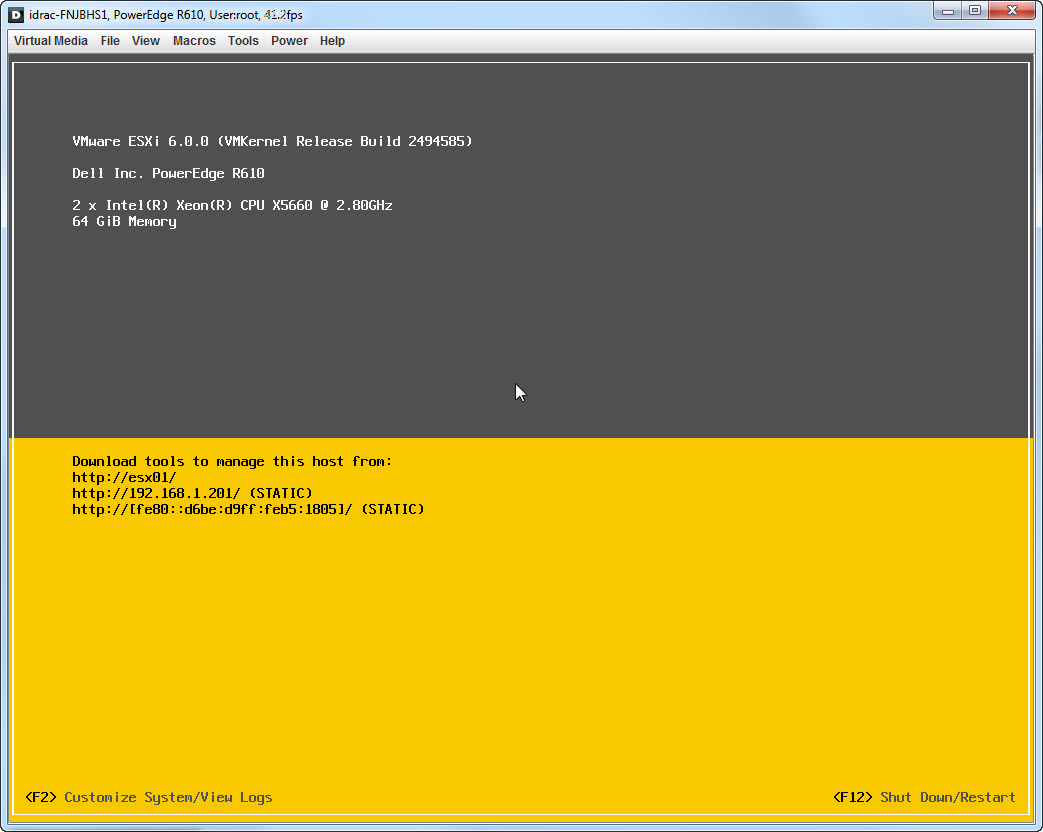
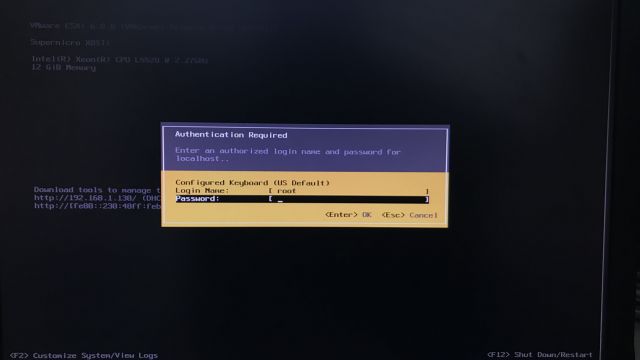
- We are presented with the ESXi Screen, press F2
- Next login with the password created
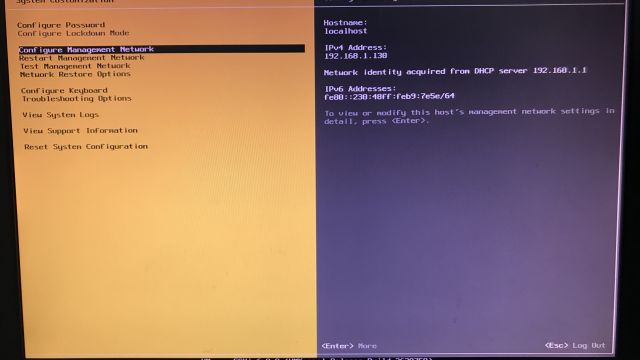
- Select Configure Management Network
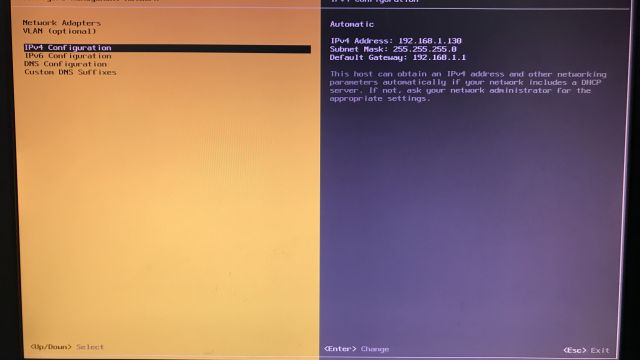
- Select IPv4 Configuration to set a static IP address
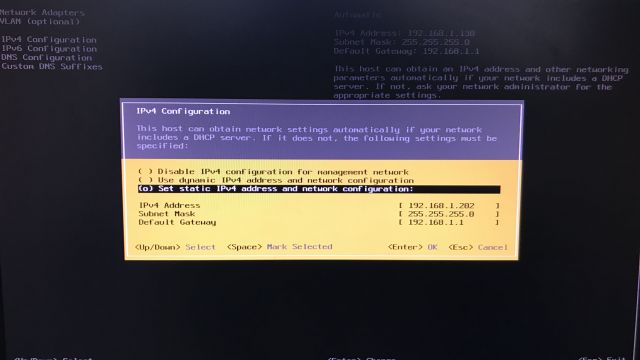
- Select the bottom option with spacebar, and configure your IPv4 Address, Subnet Mask, and Default Gateway. Press Enter to confirm
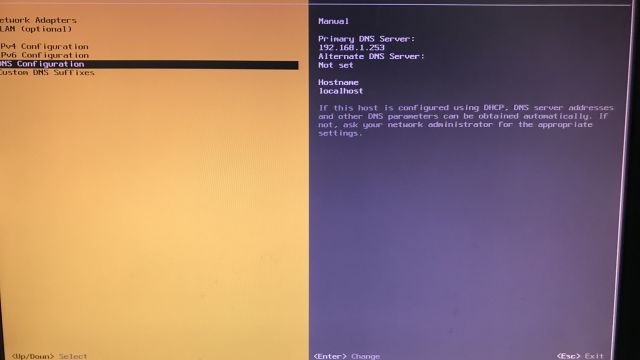
- Select DNS Configuration
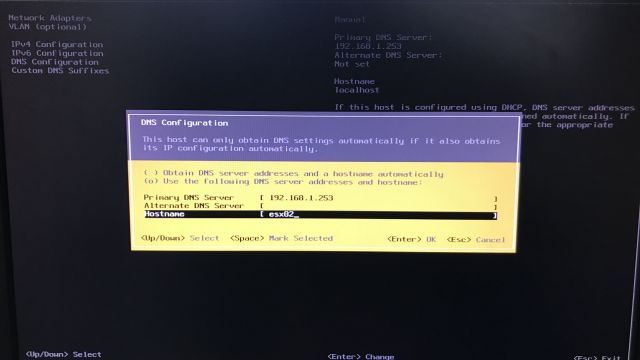
- Set the Hostname you want to use for your ESXi Server. I chose “esx02” as this was my second ESXi server in my environment. Enter to confirm
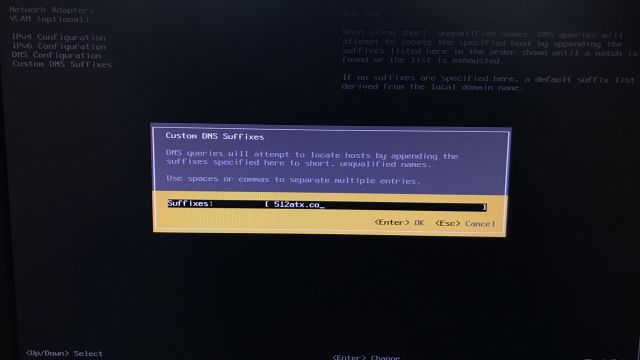
- Select Custom DNS Suffixes and enter Domain Name. Enter to confirm
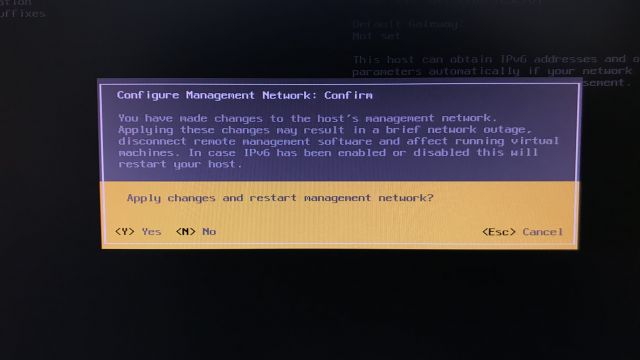
- Press ESC, a message to Restart the Management Network. Select Yes
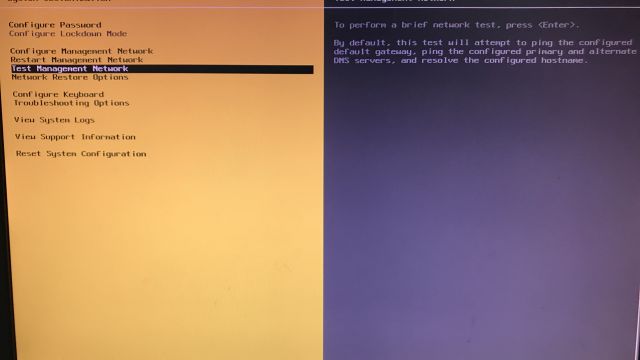
- Now you want to select Test Management Network
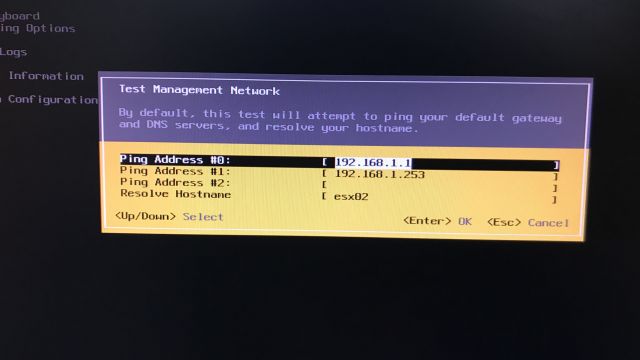
- The fields will be populated with your Gateway, DNS Server, and Hostname. Press Enter to begin the Test
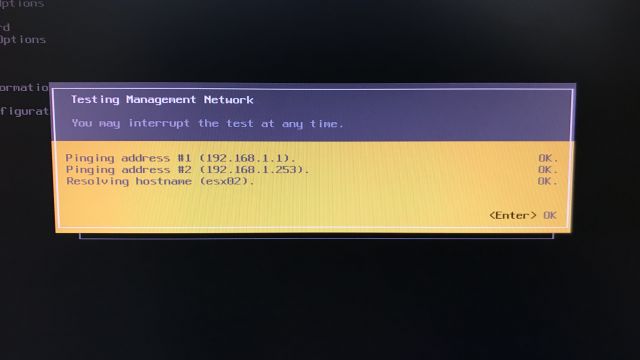
- You should get an OK message for each test, if not you need to troubleshoot accordingly
- Logout by pressing ESC. Confirm the changes on the login screen
A lot of tutorials I have come across typically stop after the steps above, but there is more that needs to be done! After the initial configuration of ESXi on the physical server, we will need to create a VMFS Datastore (or you can connect to one that already exists).
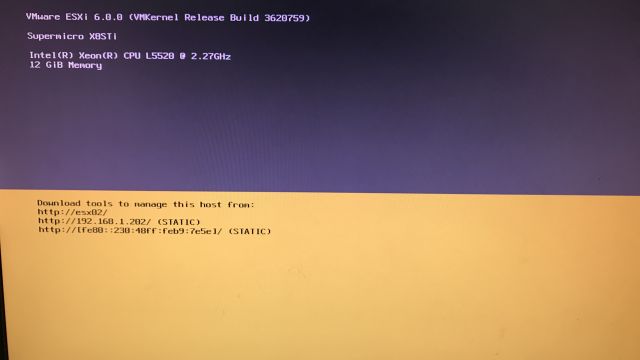
- We begin by navigating to the address shown on the last screen in the previous steps above, mine was http://192.168.1.202, http://[fe80::230:48ff:feb9:7e5e]/, or if you have DNS setup you can use the hostname http://esx02, but be sure to include your domain name to access it using your web browser
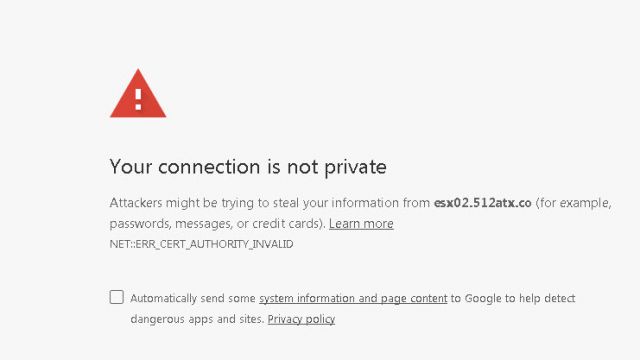
- We will get a message informing us the connection is not private, this is because there is a self-signed certificate being used. Click advanced and proceed
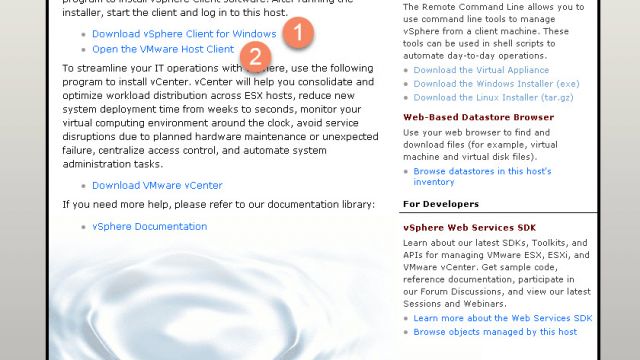
- 2 options: 1) Download vSphere client, 2) Connect to Host via web
- I will show both, but we are going to start via web
- Input username and password to login
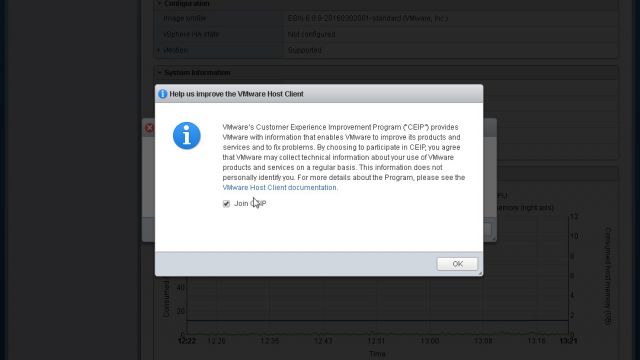
- You can choose to join Customer Experience Improvement Program
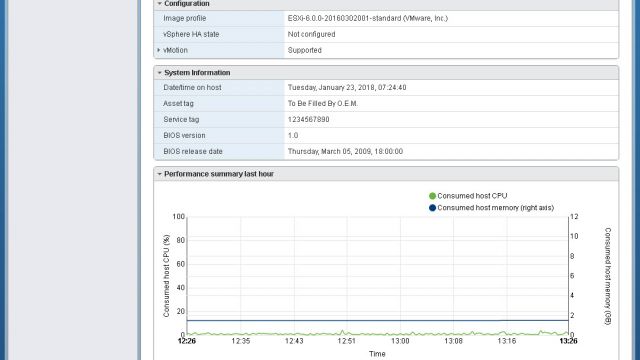
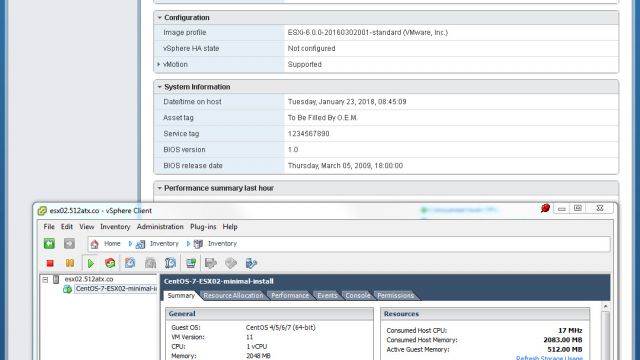
- Now we have the status page of our ESXi server, click Storage
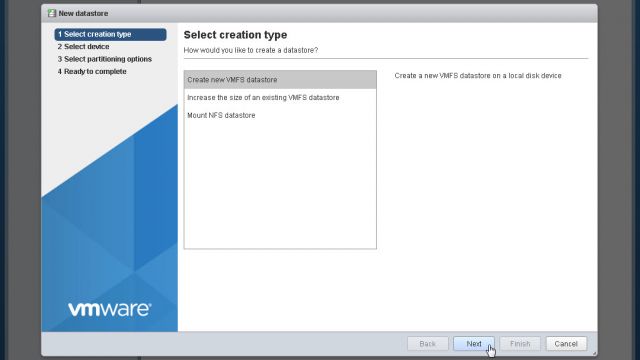
- Click New Datastore
- Create new VMFS
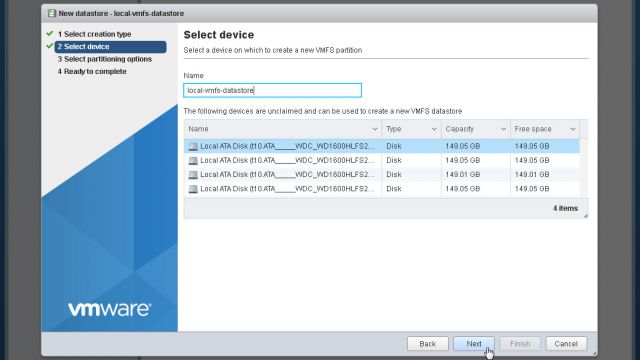
- Name the datastore, I chose “local-vmfs-datastore”
- Select the disk you want to use for your datastore
- Hopefully you have a RAID card installed on your server, which means you will only have one option here. I thought the server I was using for this had a RAID card, but apparently not so I had to add each disk
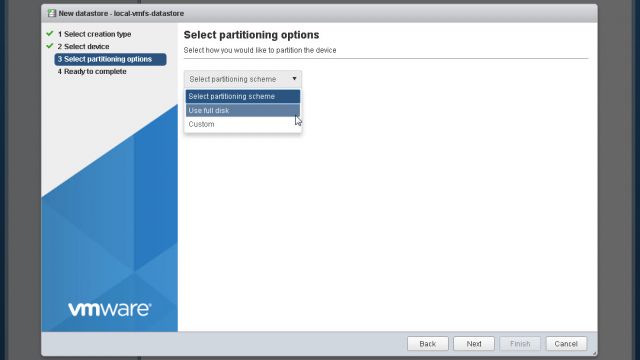
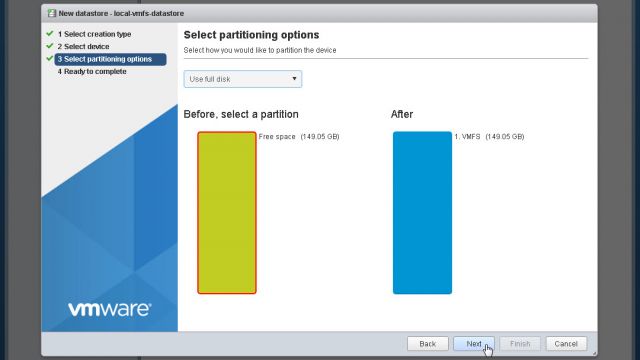
- Click the dropdown and select Use Full Disk, and click Next
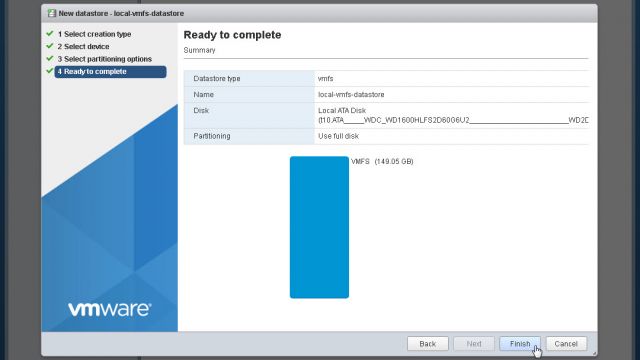
- You will see Ready to complete screen verifying your selection, click Finish
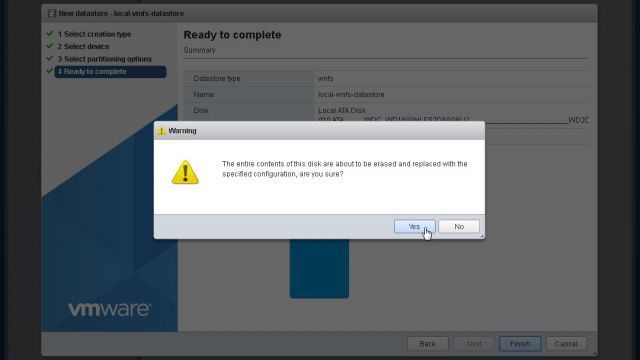
- A confirmation screen informing that you are erasing all the contents currently on the disk will ask you a last time if you are sure, click Yes
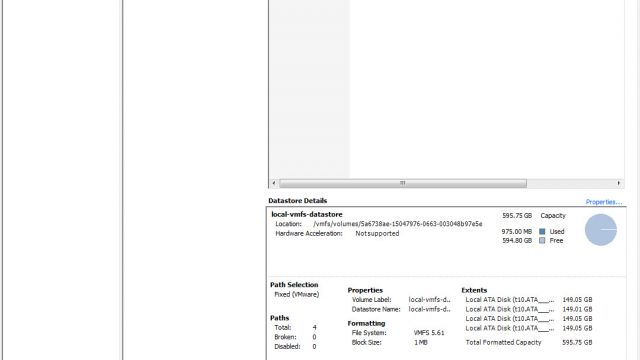
- After adding all the disks I had you can see the total capacity, free space, and type
- Click on the local-vmfs-datastore link to get more info about the datastore
Now we need to upload an .ISO image we will use to create our first VM.
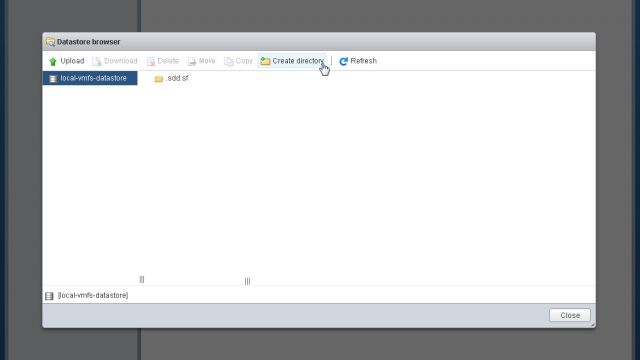
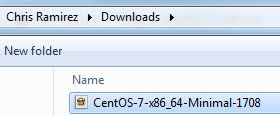
- Click on Datastore Browser to upload an .ISO image of an Operating System to the datastore. If you do not have an .ISO image I suggest downloading CentOS 7 Minimal Install, but you can pick from 3 options on the Download CentOS Page. We will create our first VM with this .ISO
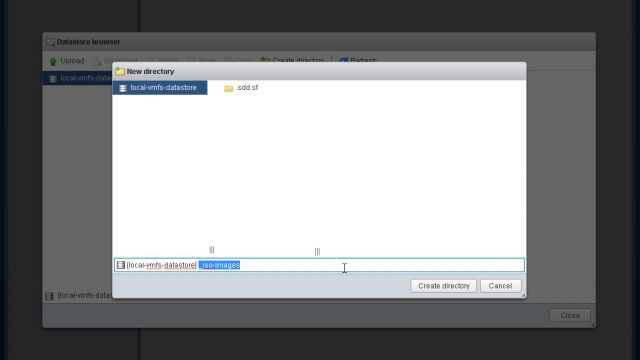
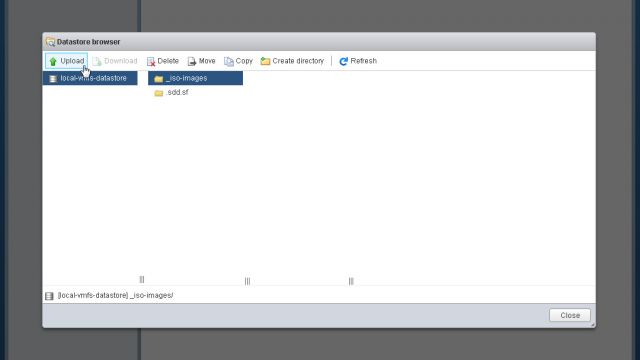
- Create a Directory to store the .ISO image we are currently uploading, and any future .ISO images
- I was having an issue uploading the image from the WebUI (I think my ad-blocker was interfering) so I switched to the vSphere Client to show it off and give it some love too
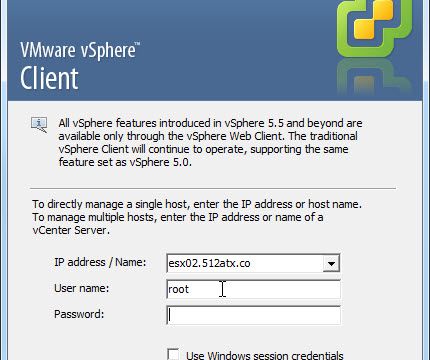
- Login using your credentials
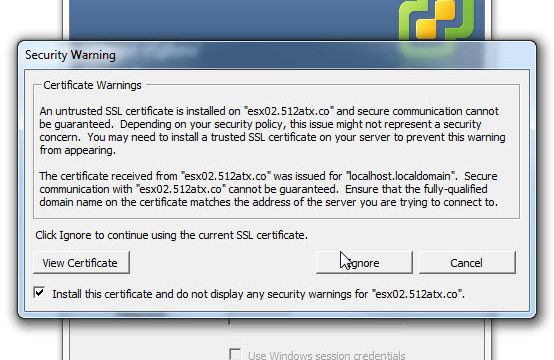
- If this is the first time you will get the fingerprint notification, you can verify this on your ESXi server. You will also get the self-signed certificate warning
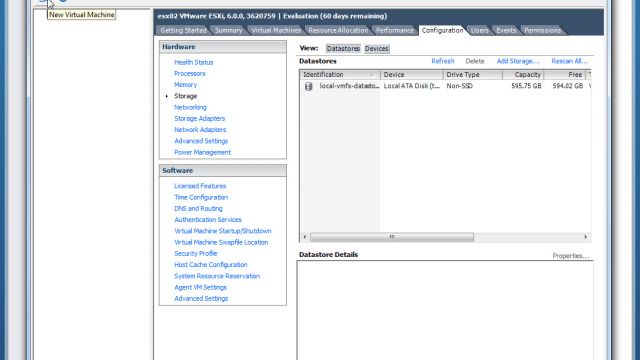
- Click Configuration tab > Storage > Datastore > Right Click > Browse Datastore
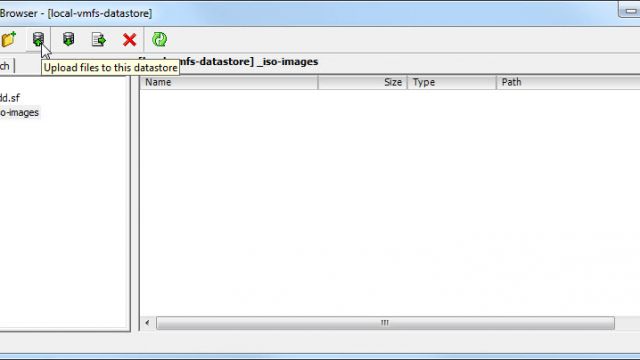
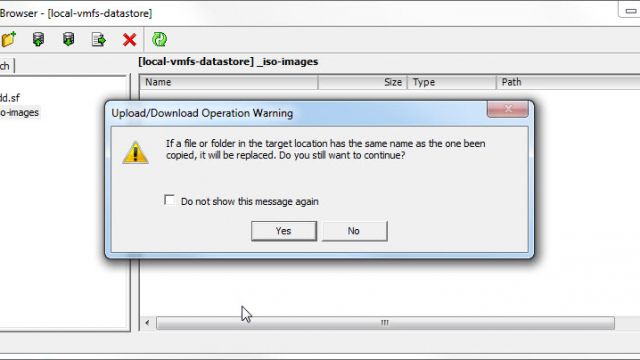
- Click the upload Icon, and you can click Yes to the warning
Now we are ready to create our first VM on our ESXi “Host” Server
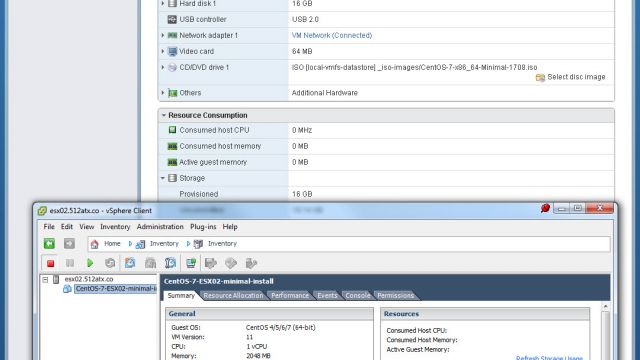
- Click the New Virtual Machine icon on either the WebUI or Client
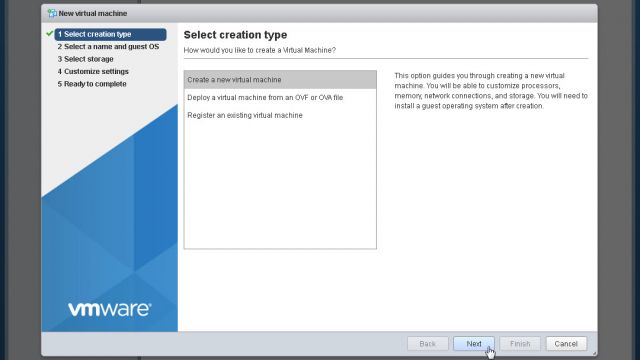
- Leave “Create a new virtual machine” selected and click Next
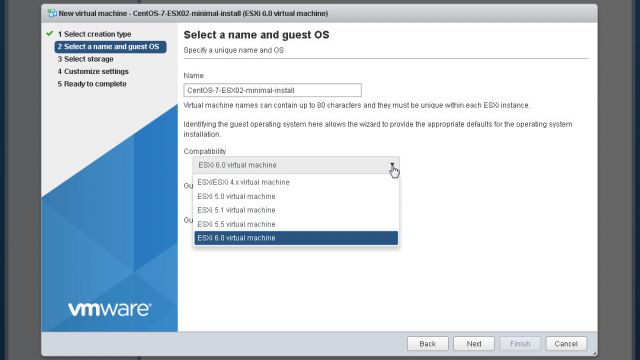
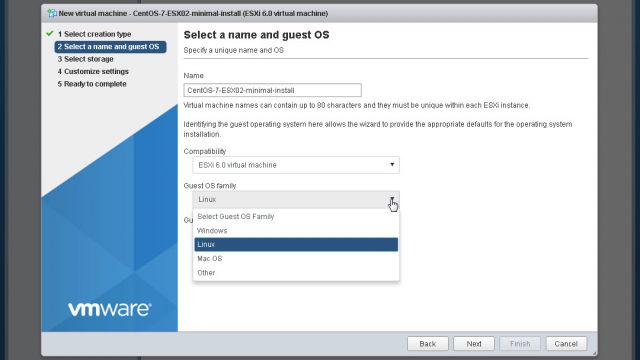
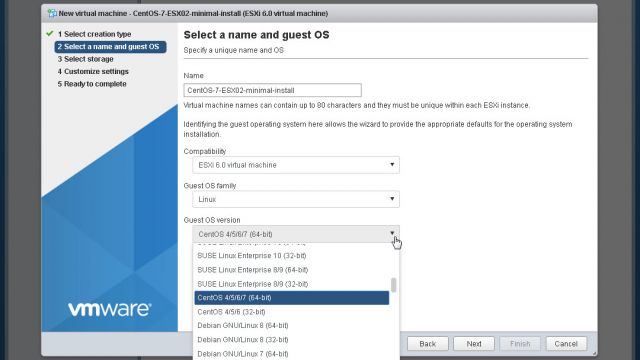
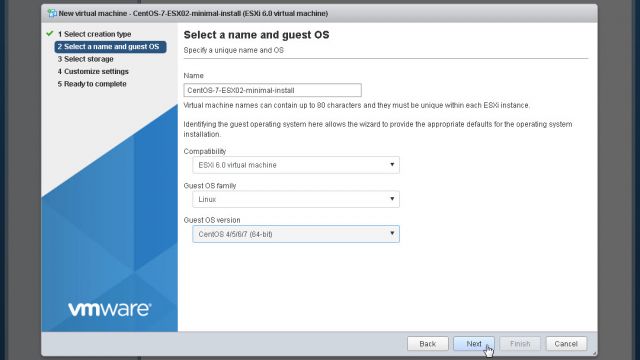
- Name the VM, select the compatibility, OS family, OS version, click Next
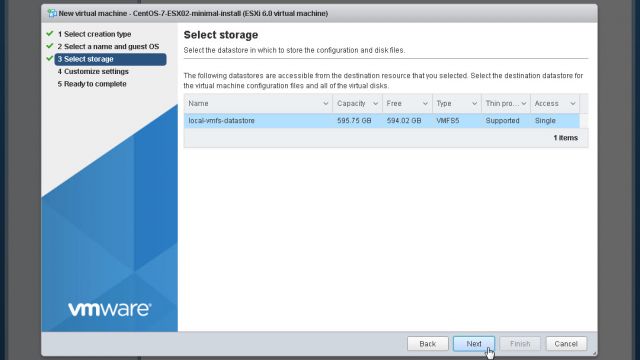
- Select the datastore, click Next
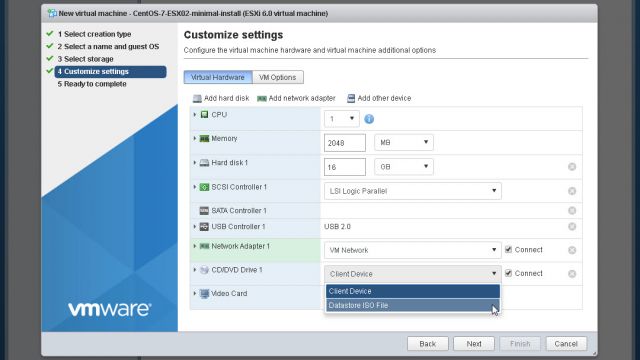
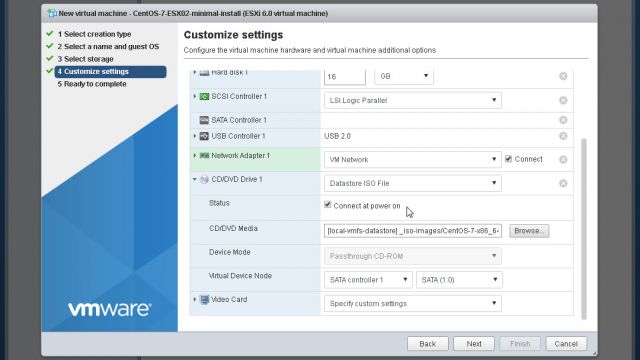
- Click the drop-down for CD/DVD drive, select Datastore ISO File
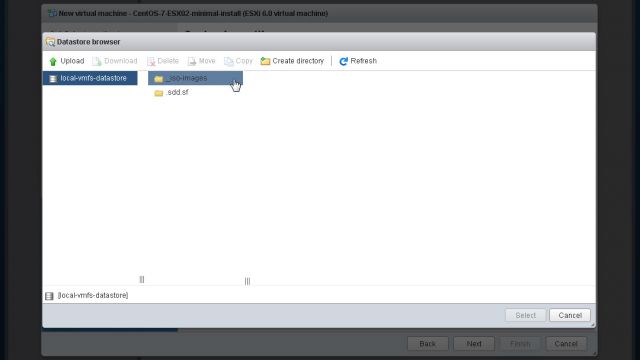
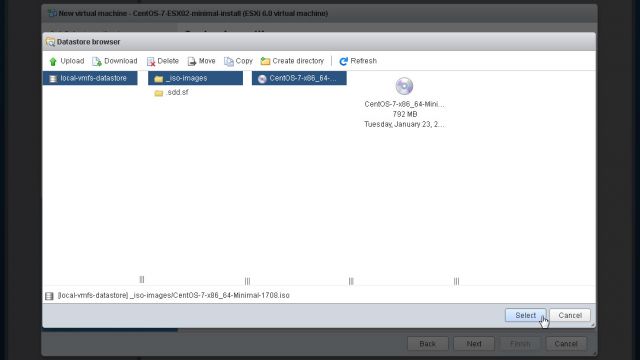
- Navigate to your _iso-images folder, and select the .ISO you uploaded
- “Connect at power on” should be automatically selected
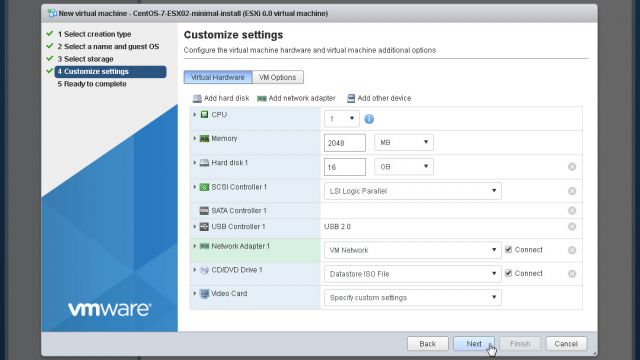
- You can change the other settings to meet your needs, and click Next
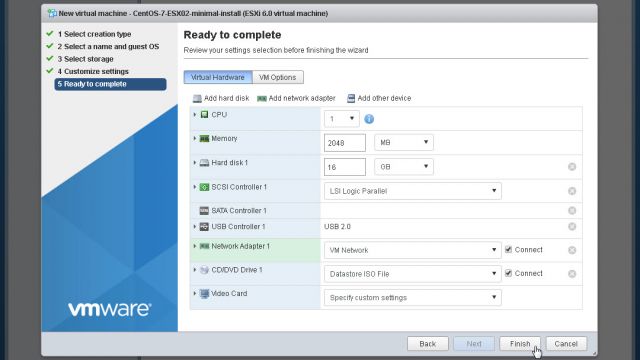
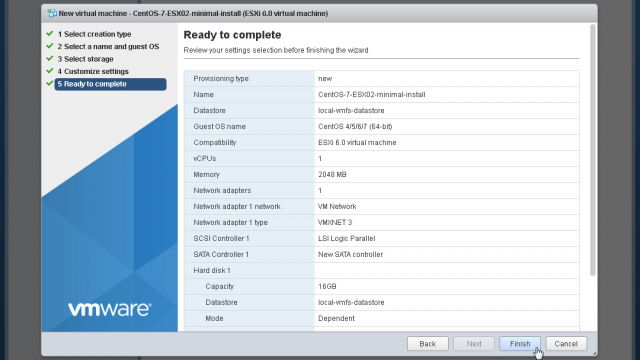
- Click Finish to complete the wizard
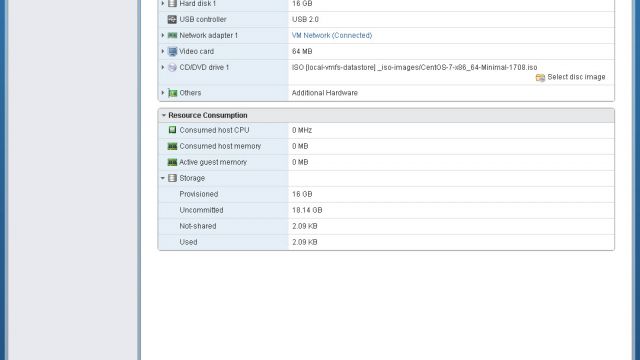
- You will get a confirmation screen, click Finish to create the VM
Now the VM has been created and we can install the Operating System
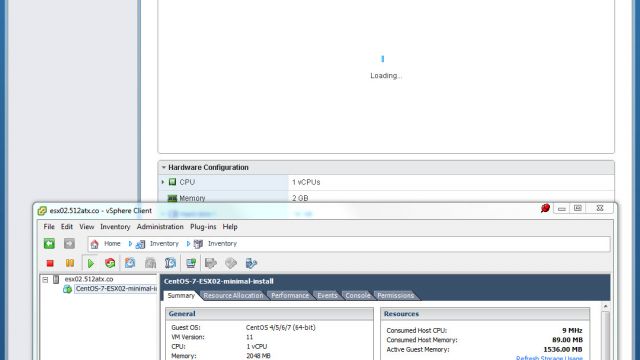
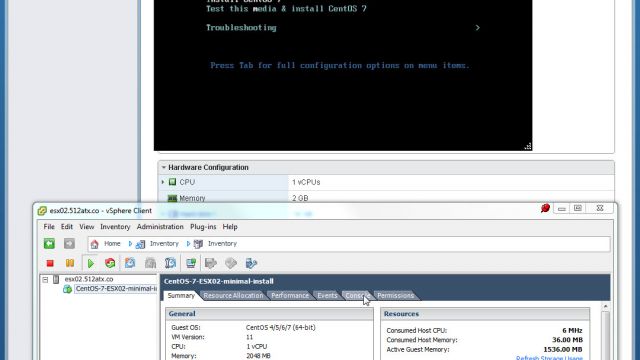
- Click Power on from either the client or WebUI
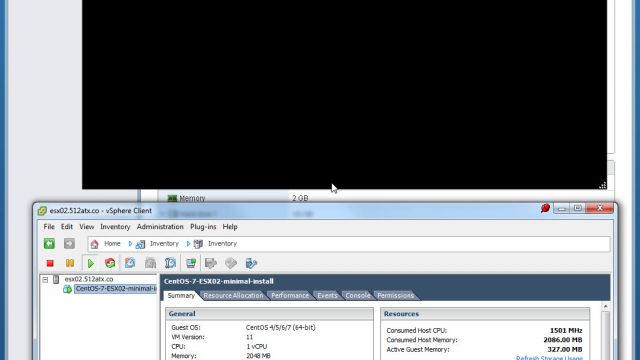
- I decided to use the WebUI, click Console, and there are multiple options here, but I chose Open browser console
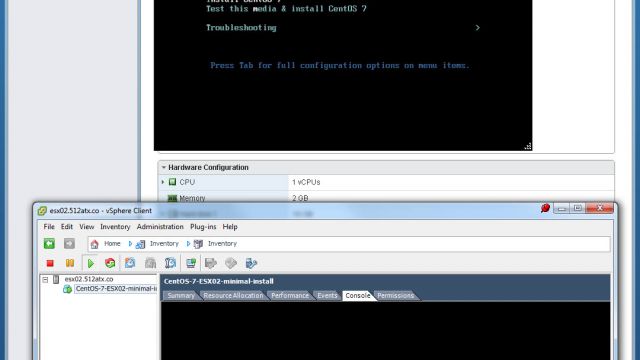
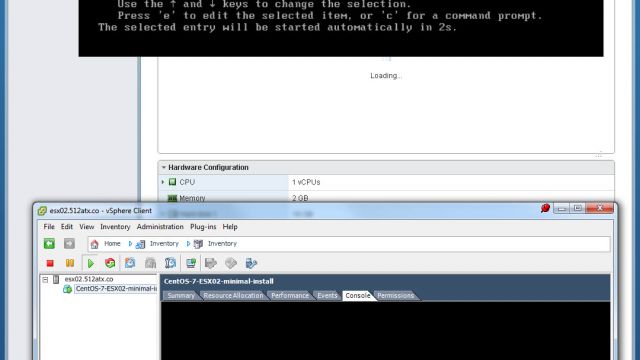
- In the client we can see the same thing happening on the screen by clicking the Console tab
- *** If you click in the Console tab on the client, you will need to push CTRL+ALT to get your cursor back. ***
- Click Install CentOS 7 and press Enter
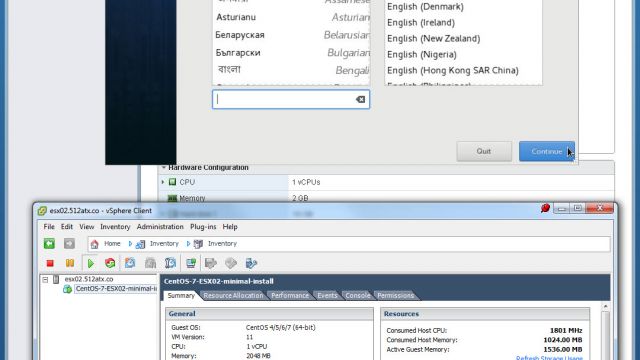
- Select your language
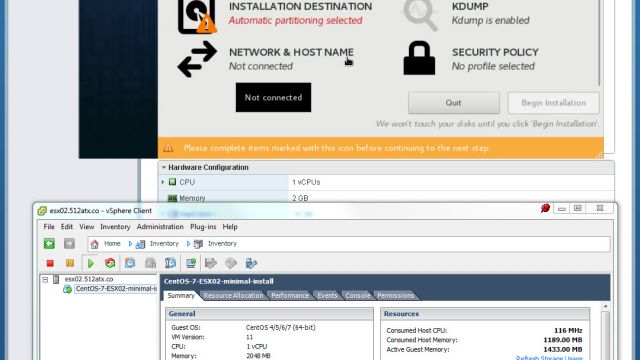
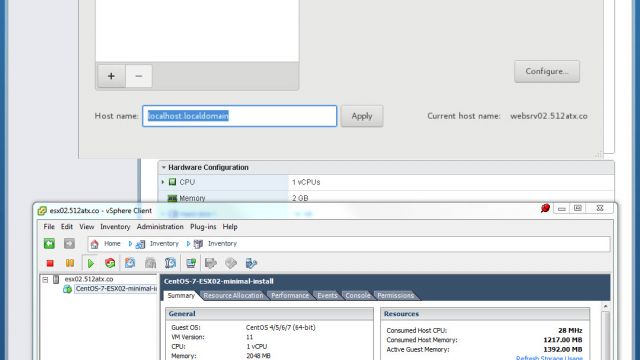
- Scroll down to click Network & Hostname. Click Ethernet to On, you can choose a hostname for your VM, and click Done
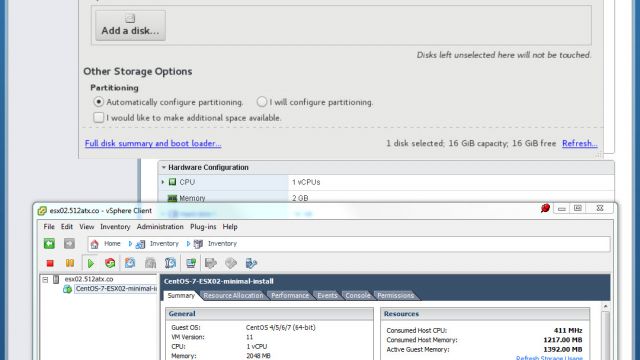
- Click the Destination and click Done
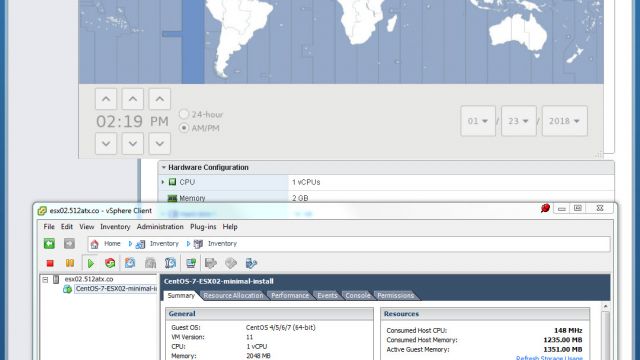
- You can update your Time Zone. You will need to turn network time off to select AM/PM
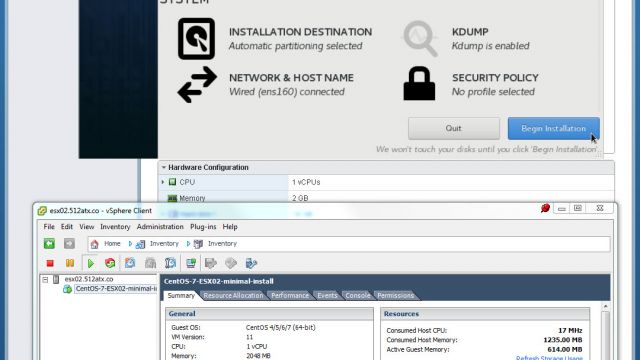
- This is the minimal installation so there is no software to select from, click Begin Installation
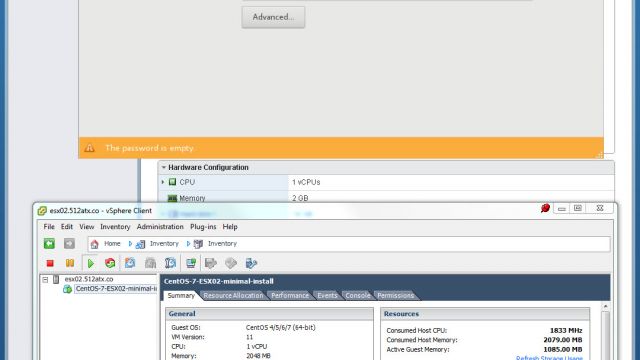
- Enter a root password
- Create a user & check Make this user administrator
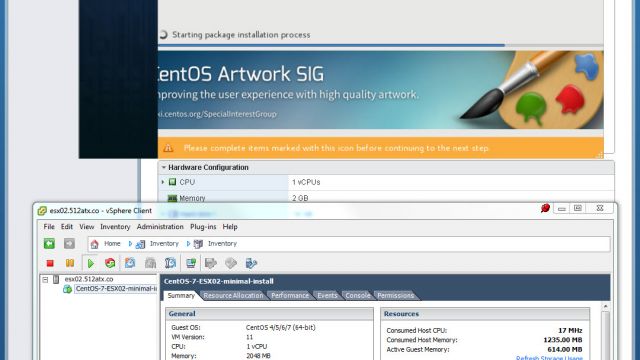
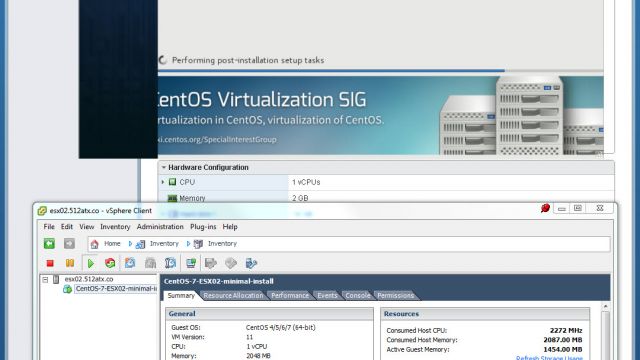
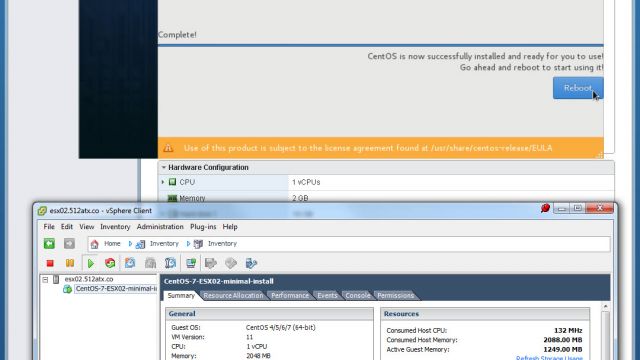
- The installation will complete, click Reboot
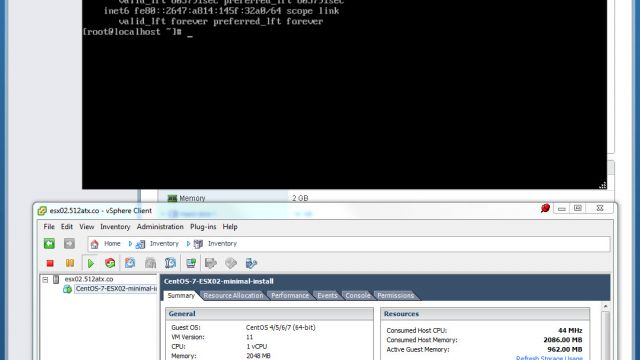
- The server will come up, login using root credentials. ifconfig wasn’t available so I used ip addr to get my IP address
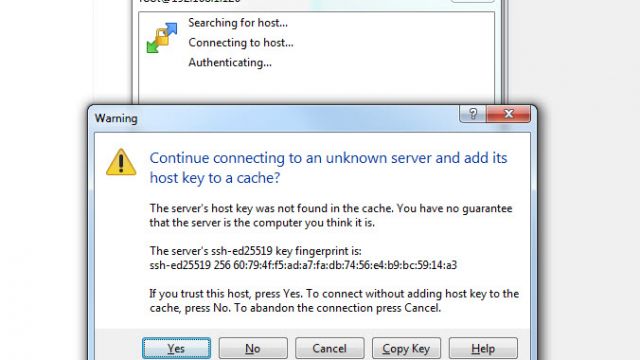
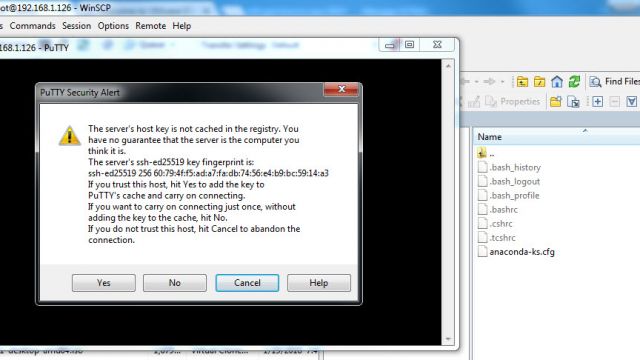
- I tested WinSCP and PuTTY to see if SSH access was enabled
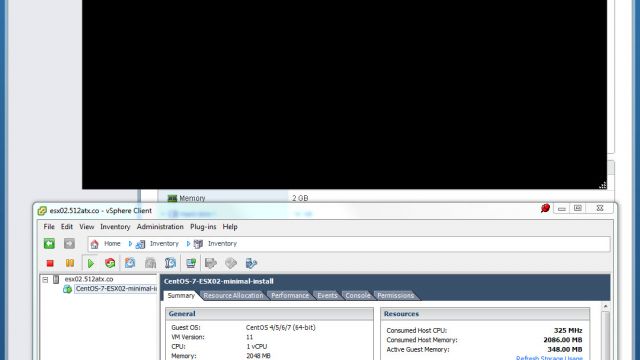
- VMware Tools is not installed so let’s take care of that by typing the command: yum search open-vm-tools
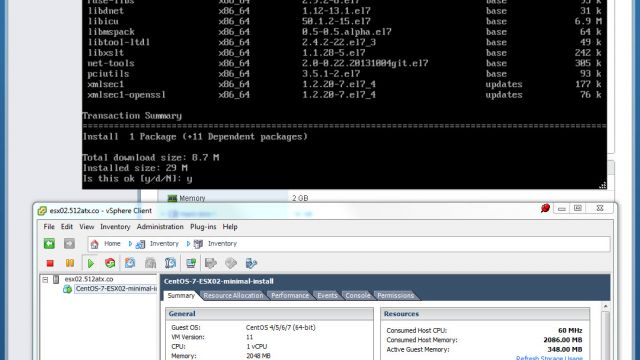
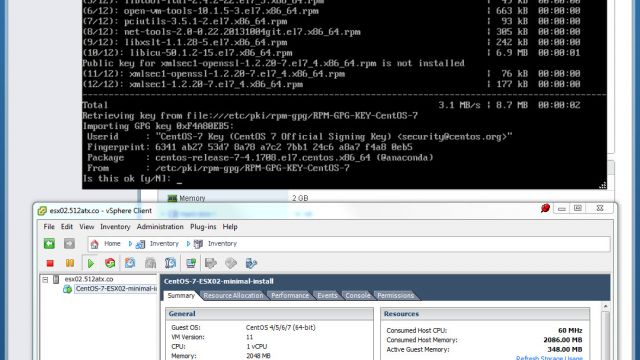
- Type command: yum install open-vm-tools, and answer yes to the questions… or you could enter yum install -y open-vm-tools
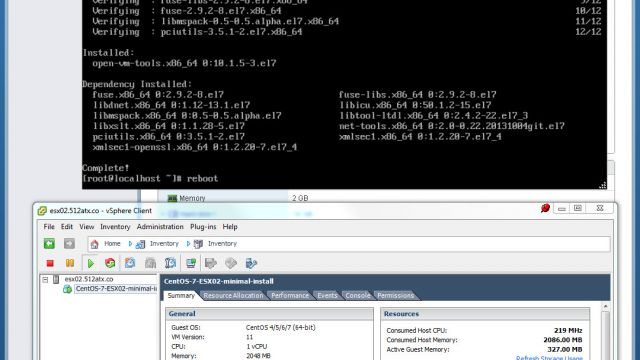
- reboot the server by typing command: reboot
- Now we see VMware Tools is in a Running State (Guest Managed)
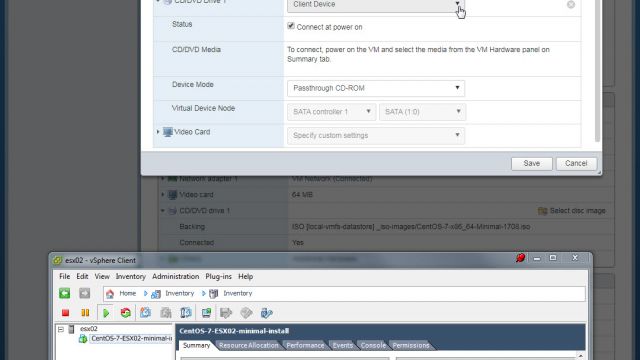
- Click Edit Settings to remove the .ISO image from the VM. Choose Client Device from the drop-down
And now we are finished! The next tutorial I have planned is How To: Install VMware vCenter
