https://clramirez.com/media/08-vCenter.jpg
 If you are not familiar with VMware and all the terminology, here is an over-simplified analogy that I hope paints a clearer picture using Office 2010/2016 as an example:
- vSphere: makes up all of the VMware software working together to achieve the full virtualization capabilities. In our analogy this would be the ENTIRE Collection of all the software contained within the Office 2010/2016 Suite: Outlook, Word, Excel PowerPoint, Publisher, Access, OneNote, Lync, OneDrive, etc.
- ESXi: This is the heart of the operation… You install ESXi on a PHYSICAL server whose sole purpose is to “HOST” Virtual Machines on its physical hardware. This is why you commonly hear the term “ESXi HOST” this is the server that does the heavy lifting and typically needs to have lots of RAM and CPU’s/cores. In our Office 2010/2016 analogy this would be the actual computer you install your Office 2010 software on, or if you want to make a more clear connection to the Office 2010/2016 Suite would be Office Home & Student which does not include the more advanced software: Outlook, Publisher, and Access.
- vCenter: This gives the more advanced functionality of VMware…. for example it can perform automation tasks, and although you can accomplish “virtualization” without ever having to install a vCenter server in your environment there might come a time where you want the advanced functionality such as creating/deploying VM templates, DRS, HA, Distributed Switches, etc. The equivalent in our analogy here would purchasing the Office Professional Suite because you want Outlook, Publisher, and Access in addition to Word, Excel, and PowerPoint.
I have worked in previous environments where it wasn’t encouraged to install VMware’s advanced functionality in our home/work labs and it was the norm to simply stop after installing ESXi. vCenter unlocks a lot of awesome tools that you just don’t get with the barebone installation of ESXi, and a list of the cool features you can enable are as follows:
- Administration of vSphere (ESXi hosts & vCenter) through webpage
- Distributed Switch
- DRS (Distributed Resource Scheduler)
- High Availability
The process for installing vCenter can be done in 2 different ways:
- Linux Appliance: vCenter Server Appliance
- Installing vCenter on a Server running Windows (this can be a VM running on ESXi)
I did not have access to download the Linux appliance so I will be demonstrating the second method: installing vCenter on a server running Windows 2008 r2. I am using 2008 r2 because I don’t want to have to activate a 2012 r2 license, but you can most certainly install it on either. Lastly I have access to VMware vSphere 6.0 and license keys for 6.0, hence the reason I am using this older version.
We begin the installation:


- After connecting the .ISO image here we see the installation screen
- Click Next (Alt + N) to begin the installation process
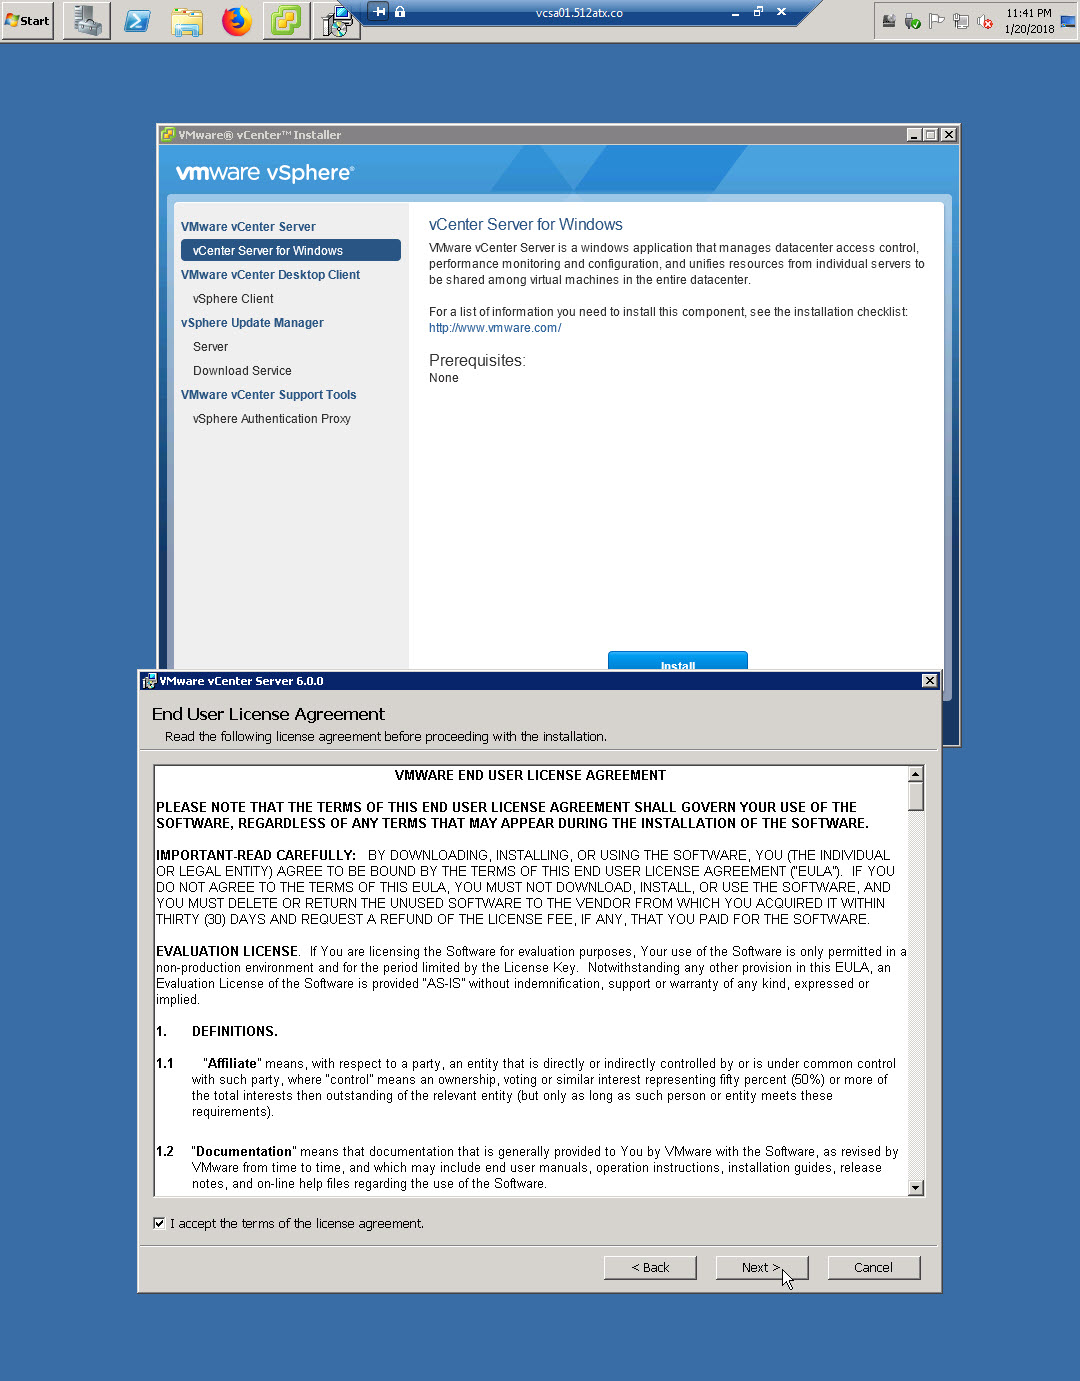
- Accept the EULA (Alt + A), and then click Next (Alt+N)
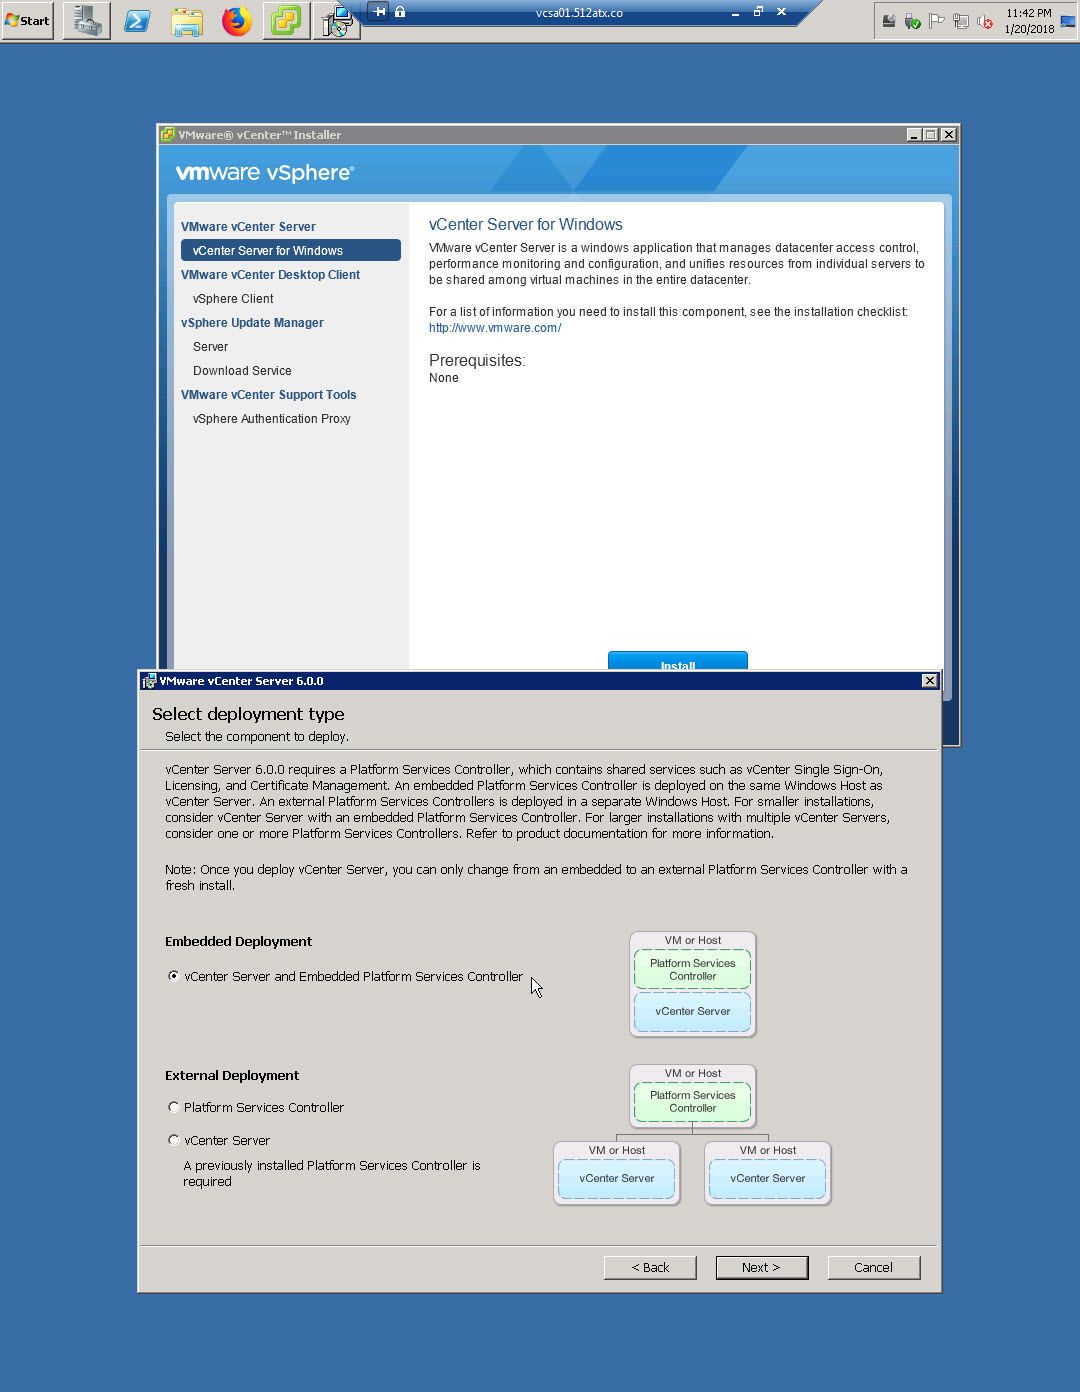
- Leave Embedded Deployment selected, click Next (Alt+N)
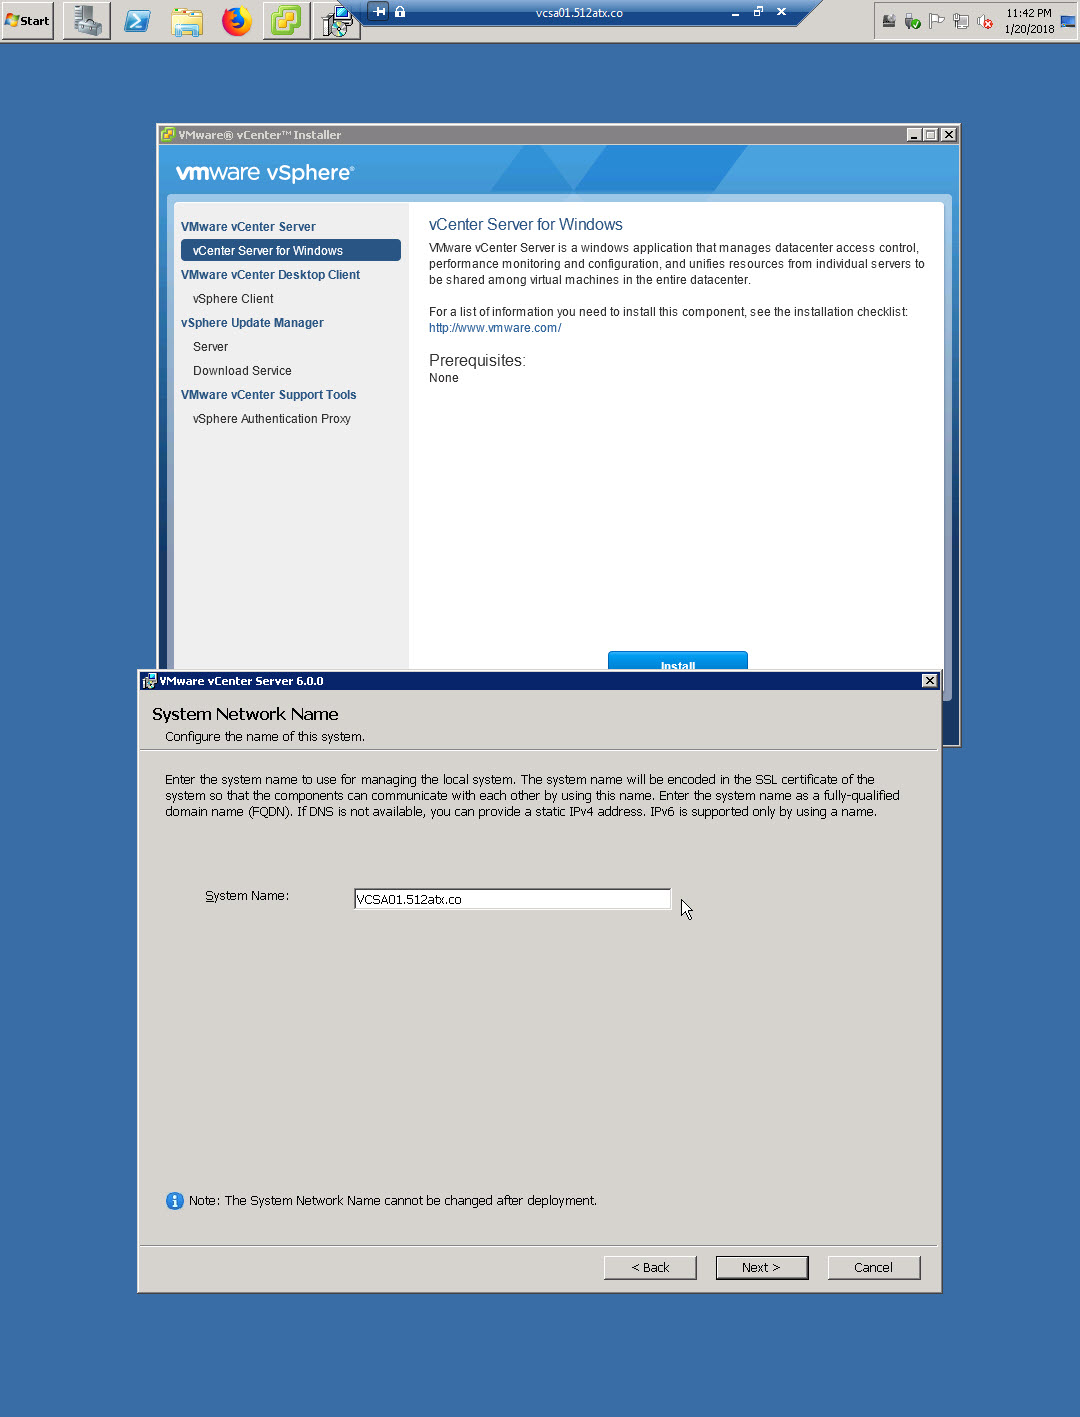
- If you have not already created an A-Record in DNS for your vCenter server be sure to do so, I created VCSA01.512atx.co for this server
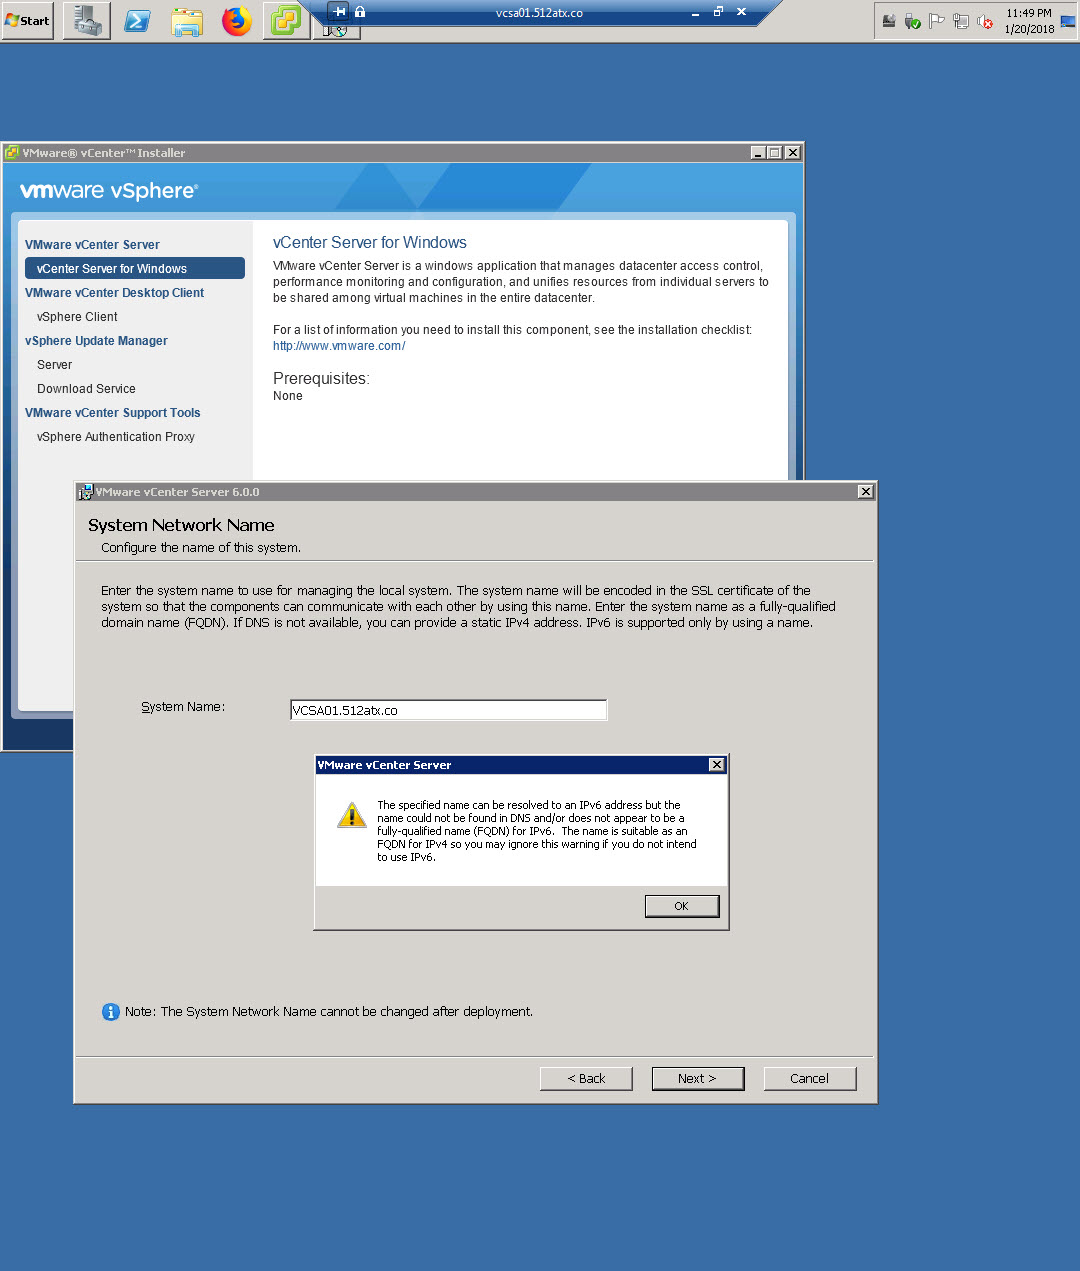
- There is a message alerting me that IPv6 hostname cannot be resolved, I am not concerned because I have this mapped using an IPv4 address
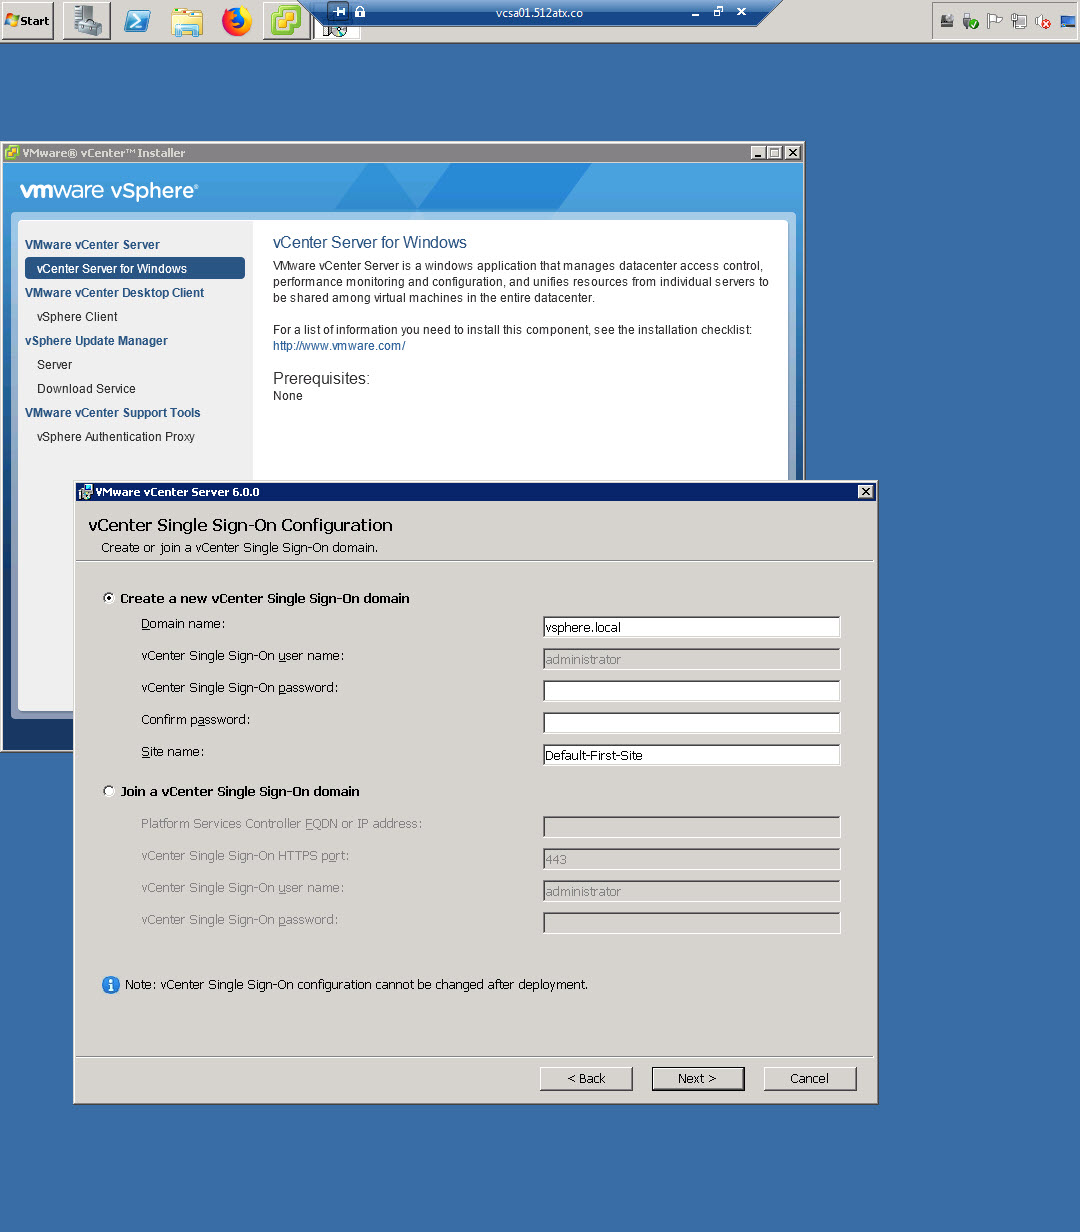
- Leave “Create a New vCenter Single Sign-On domain” selected as I am going to join this vCenter server to my domain after I install vCenter and add any ESXi Hosts
- Input vsphere.local, enter a password, and I leave Default-First-Site
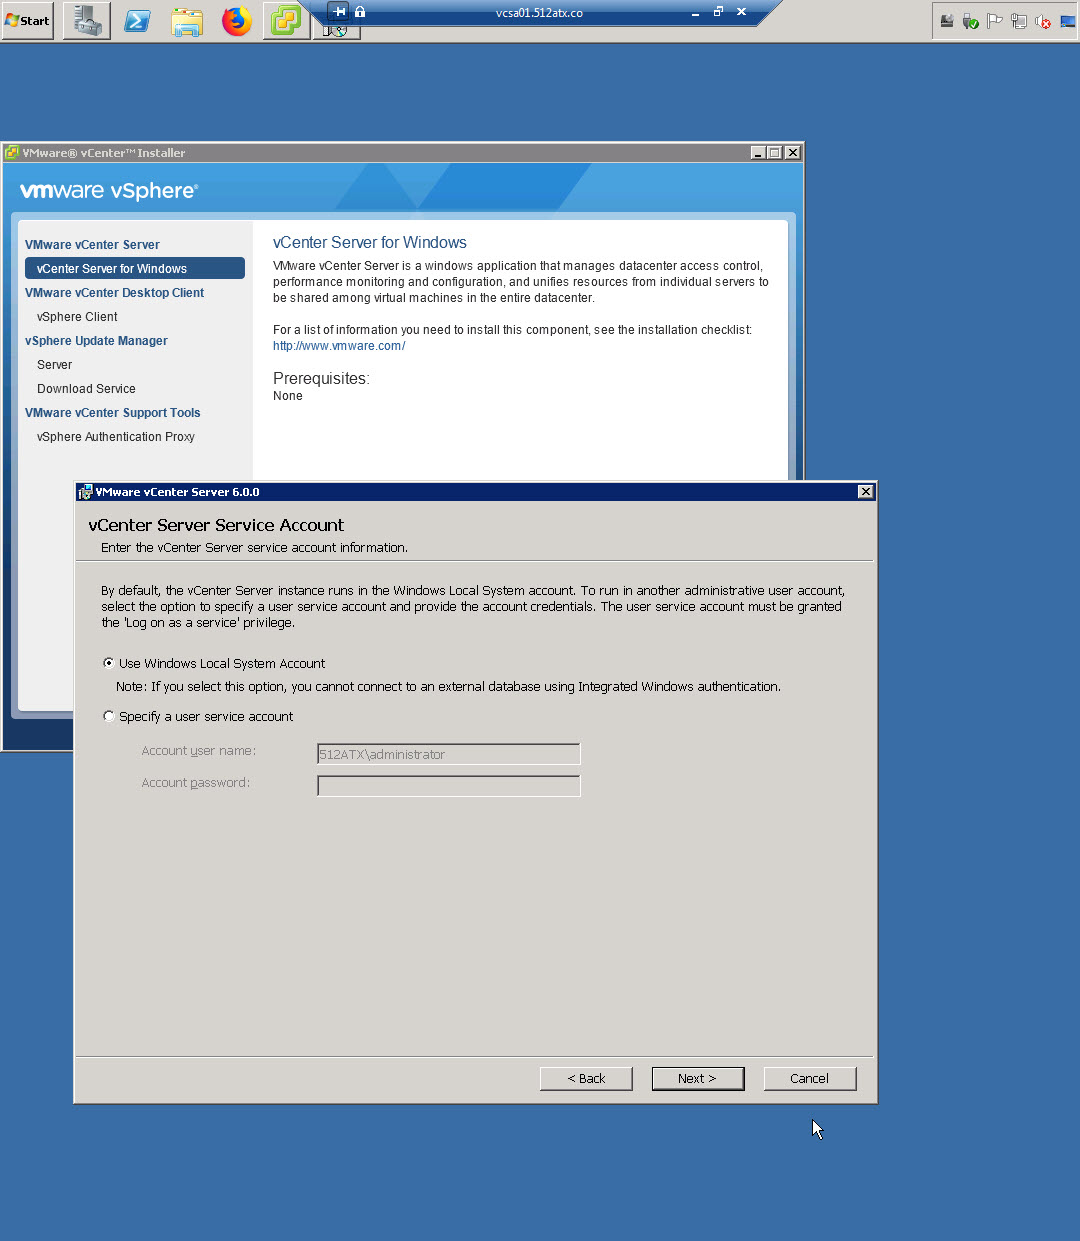
- Leave “Use Windows Local System Account” selected, click Next (Alt+N)
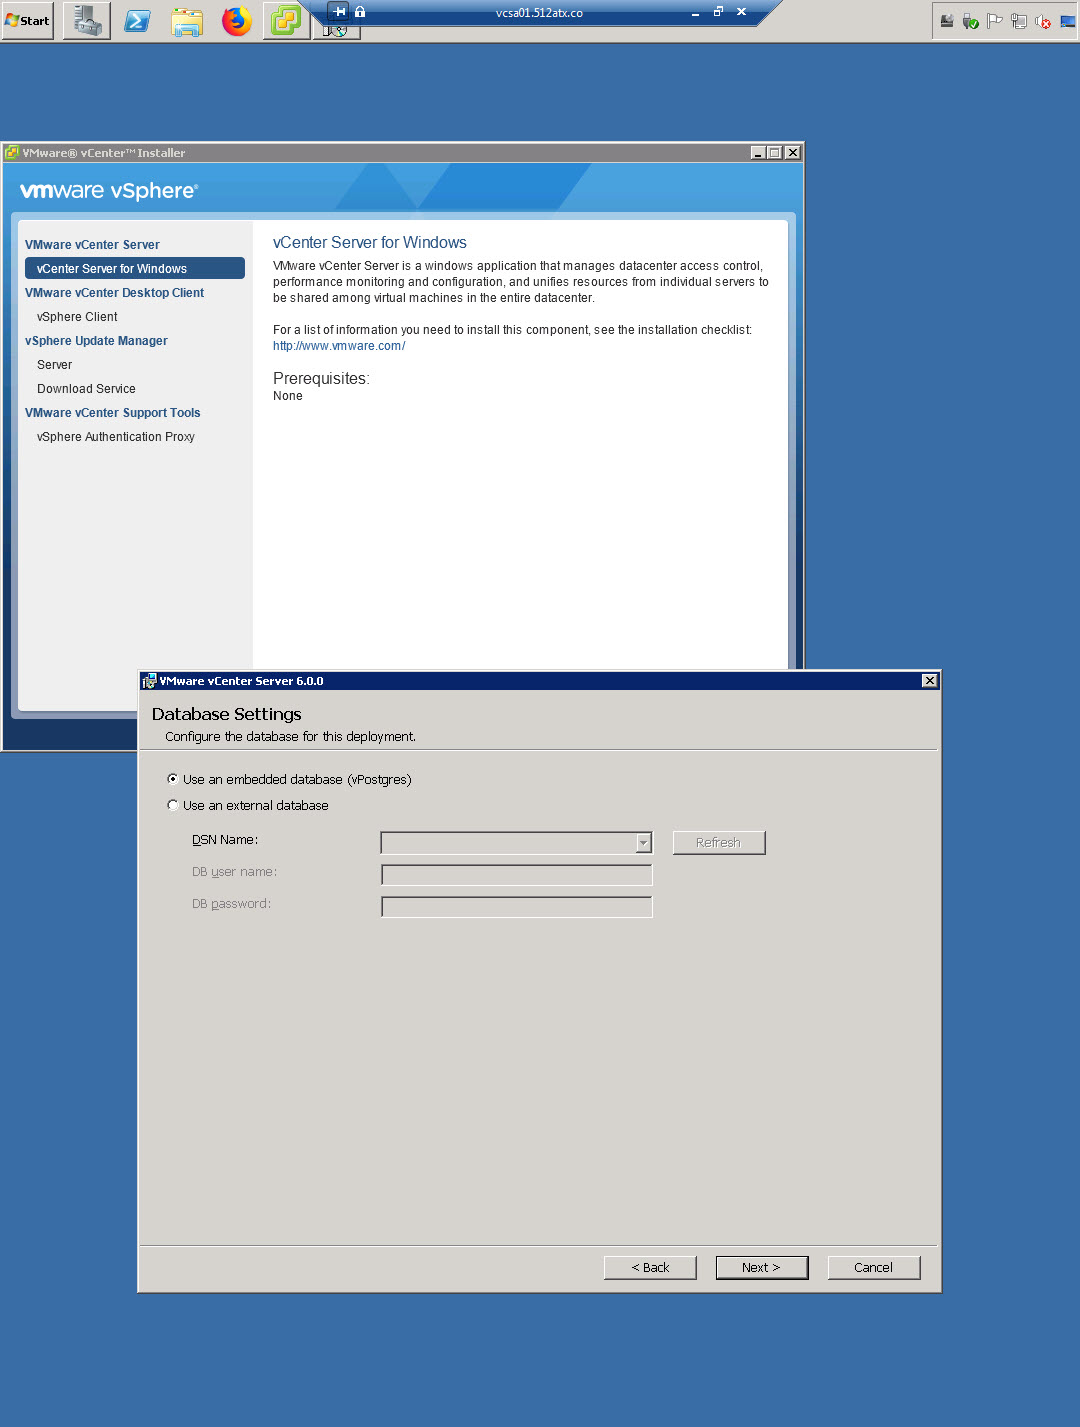
- “Use an embedded database (vPostgres), click Next (Alt+N)
- The next screen shows a list of ports that need access for proper functionality, check your firewall(s) to ensure access is available
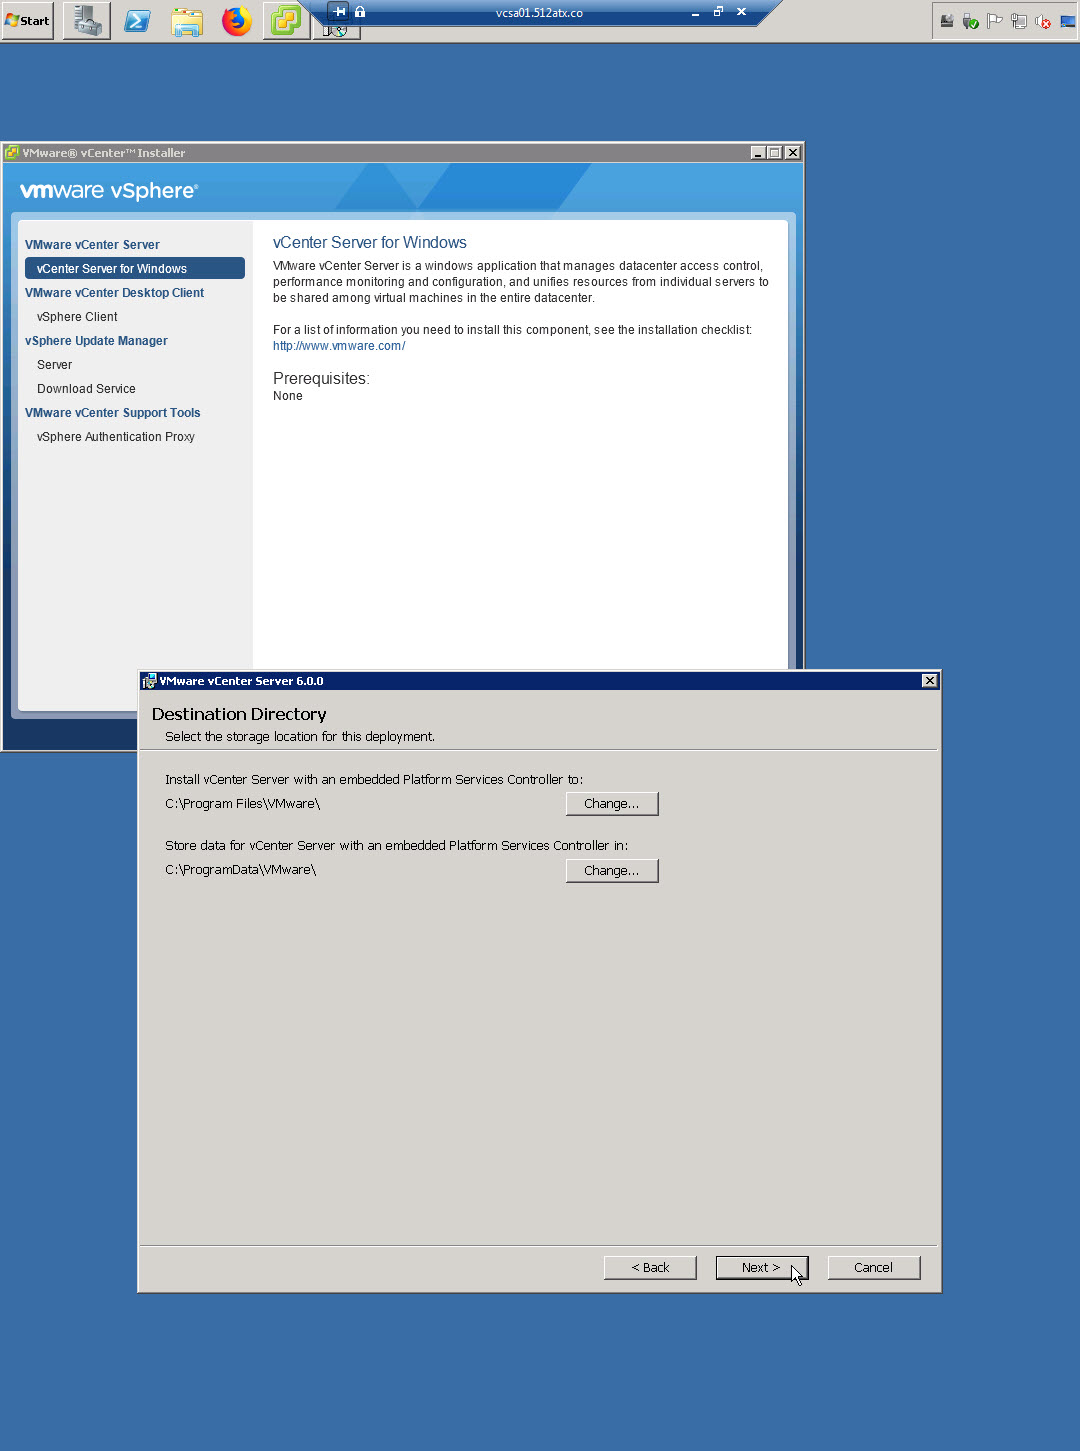
- Select where you want to install vCenter, click Next (Alt+N)
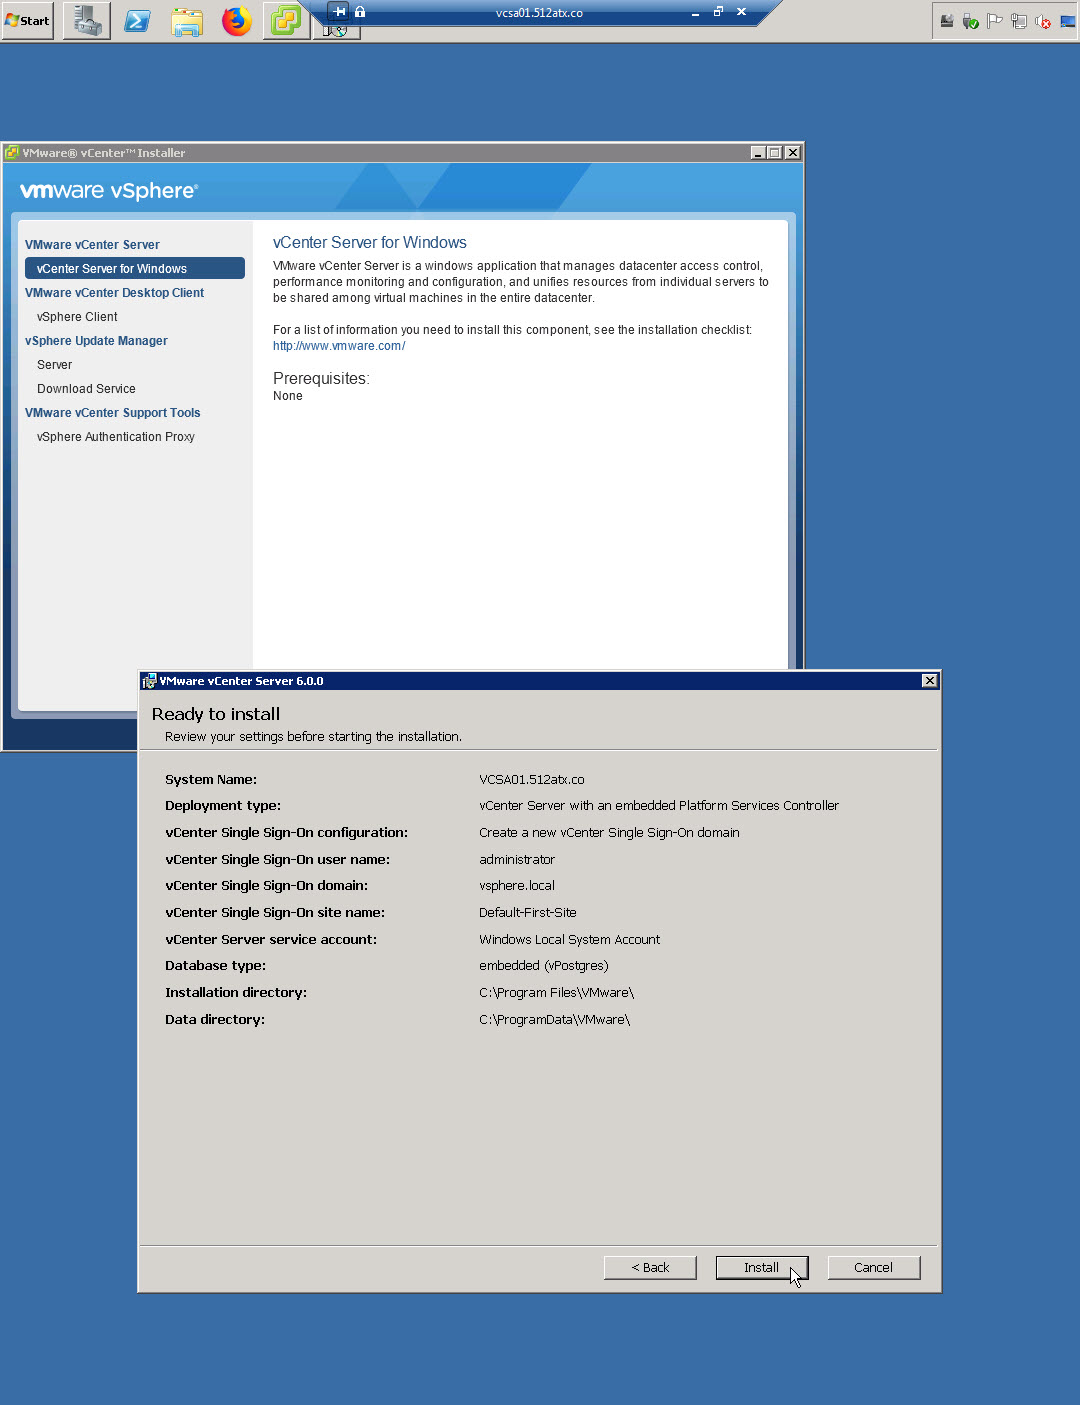
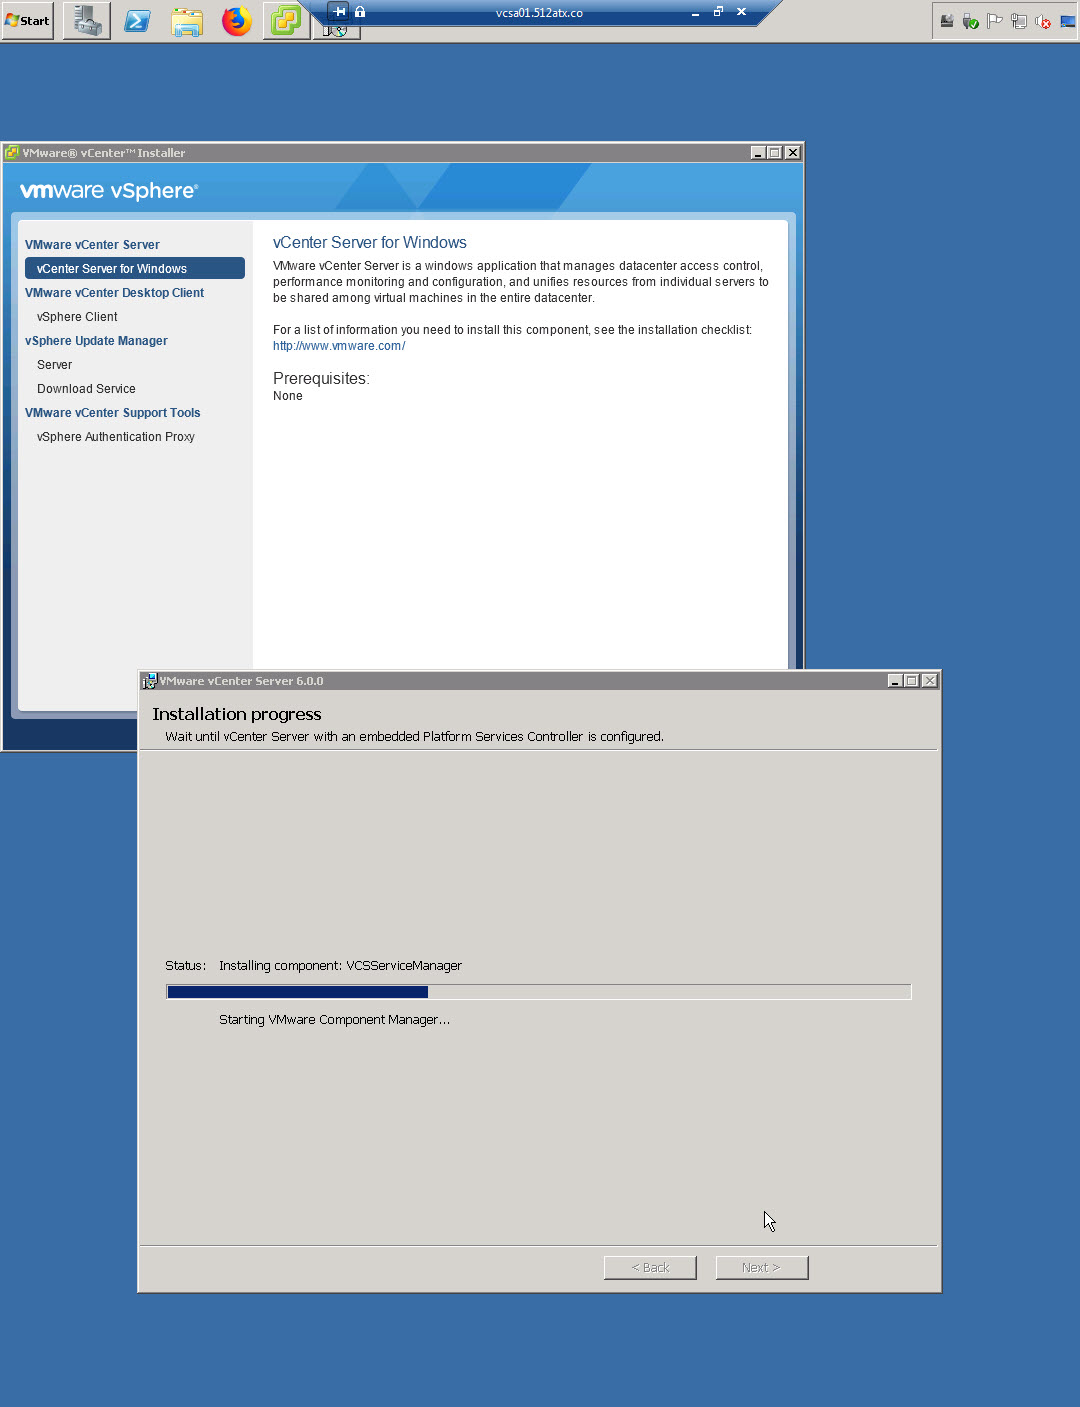
- You will get a confirmation screen to review the selections you made, click Install (Alt+I) to begin the software deployment
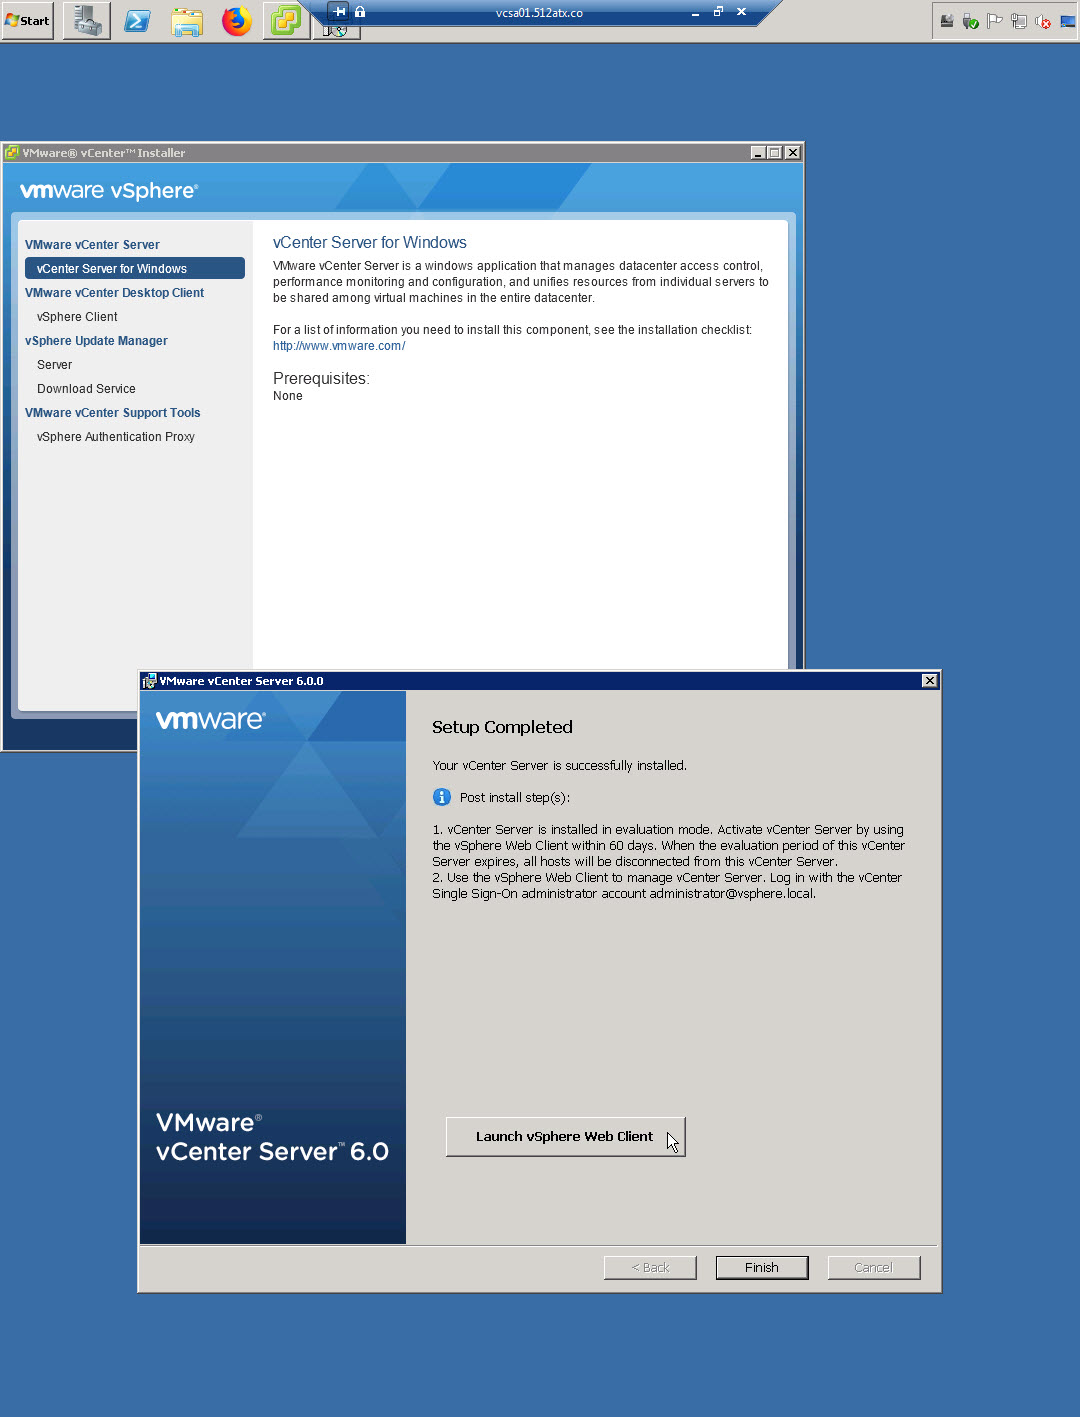
- Depending on your hardware it may take some time, take a break and come back in about 15-30 minutes and you should see Setup Completed
- Click Launch vSphere Web Client to open the newly installed software in your web browser
- Login using administrator@vsphere.local and your password
- Afterwards you will see the WebUI
- Click vCenter Inventory Lists
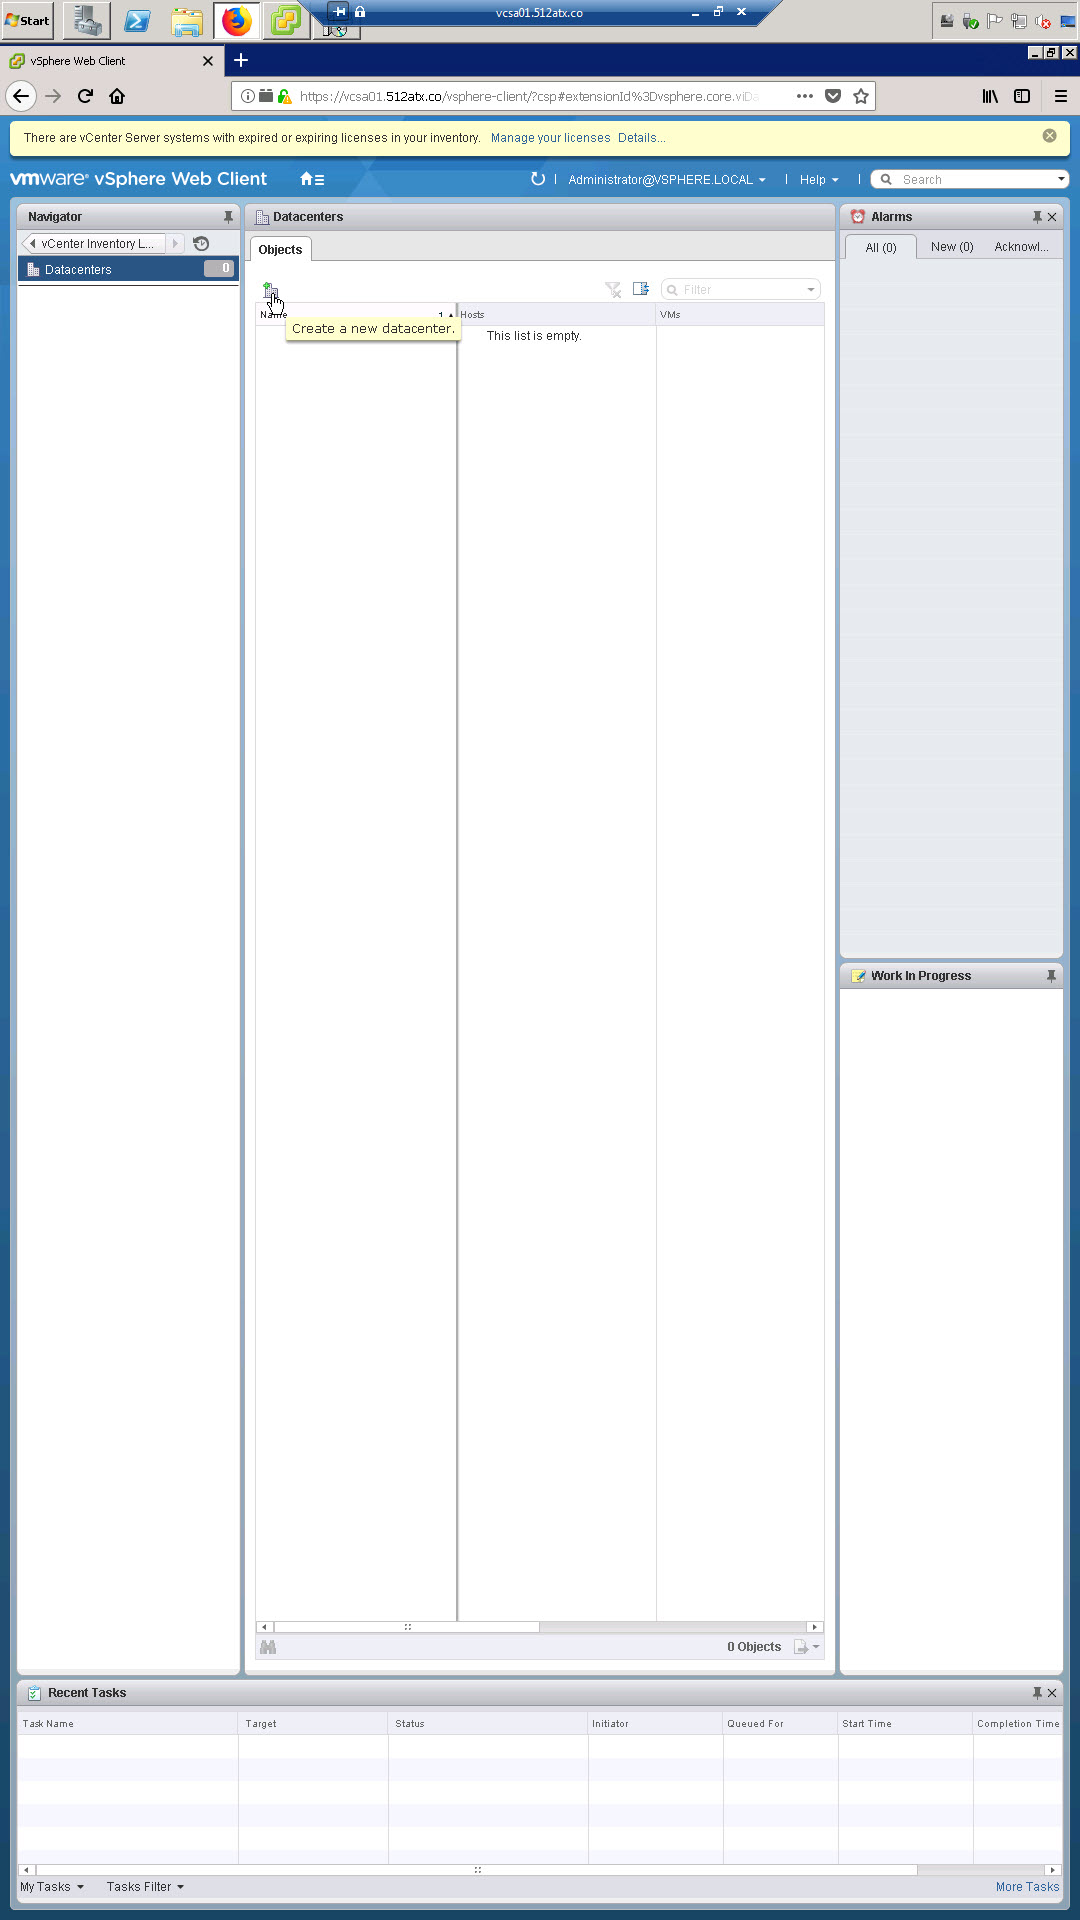
- Click Datacenters
- Click the Create a new datacenter icon
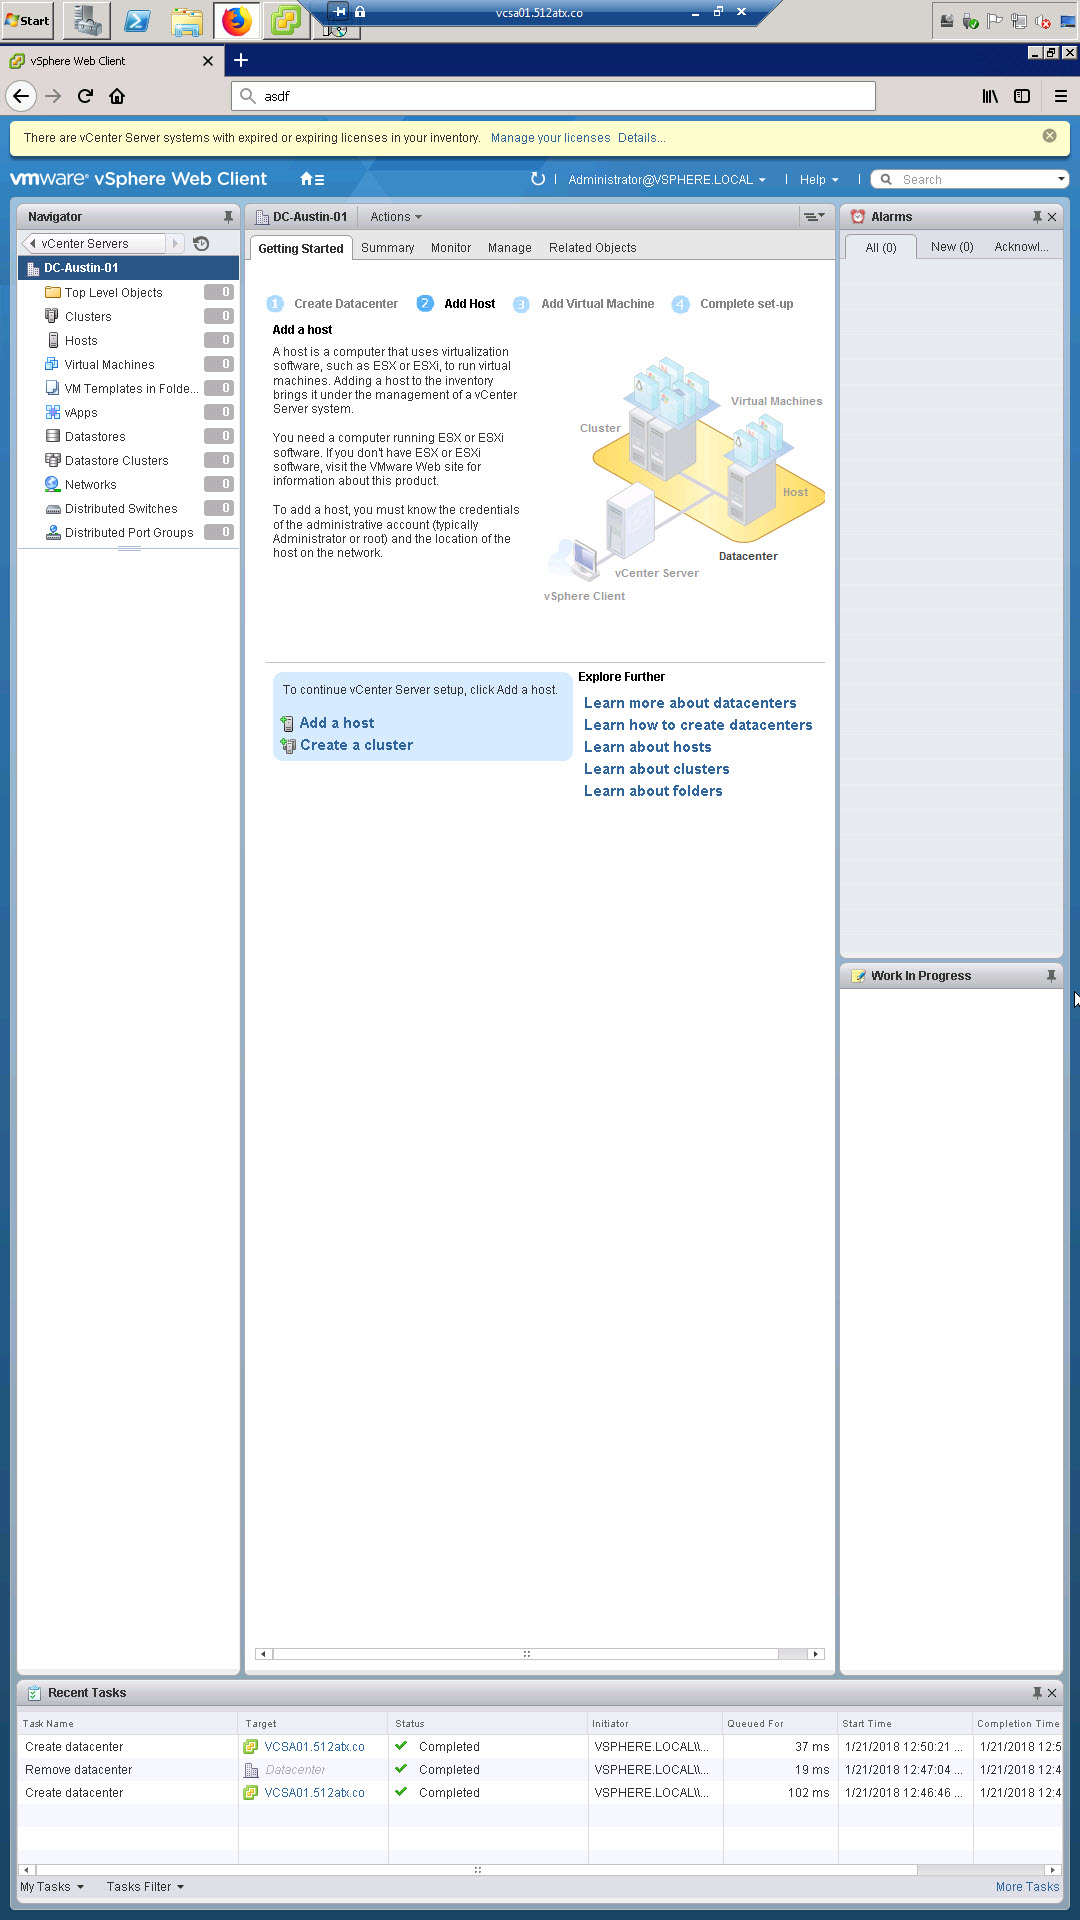
- Name the new Datacenter appropriately, click OK
- Click Add a host, and then add your ESXi Host(s)