
In previous tutorials we covered:
How To: Create a CentOS 7 VM
How To: Enable RDP using WinSCP & PuTTY
How To: Configure Web Server
In this tutorial will install WordPress the GUI/easy way. Throughout this entire tutorial I am logged in as root.
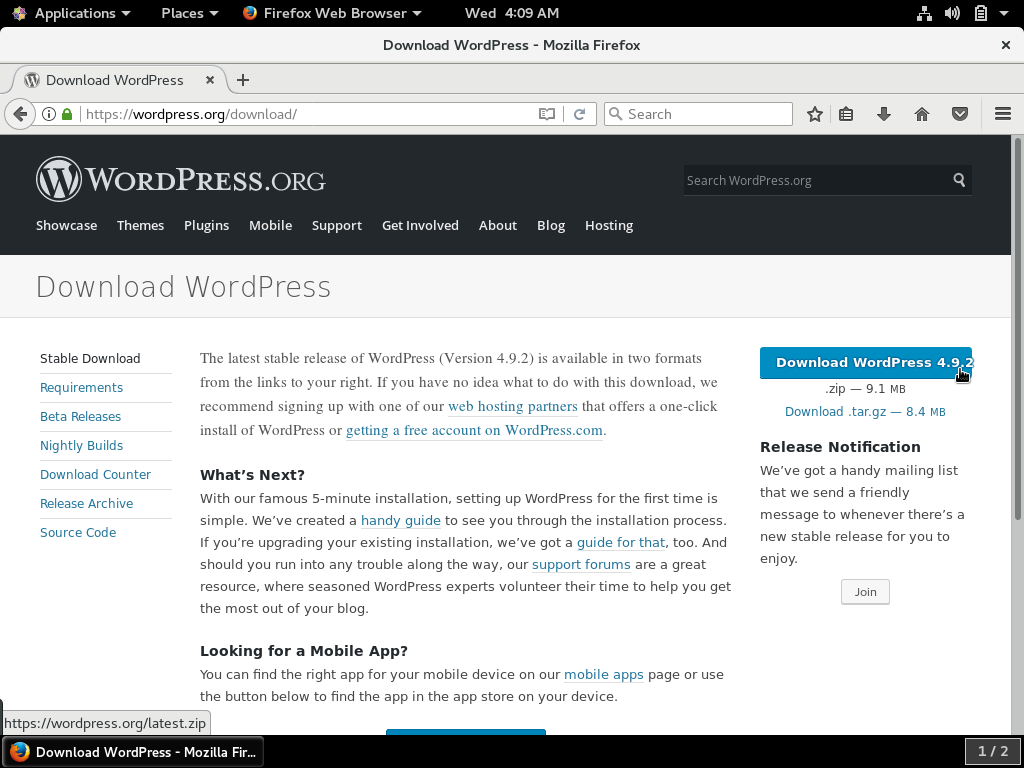
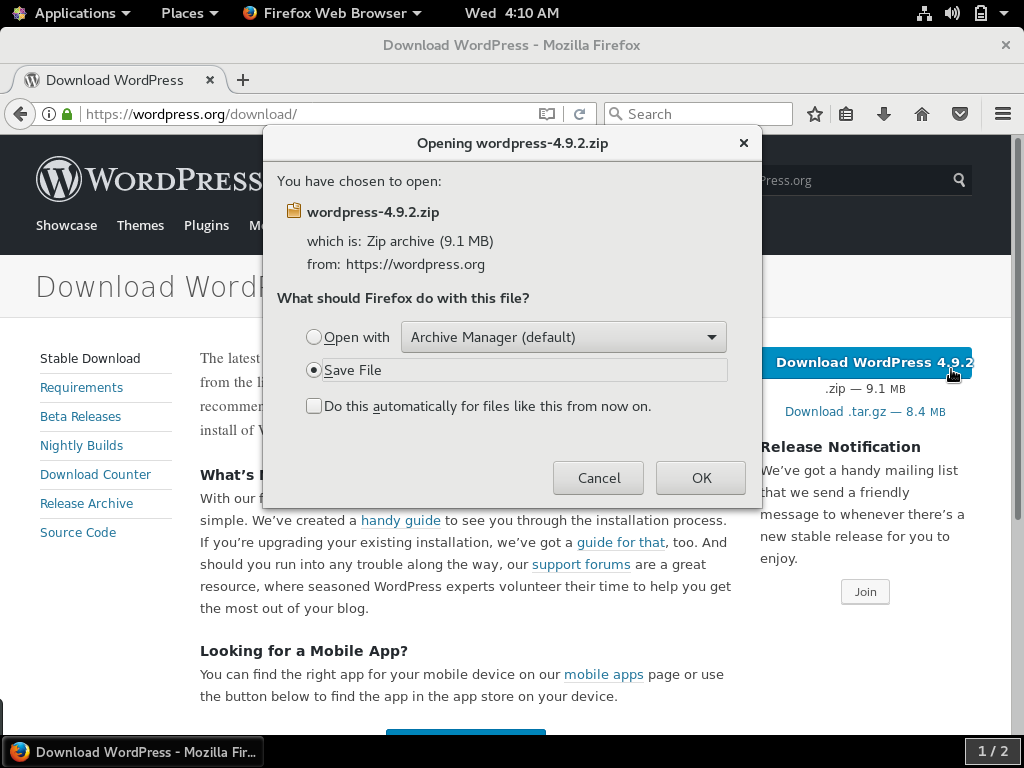


- Open Firefox and download WordPress
- The file will be downloaded to the Downloads folder
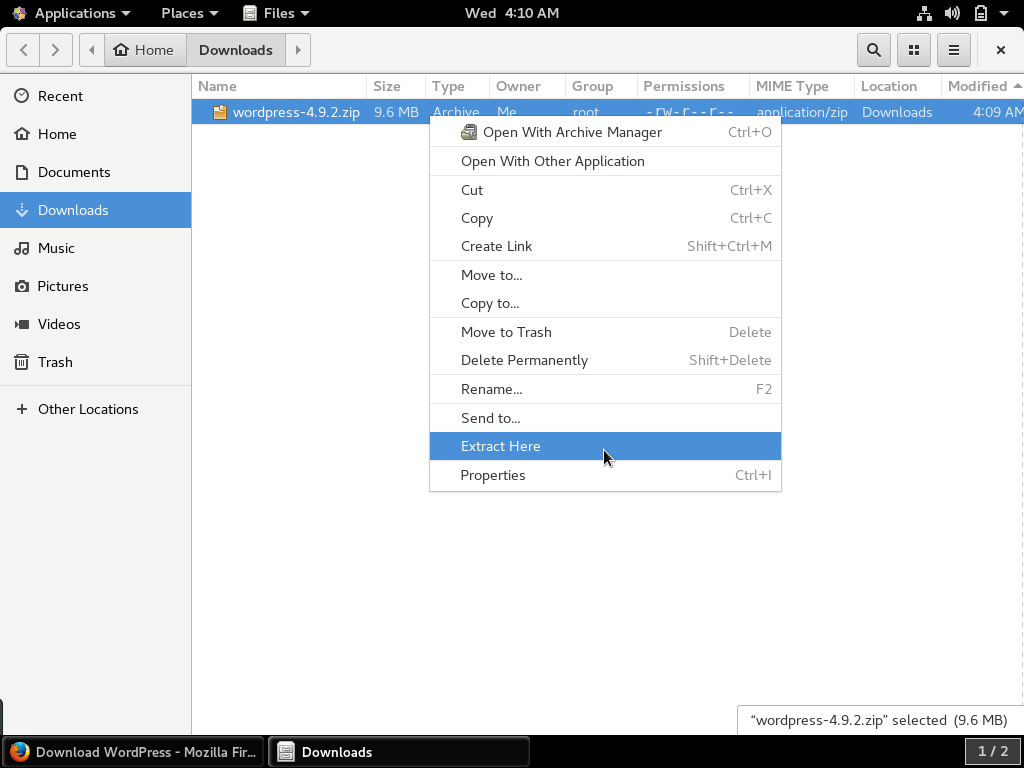
- Unzip it in the Downloads folder
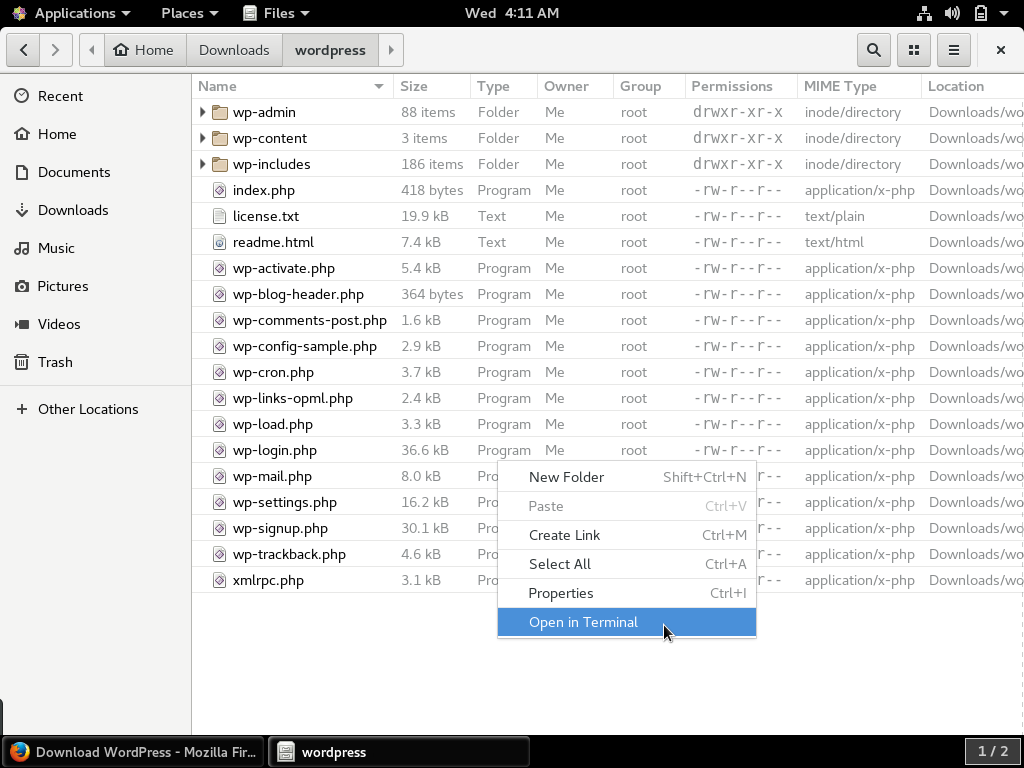
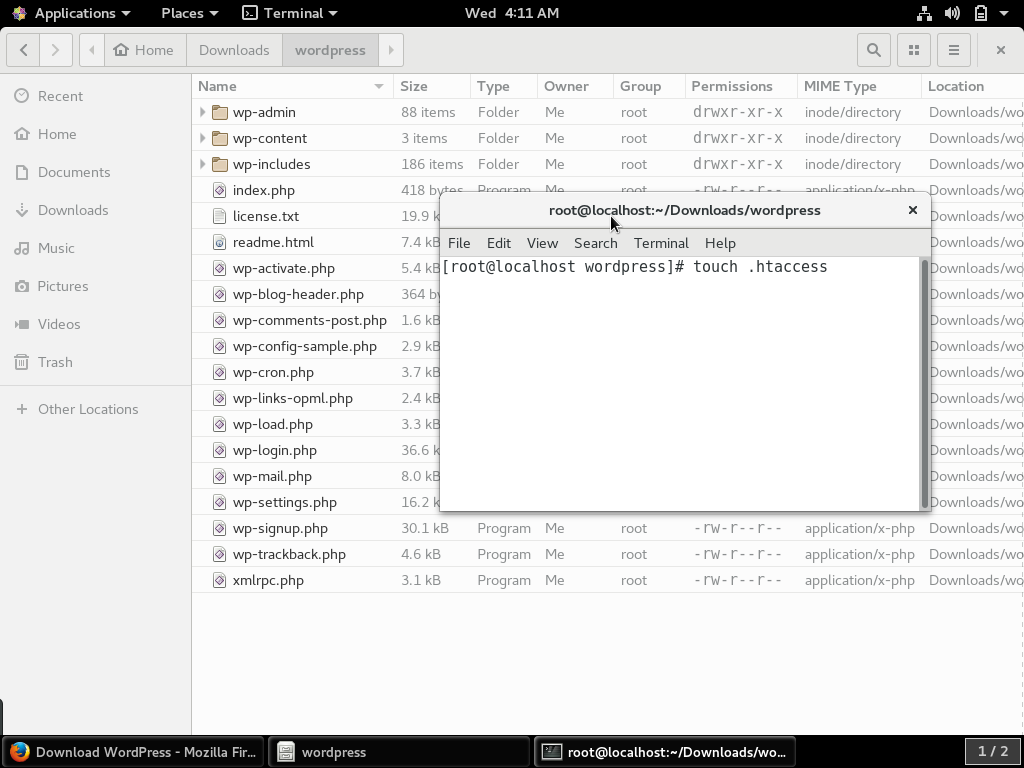
- Open the newly created wordpress folder
- Right click on blank space and select Open in Terminal
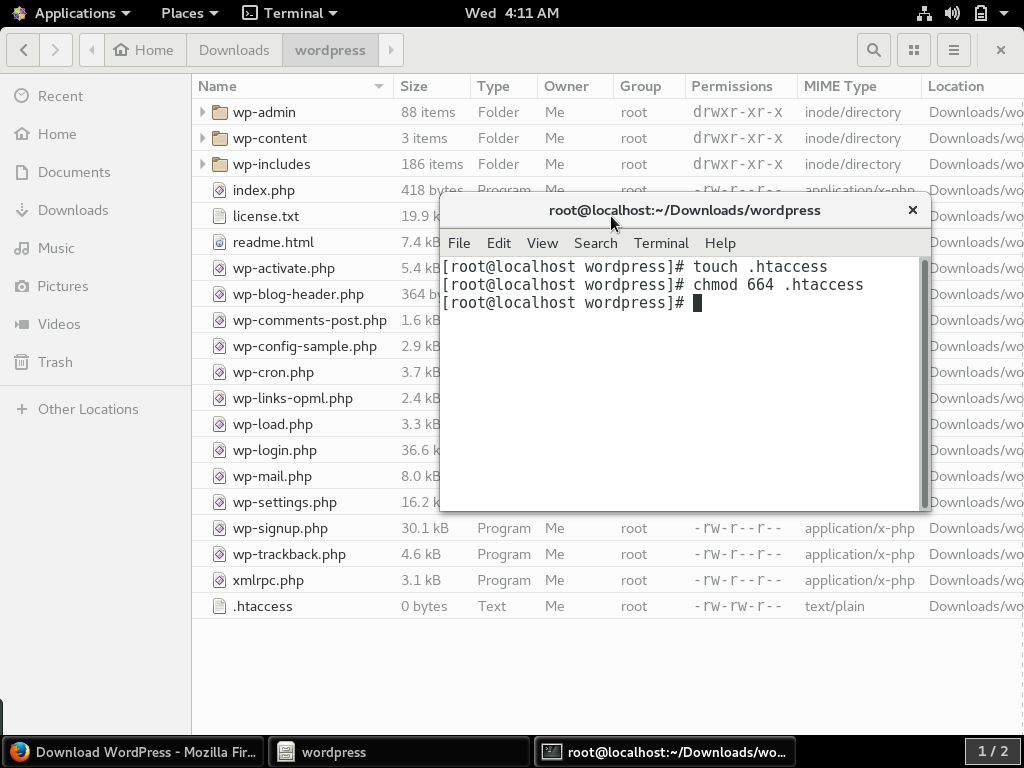
- command: touch .htaccess
- command: chmod 664 .htaccess
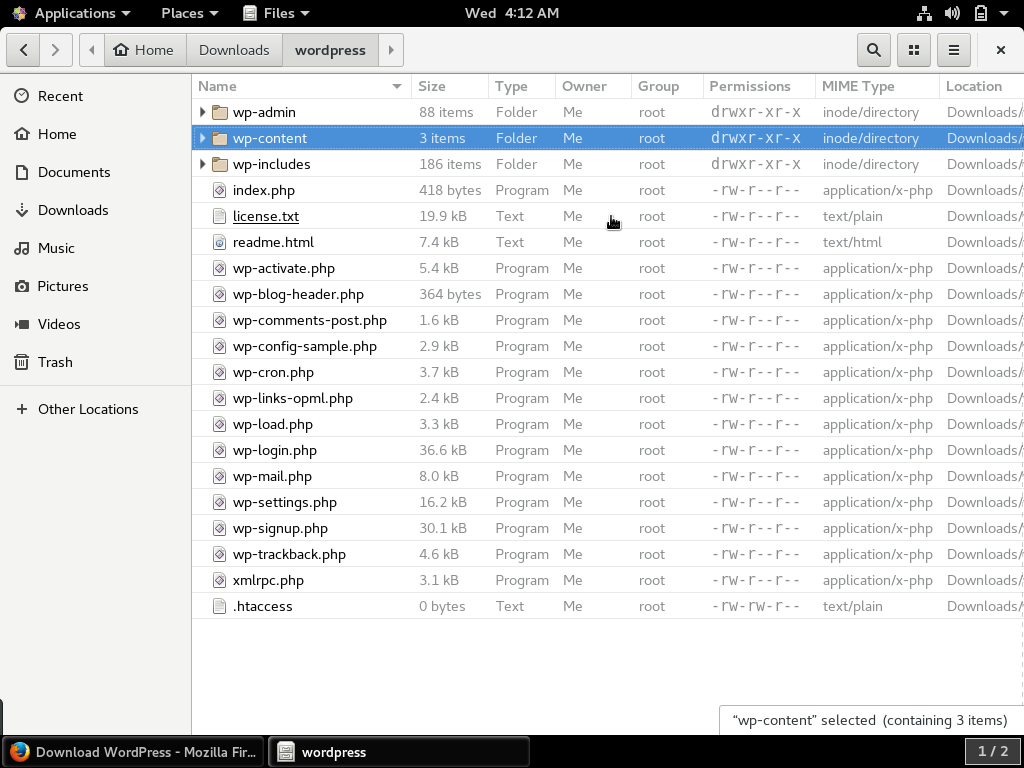
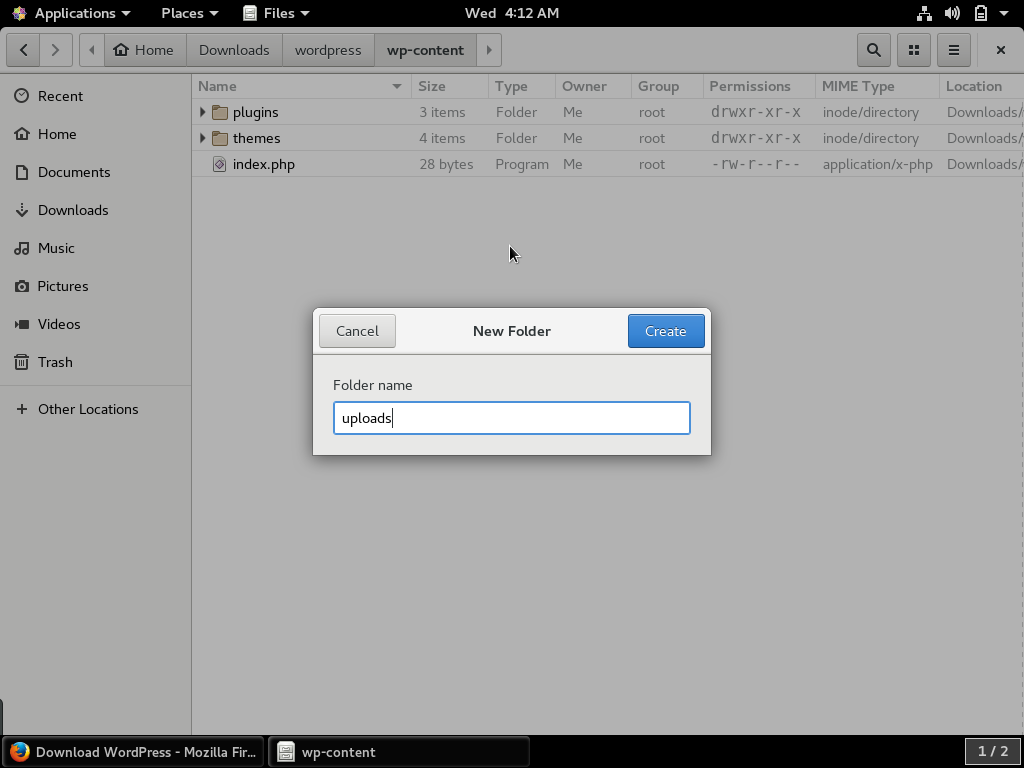
- Open the wp-content folder, and create a folder called uploads
Now we need to copy all the files in the wordpress folder to /var/www/html
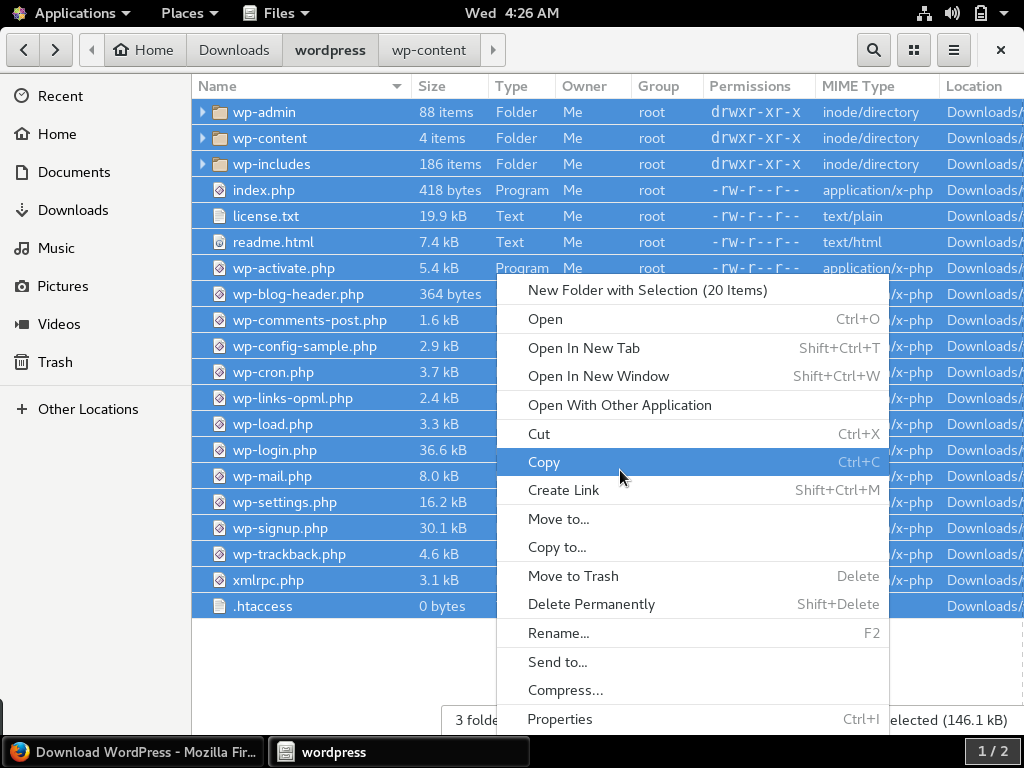


- Select all (CTRL + A) in the wordpress folder
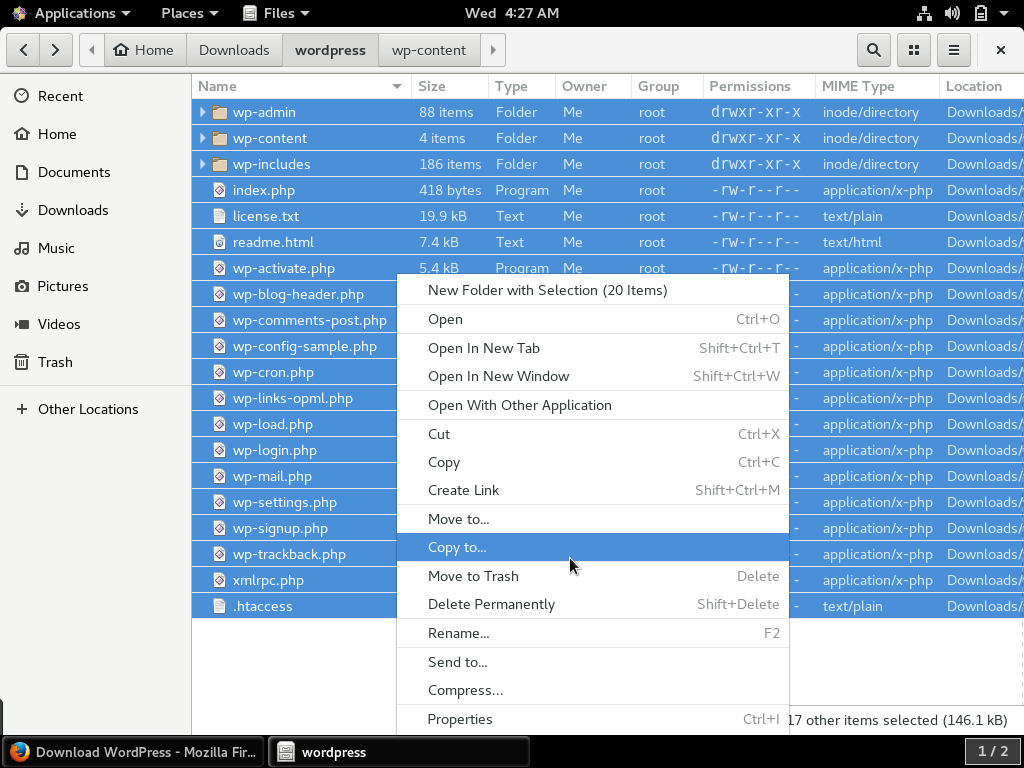
- There are 3 different ways to do this: 1. Copy (CTRL + C), 2.Right click & copy OR 3. Right click and select COPY TO
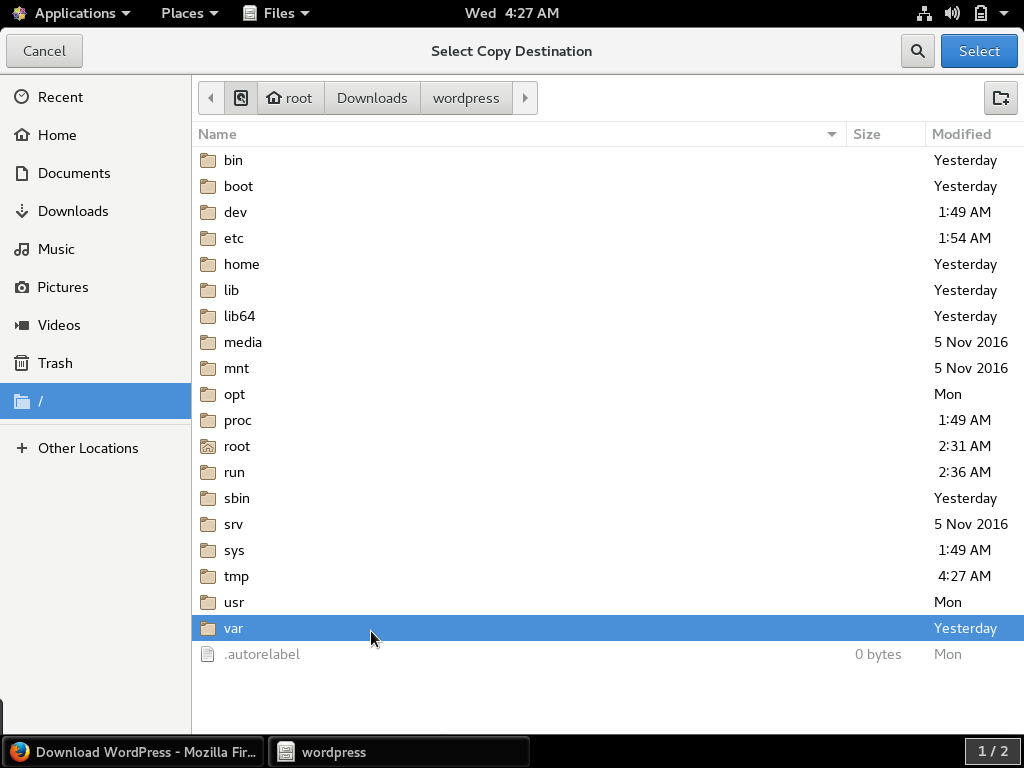
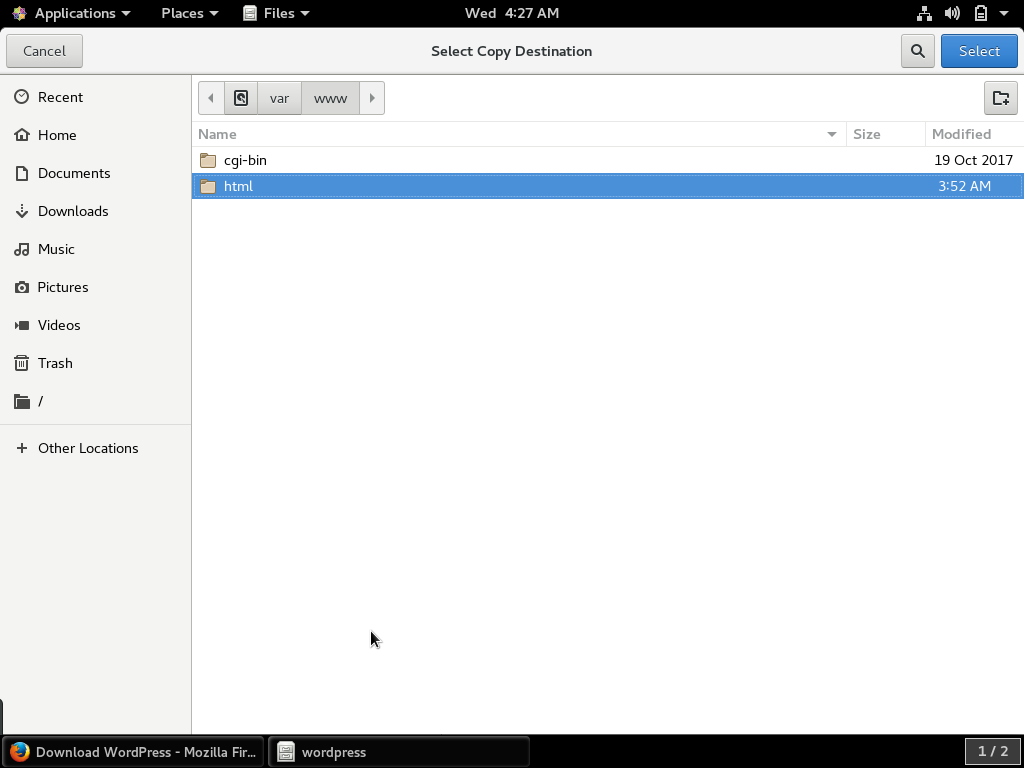
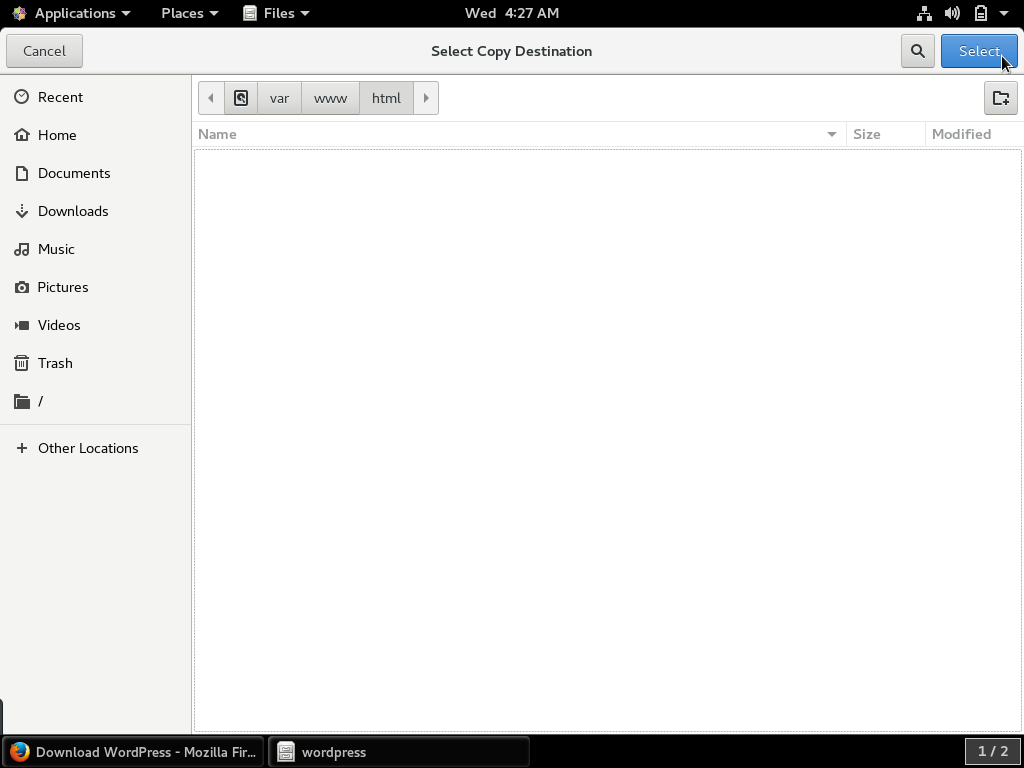
- Navigate to /var/www/html and then click SELECT
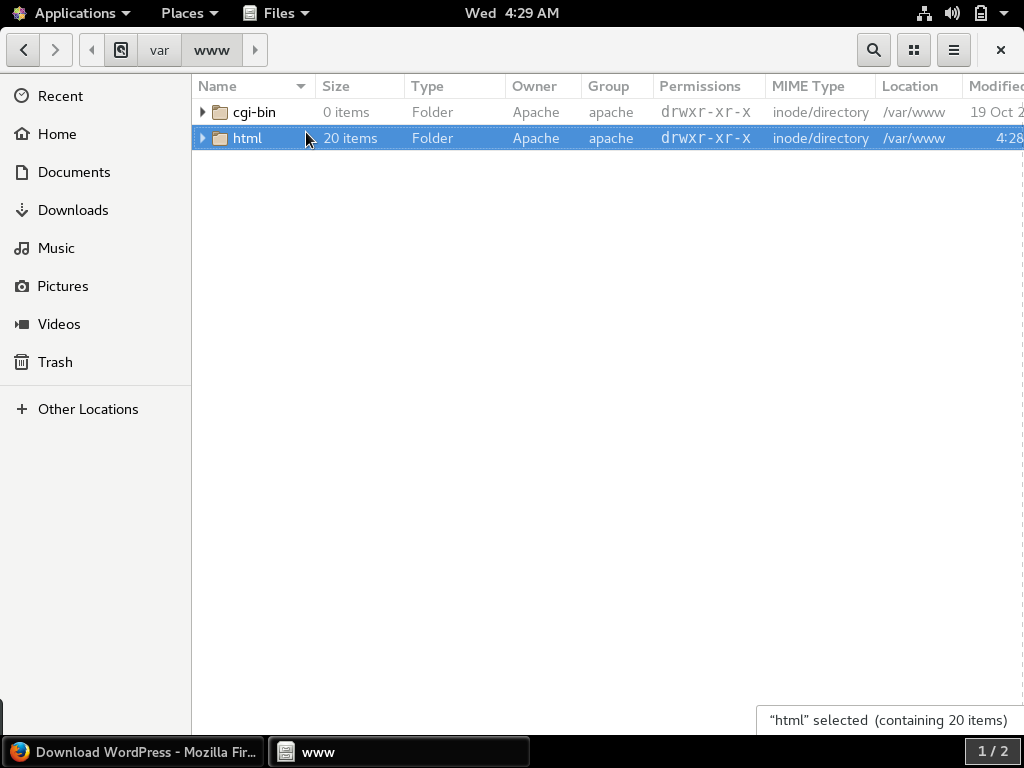
- Now we navigate to /var/www/html using the file explorer Files by clicking Other Locations
- Click Computer
- Click var
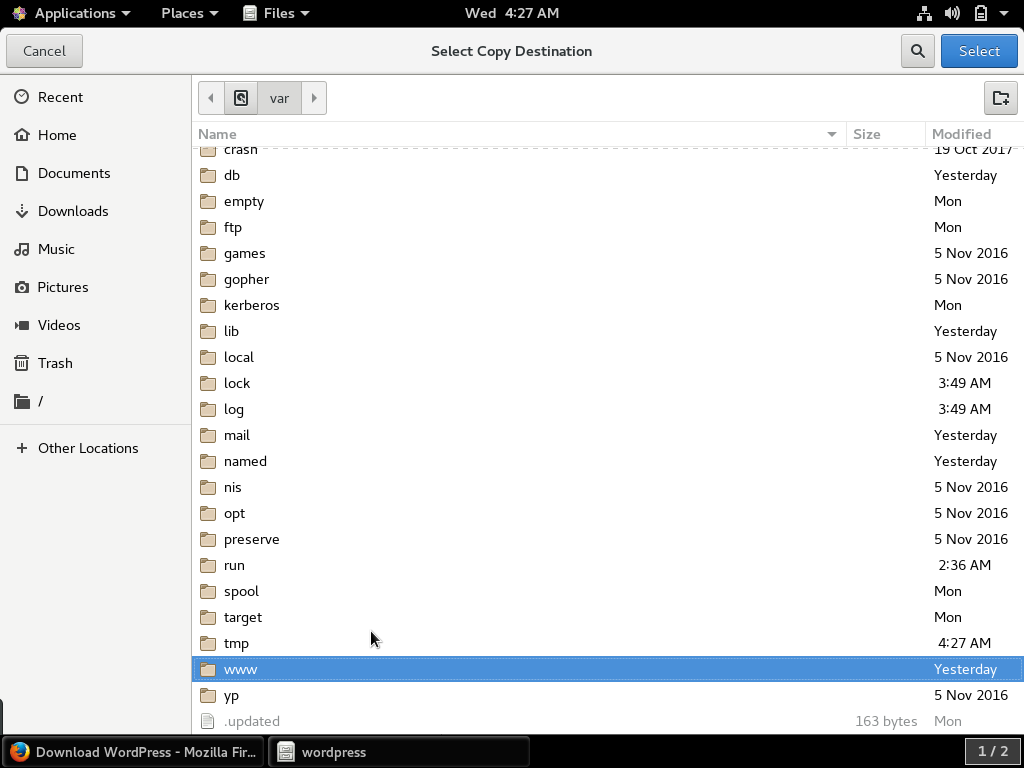
- Click www
- Click html
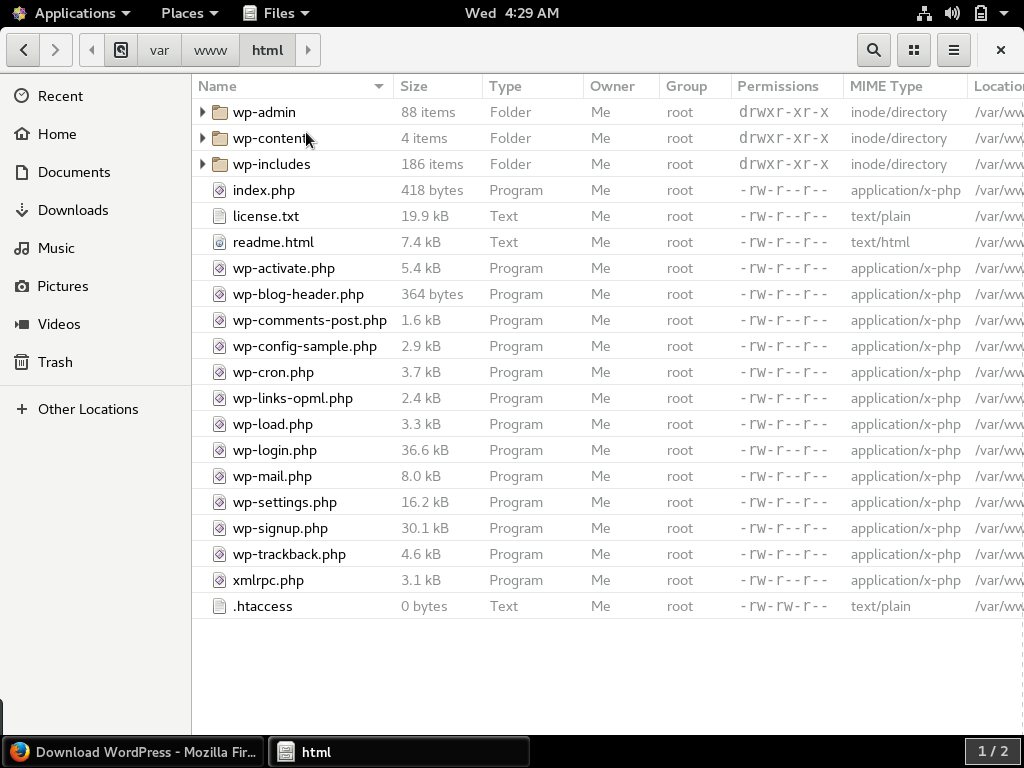
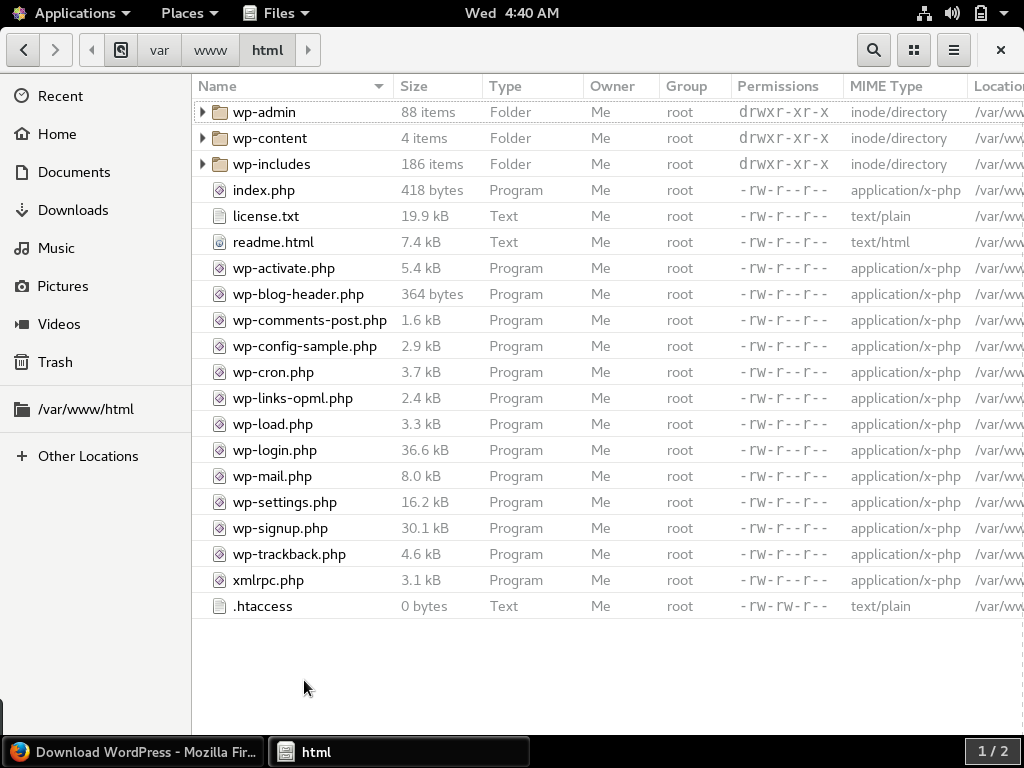
- We see all the WordPress files have been copied to the /var/ww/html directory
We need to change the owner & group from its current owner root to Apache
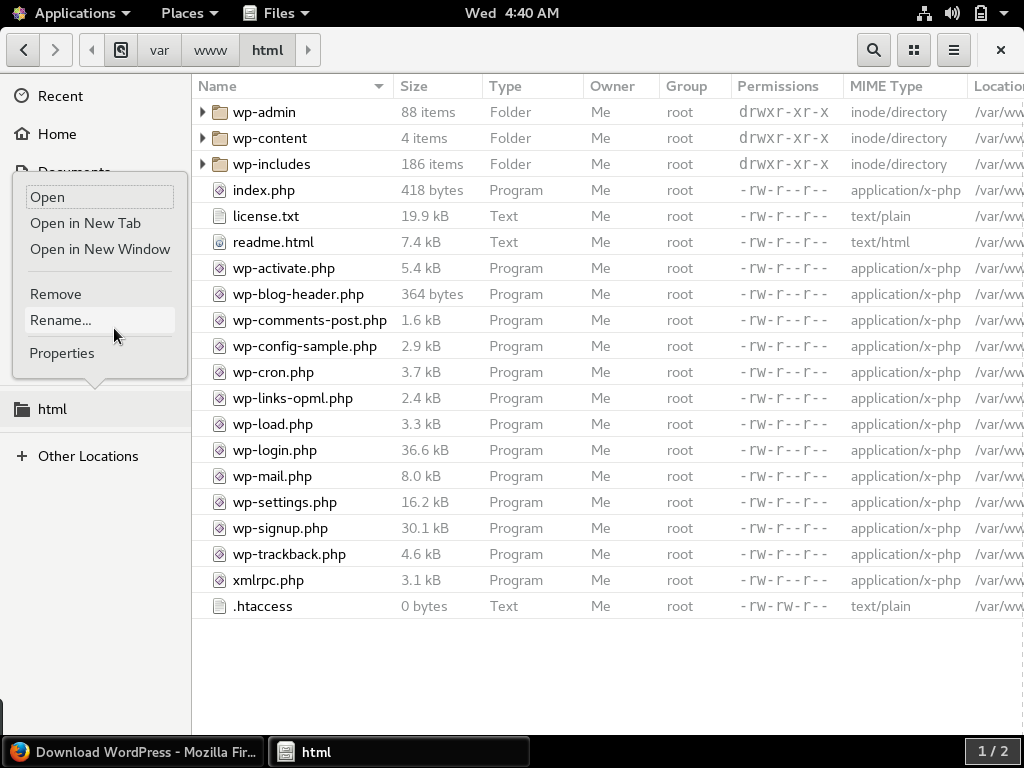

- We can bookmark any location by pressing CTRL + D
- I have bookmarked /var/www/html, but the shortcut appears as html, I like to see the full path in the shortcut so I rename it to /var/www/html
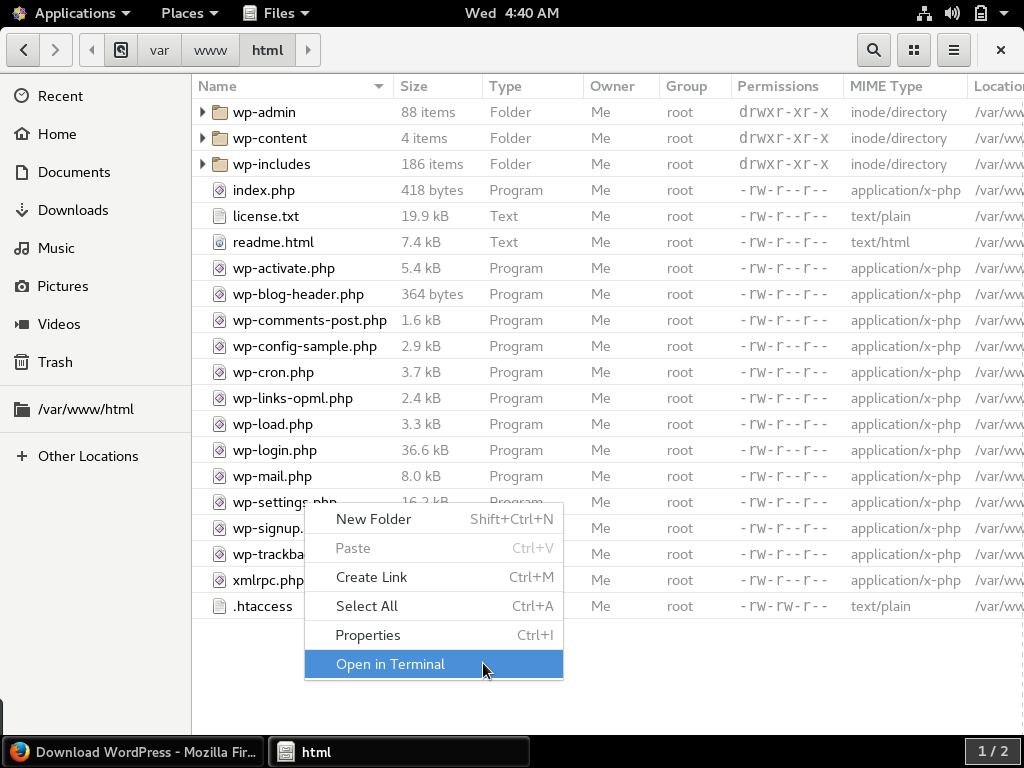
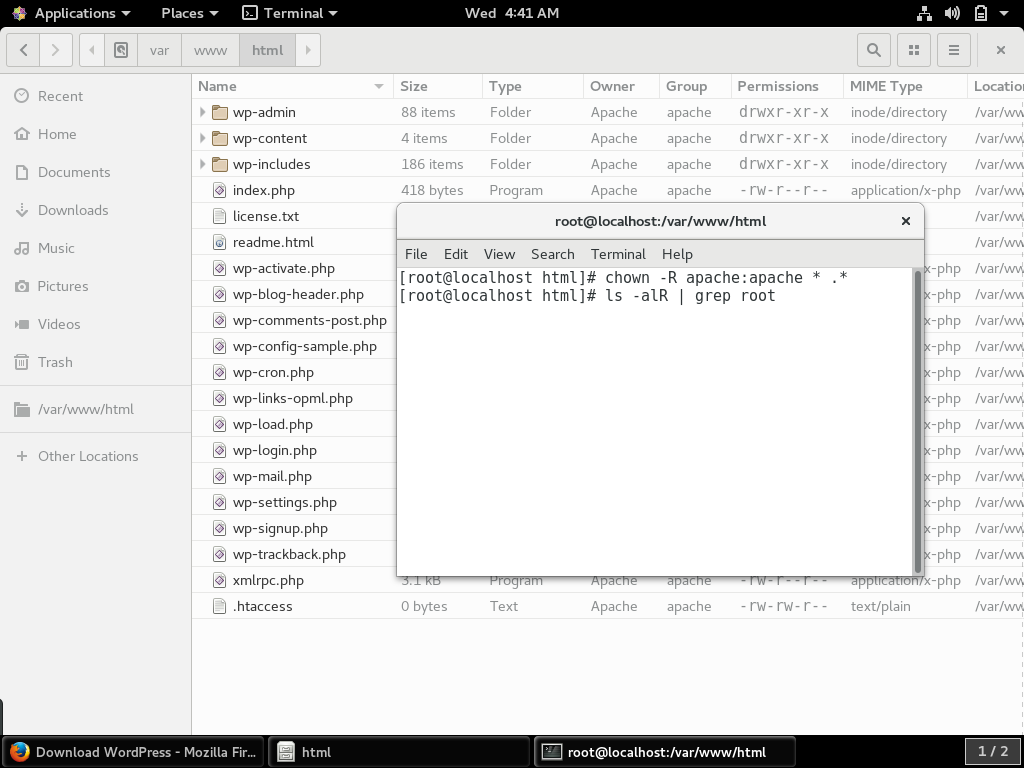
- Right click in the white space and select Open in Terminal
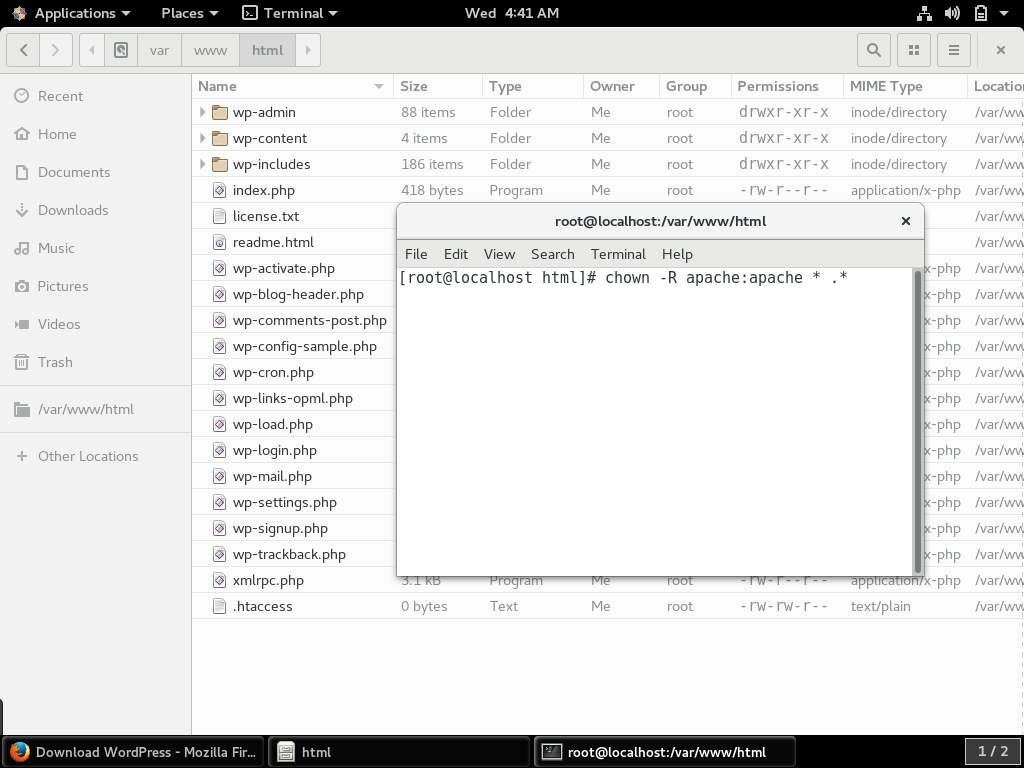
- We change permissions recursively for every file in /var/www/html using the following command: chown -R apache:apache * .*
- You can see the permissions changed in the screenshot, to double check that root doesn’t own any files you can run the following command: ls -alR | grep root
- The command ls -alR | grep root lists all files recursively in the current folder, and then checks to see if root appears on any line, root doesn’t appear so we are perfect.
Before we begin the WordPress installation we need to make a couple of edits to make to the following files: httd.conf & php.ini
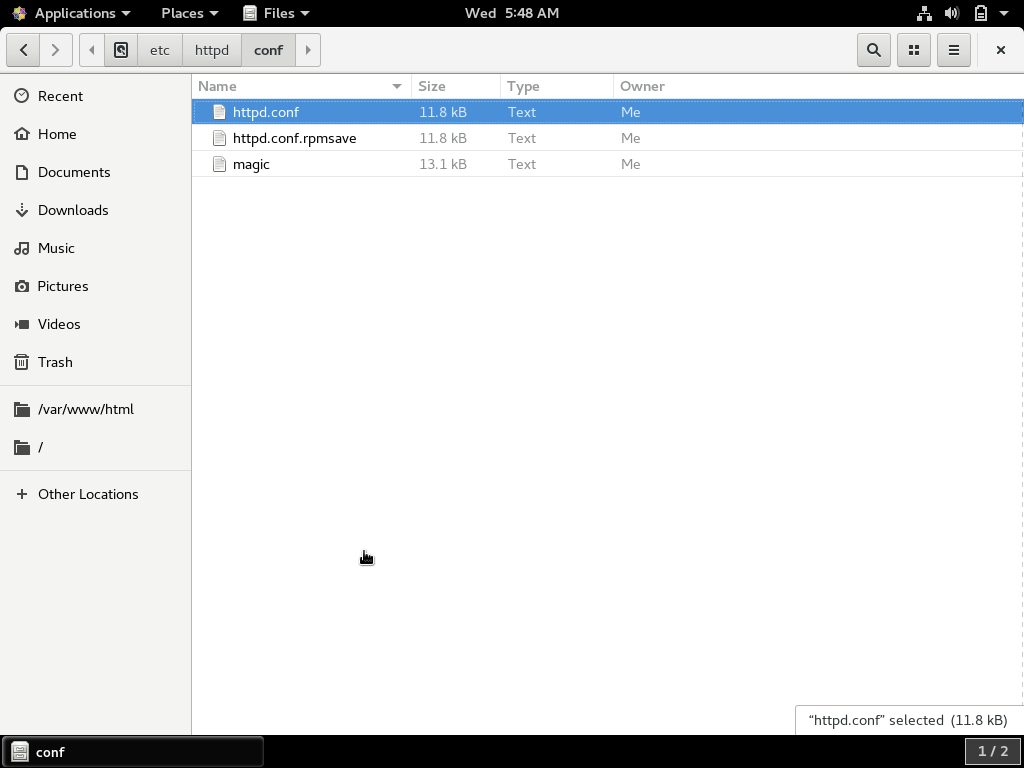


- Navigate to /etc/httpd/conf, or you can search for this from the / directory by simply typing httpd.conf
- Double-click httpd.conf and it will open in the text editor Gedit
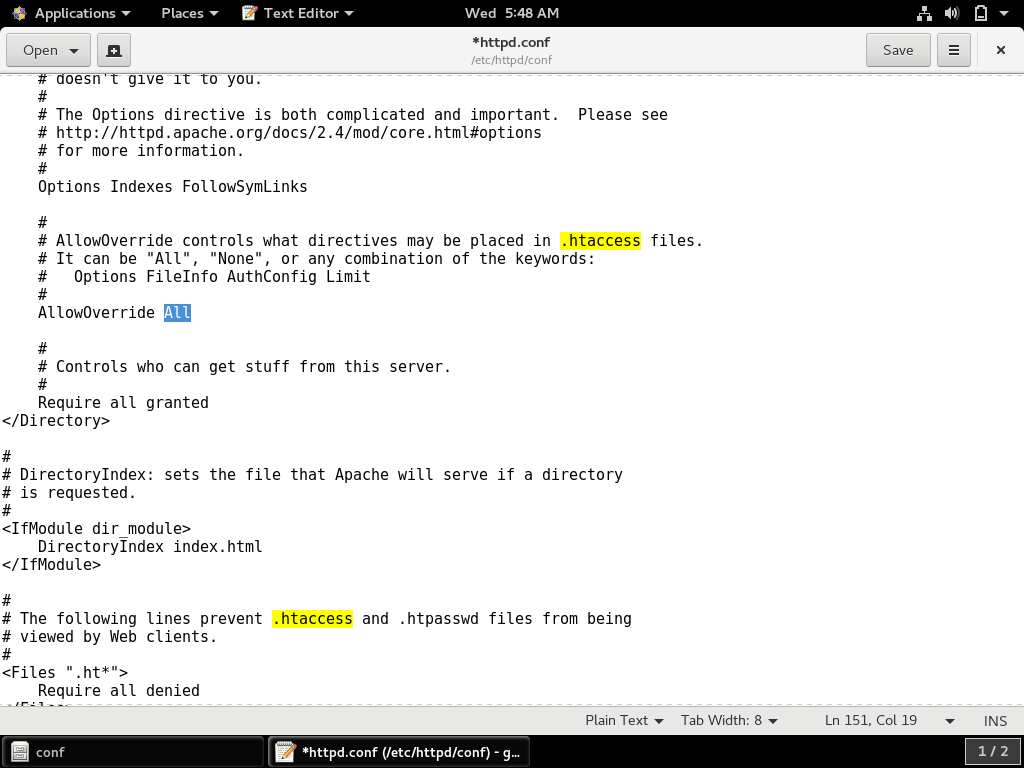
- Search for .htaccess using (CTRL + F), use the up/down arrows to go to the next instance found using the find function, and enter edits the selection found
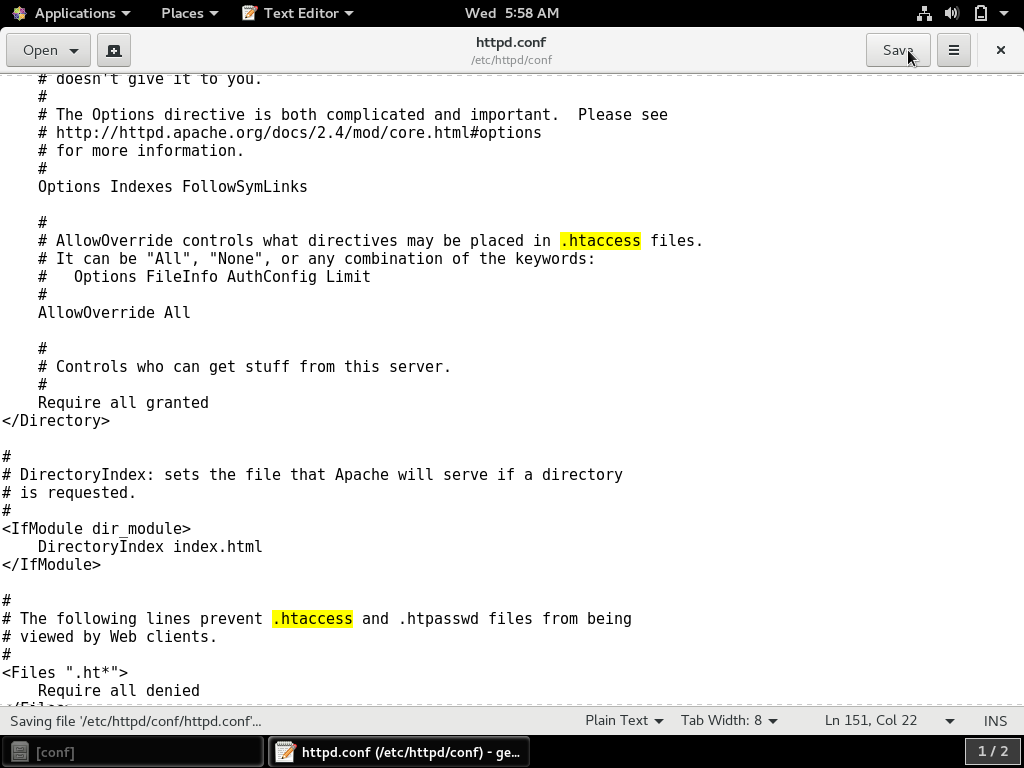
- We will change AllowOverride None to AllowOverride All
- Be sure to Save the file (CTRL + S)
Next we want to make a couple edits to the php.ini file
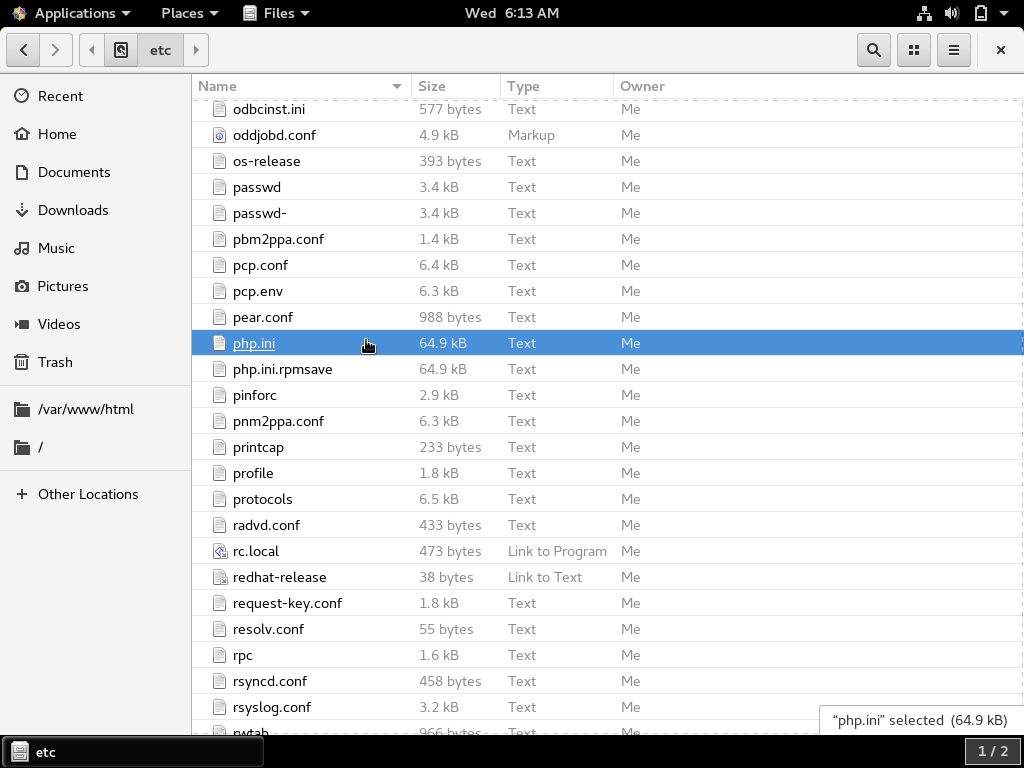


- Edit the php.ini file, found in the /etc folder, or you can search for this file from the / directory by simply typing php.ini
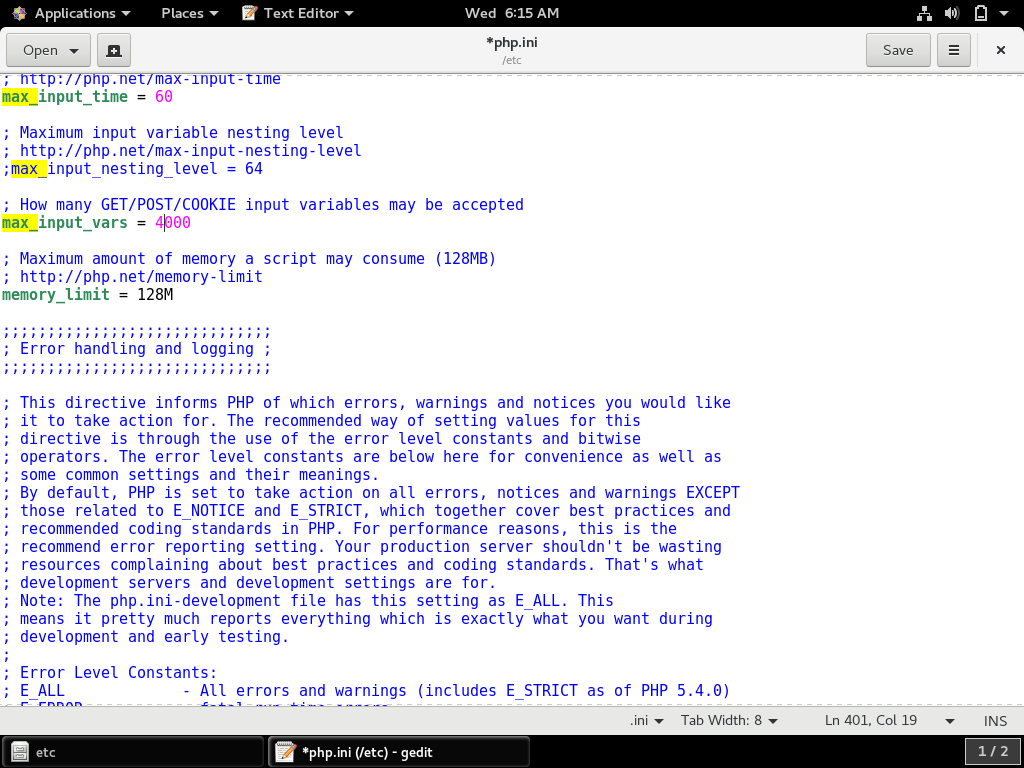
- After opening the php.ini file search for max_ using (CTRL + F), use the up/down arrows for the next instance using the find function, enter edits the selection found
- Uncomment max_input_vars by removing the ; at the beginning of the line and change the value from 1000 to 4000
- Change memory_limit to 1024M, this will prevent a script from consuming no more than 1GB of RAM, yet give more than enough RAM access to any script
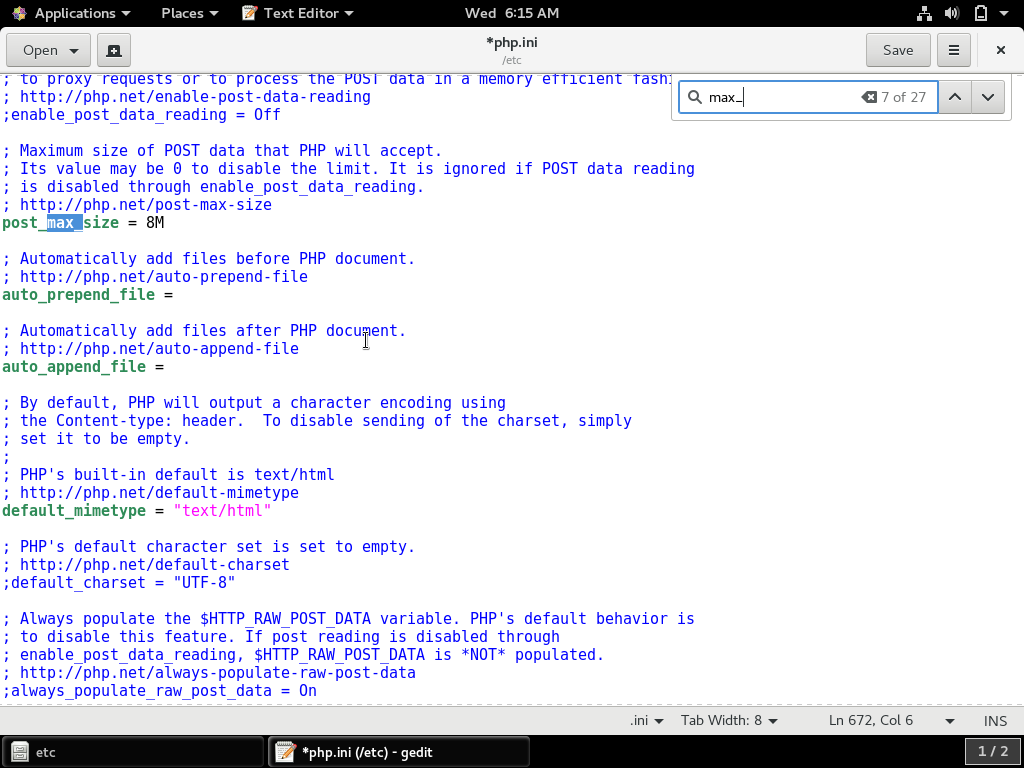
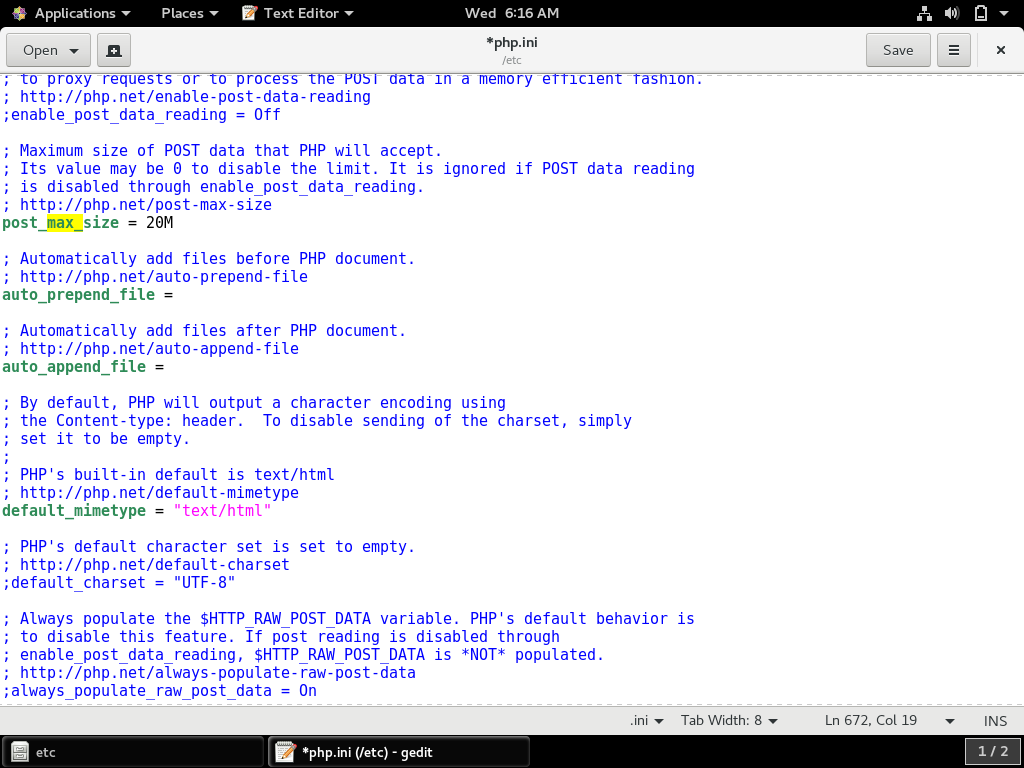
- Continue your search for max_, locate post_max_size and change the value to 20M
- Continue your search for max_, locate upload_max_filesize and change to 20M
We need to create a database for WordPress.


- Open Firefox on the Web Server
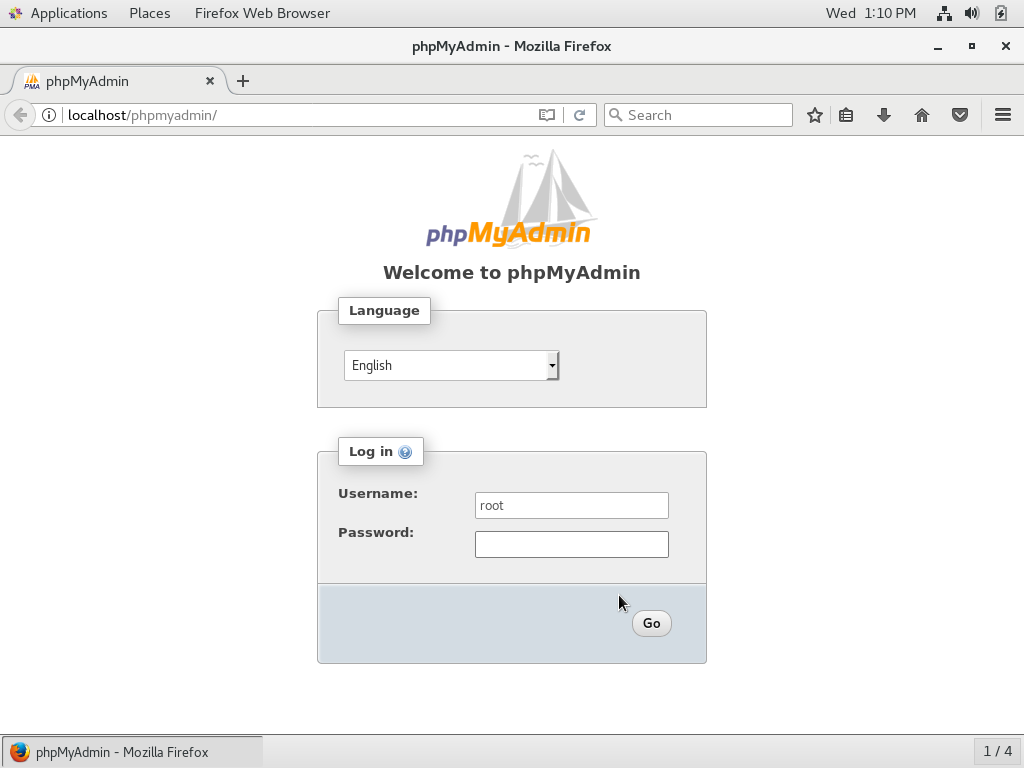
- Navigate to https://chrislramirez.com/phpmyadmin
- Enter root and then enter your password
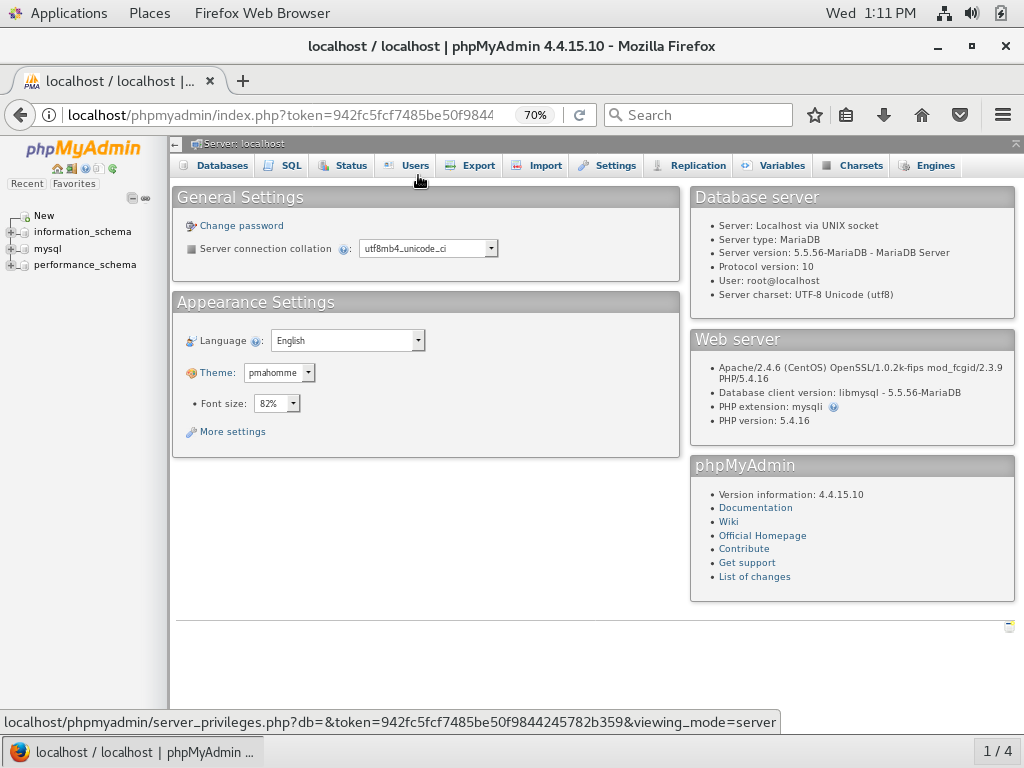
- Now that you have logged in, click Users
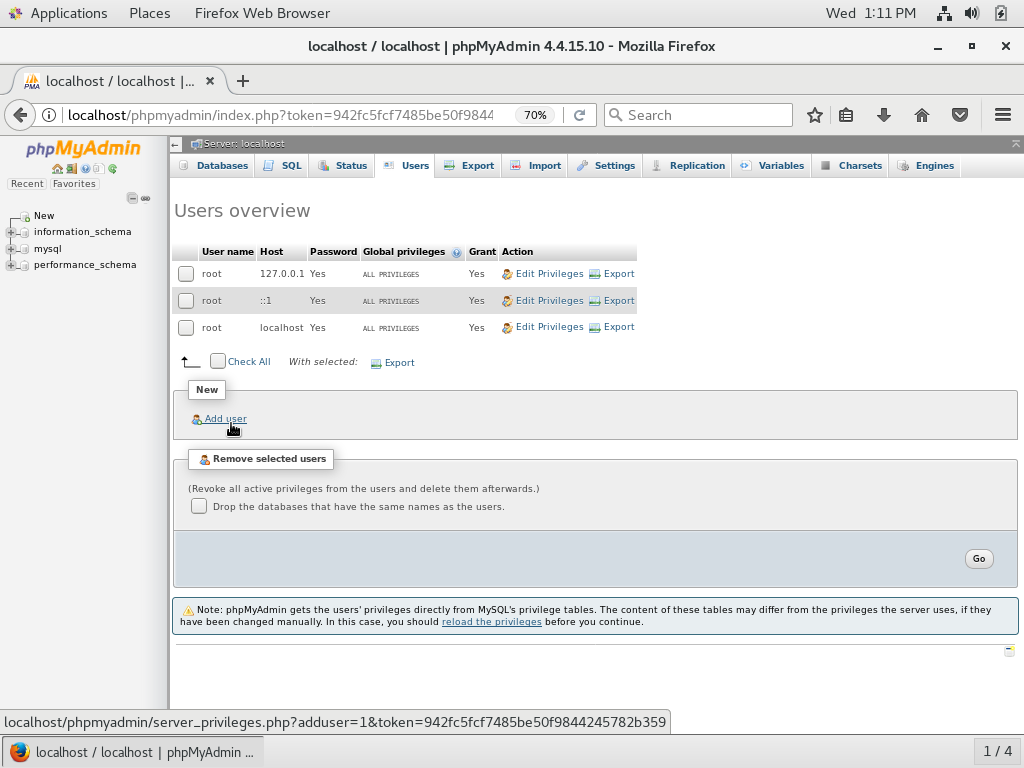
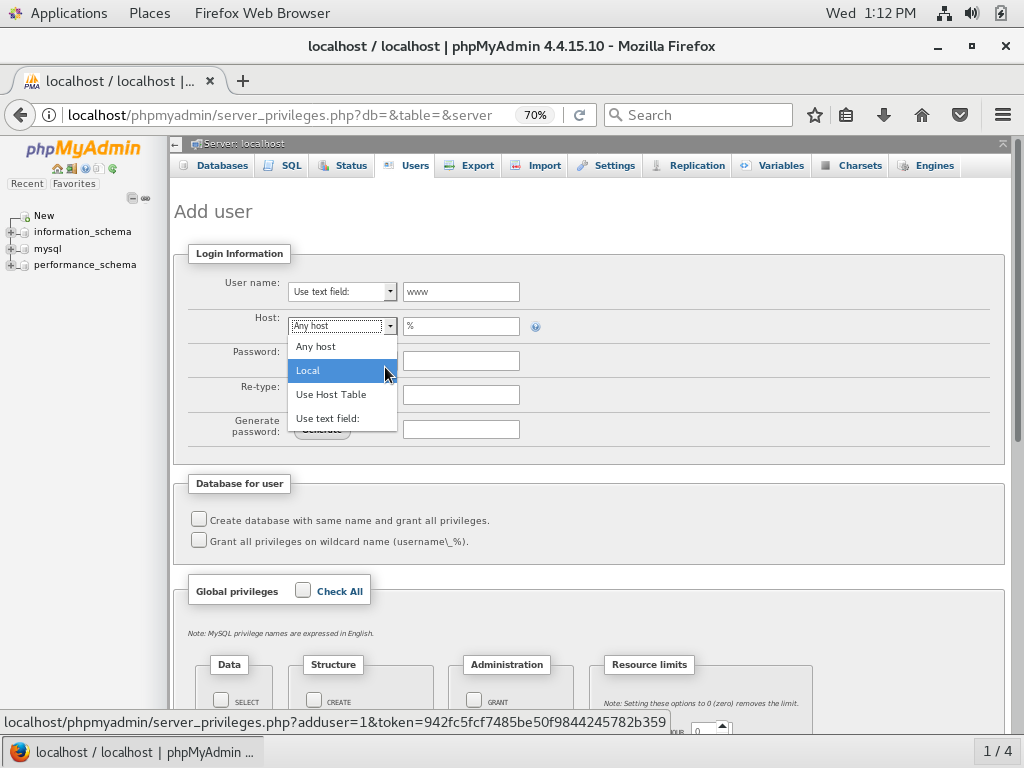
- Click Add user
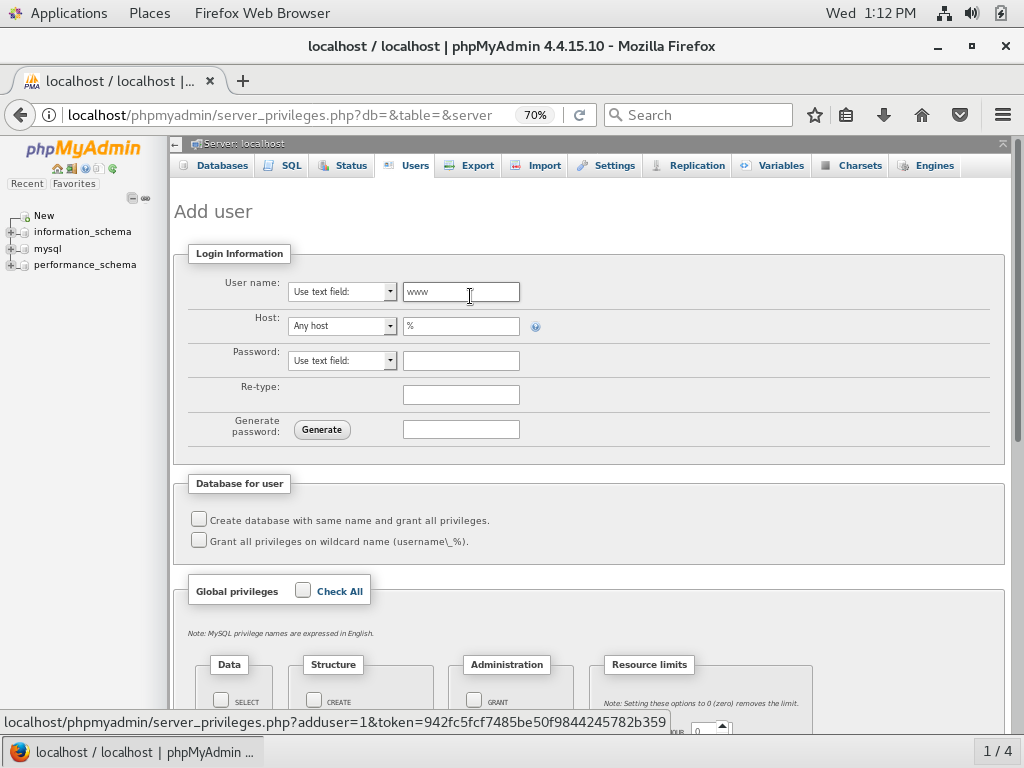
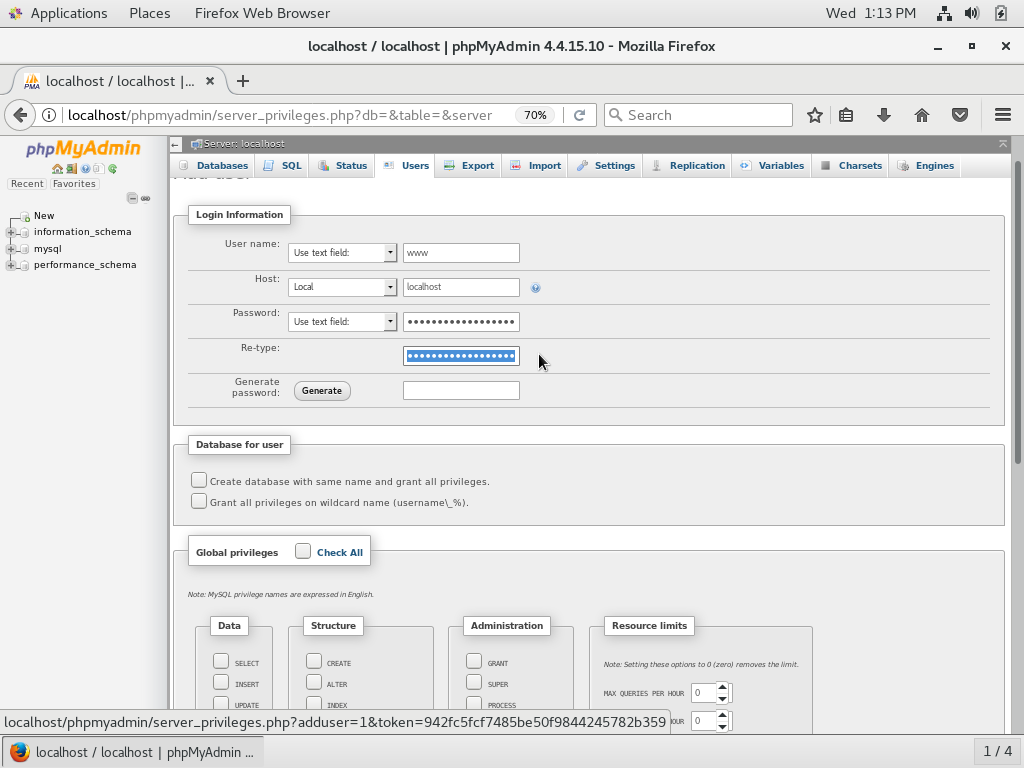
- Enter www as the username
- Click the drop-down for host and choose Local, it will change the box to localhost
- Enter a strong password and confirm it
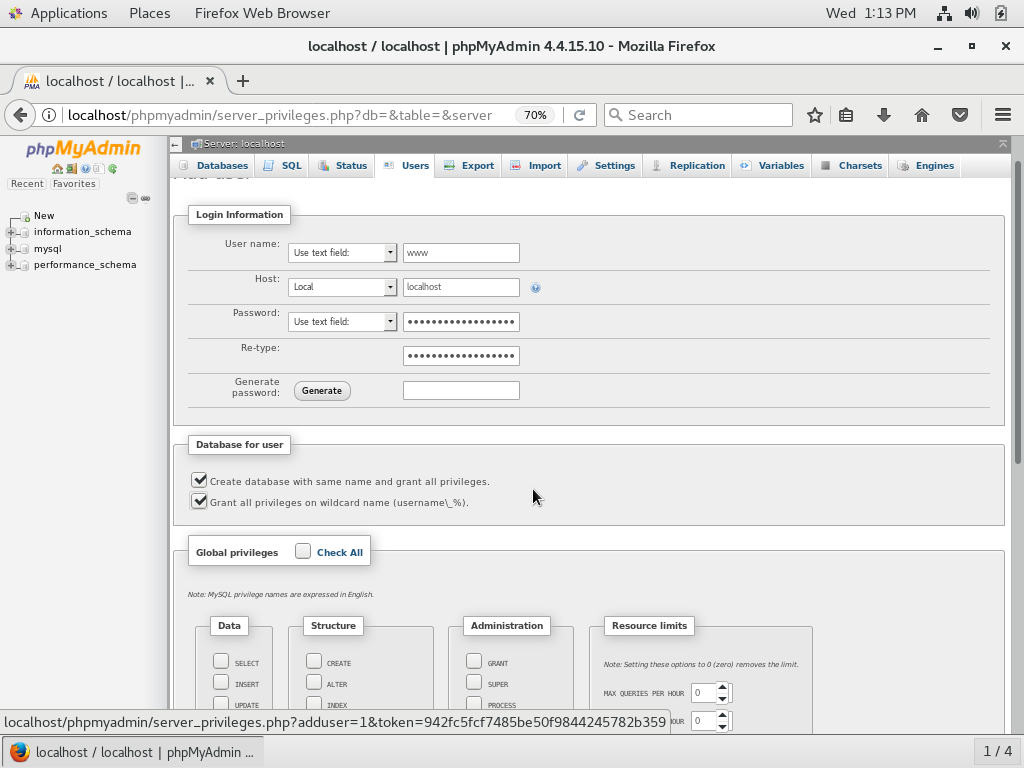
- Check both boxes in the Database for user section
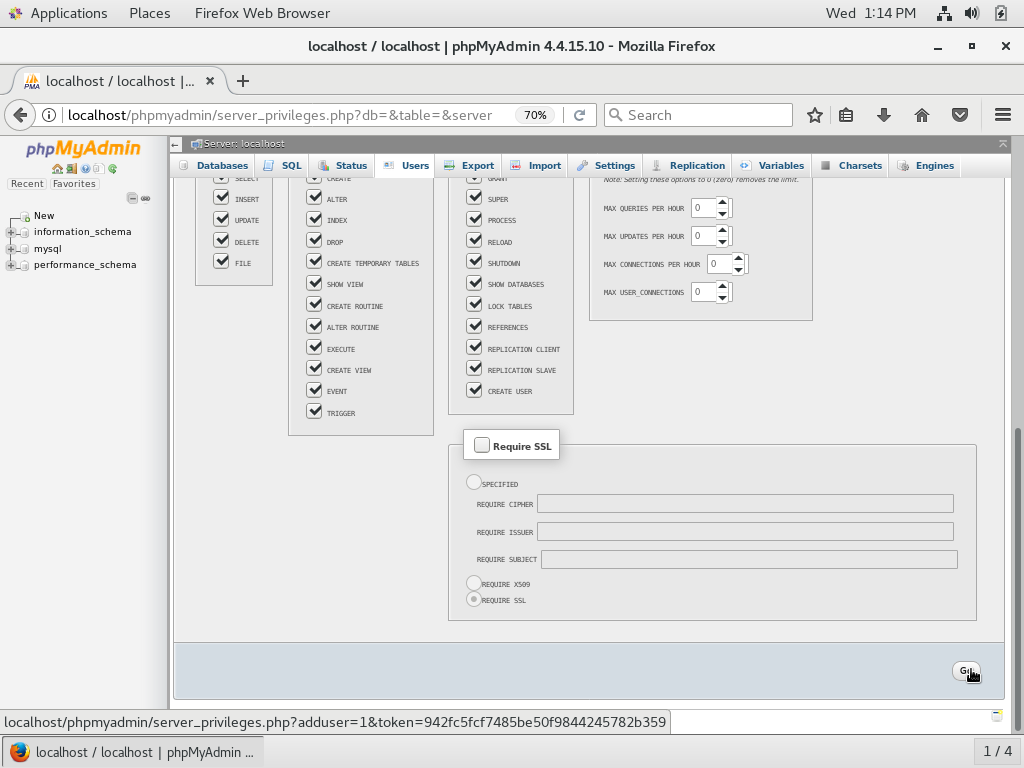
- Click the box Check All in the Global Privileges section
- Scroll to the bottom and click Go
- You will see a green bar with the notification You have added a new user
Finally, we can perform the WordPress installation by going to https://chrislramirez.com from the web server itself or we can perform the WordPress installation by navigating to the web server’s IP address from the web server itself or from another computer on our network using the web server’s IP address (or hostname if you have set up DNS in your network).

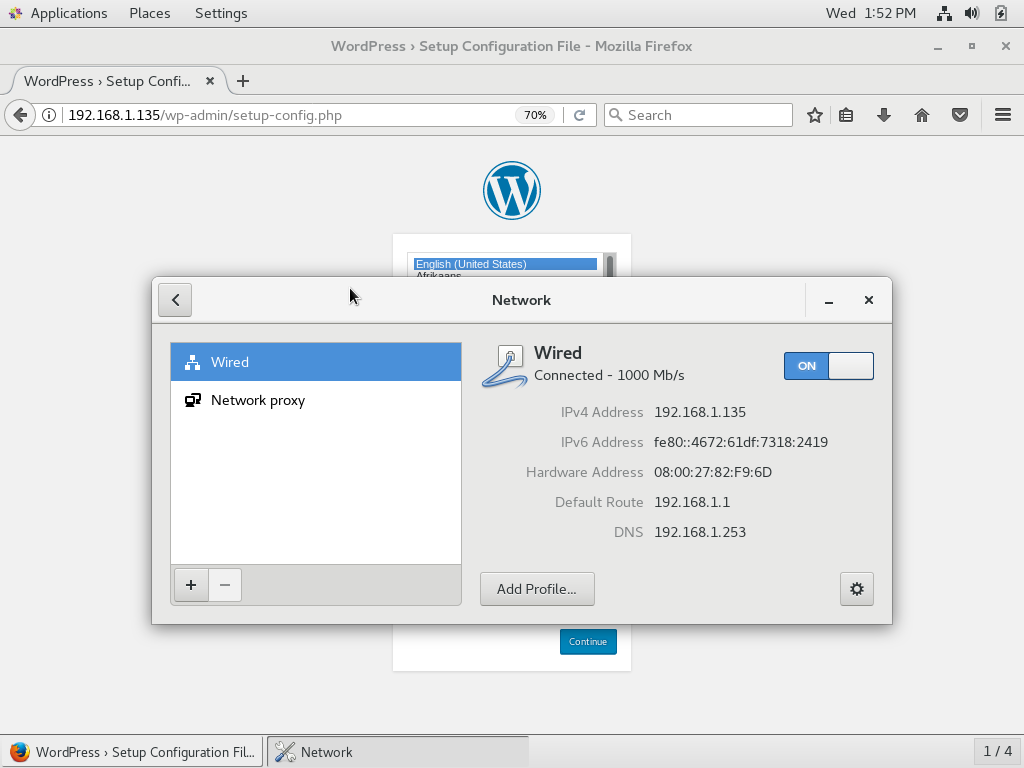
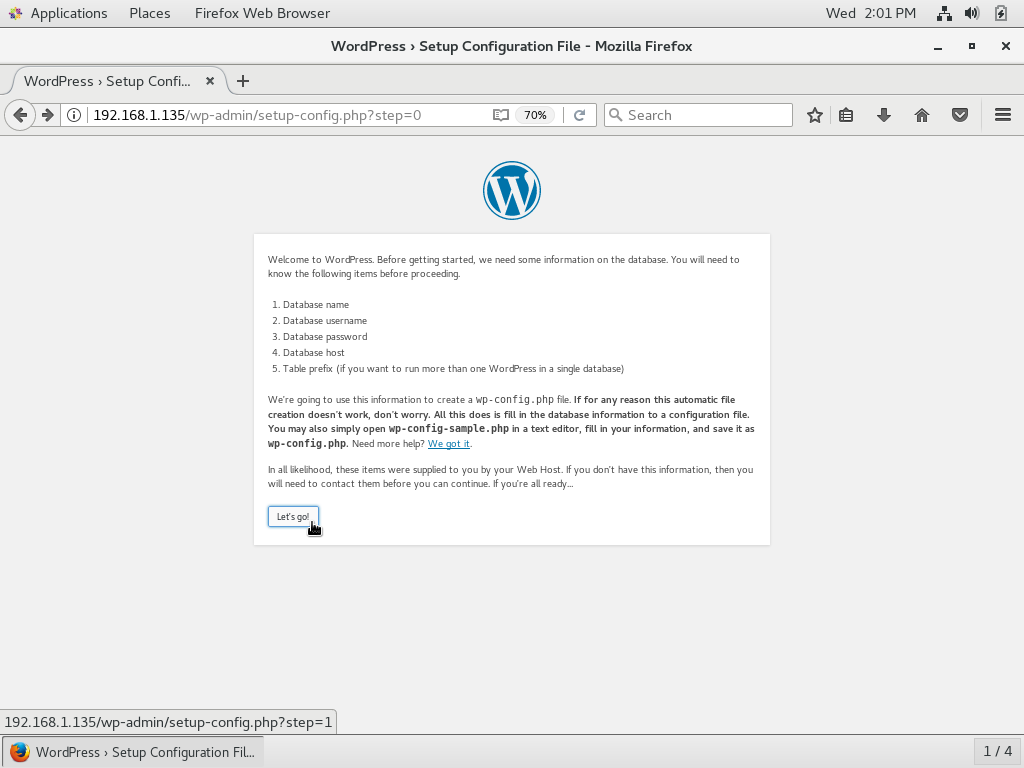


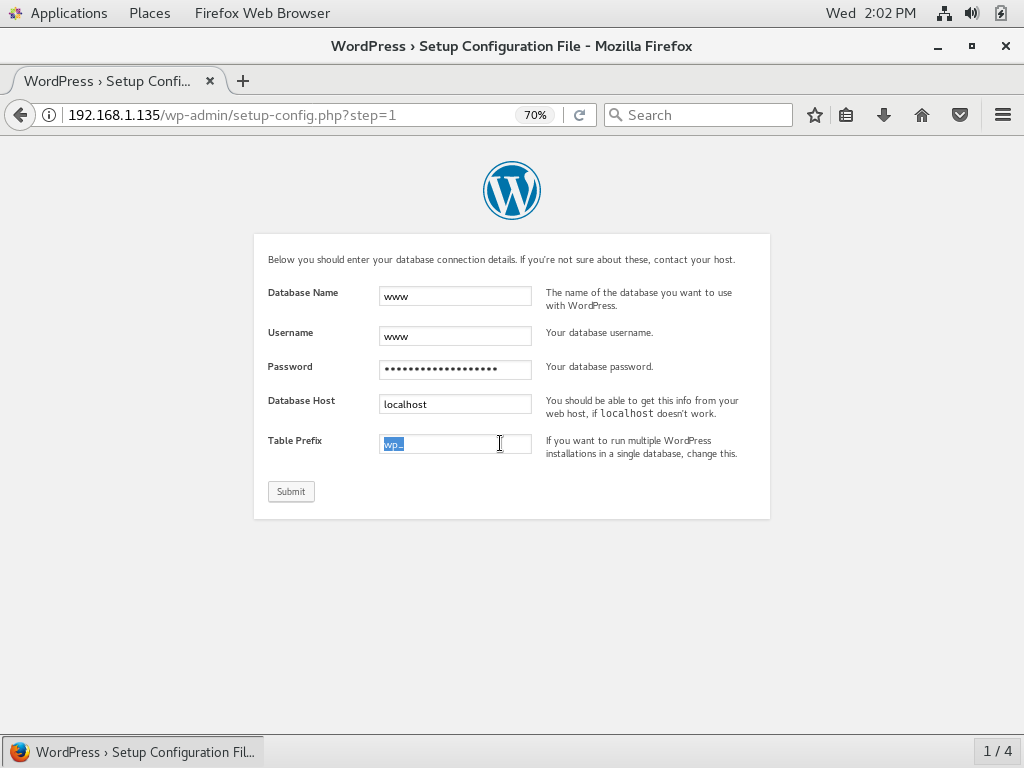


- The first screenshot illustrates beginning the installation from another computer on my network, and the second shows beginning the installation from the web server
- Click Let’s go! on the initial screen
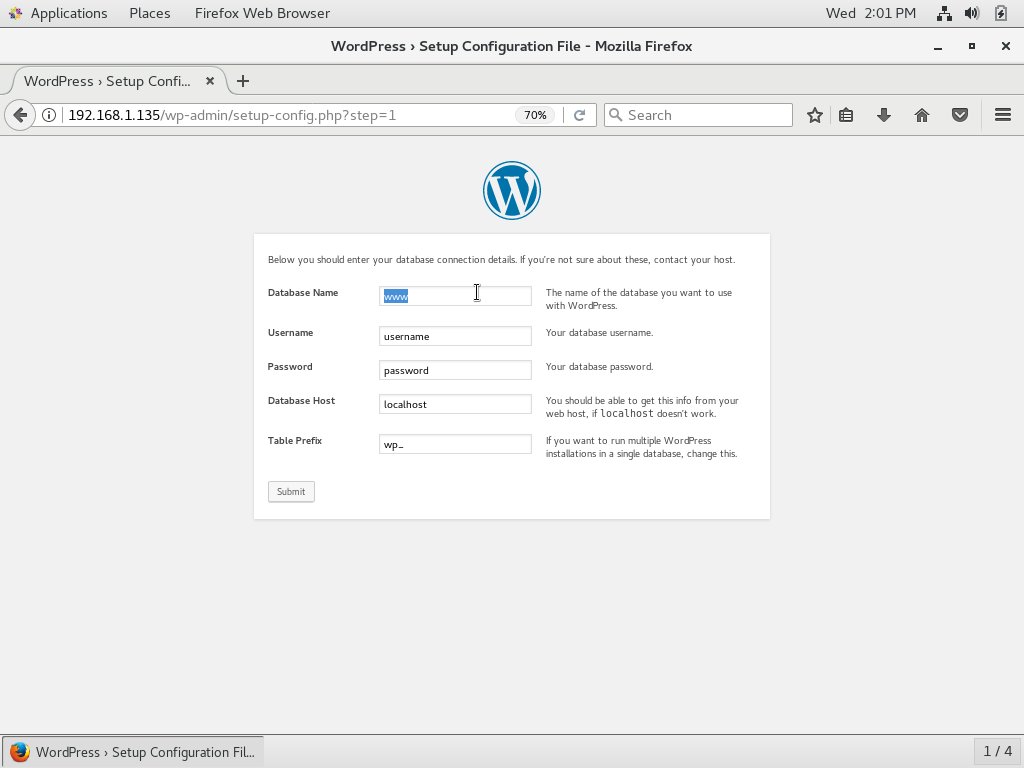
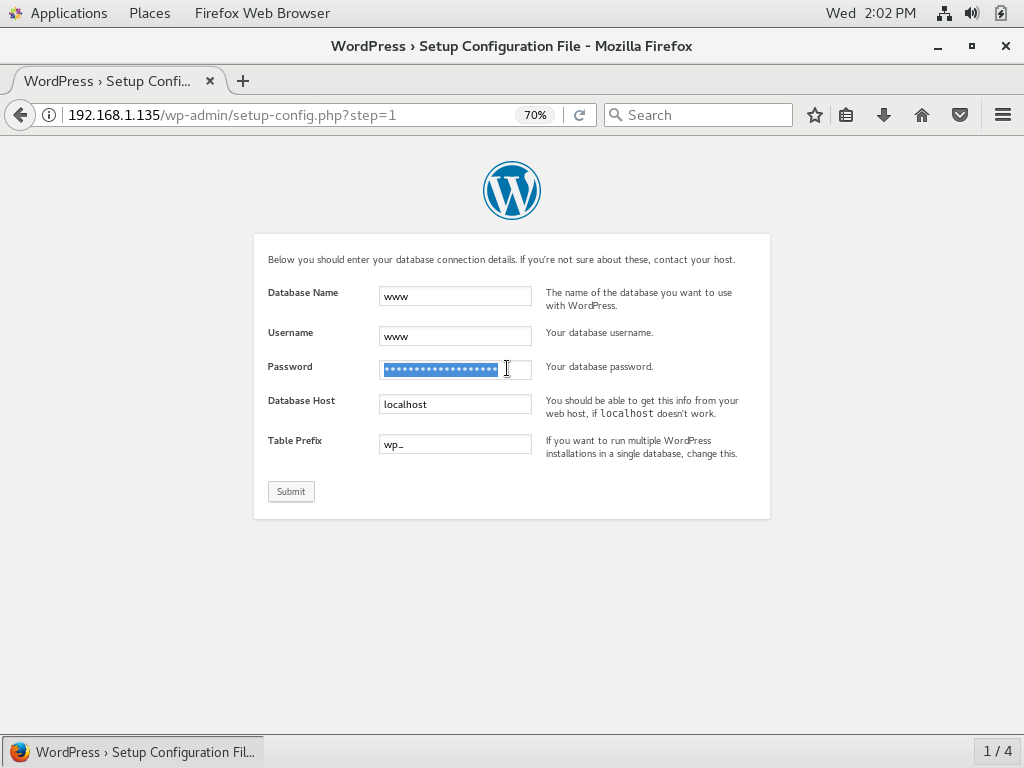
- Enter the Database Name: www
- Enter the Database Username: www
- Enter your password
- Database host: leave as localhost
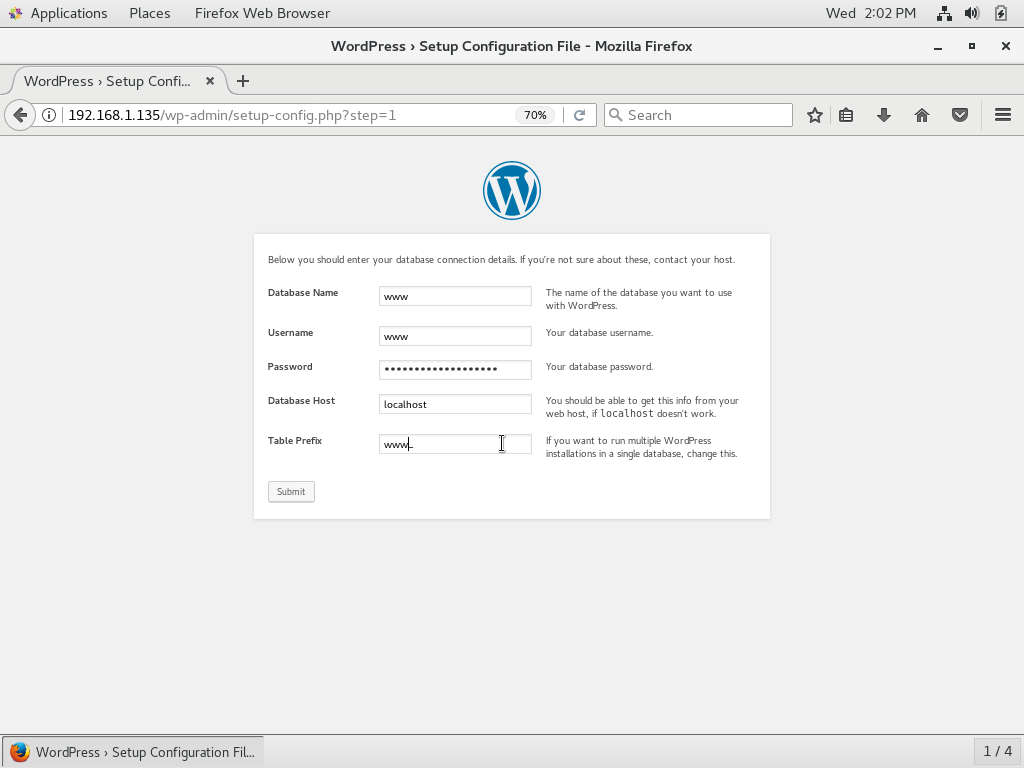
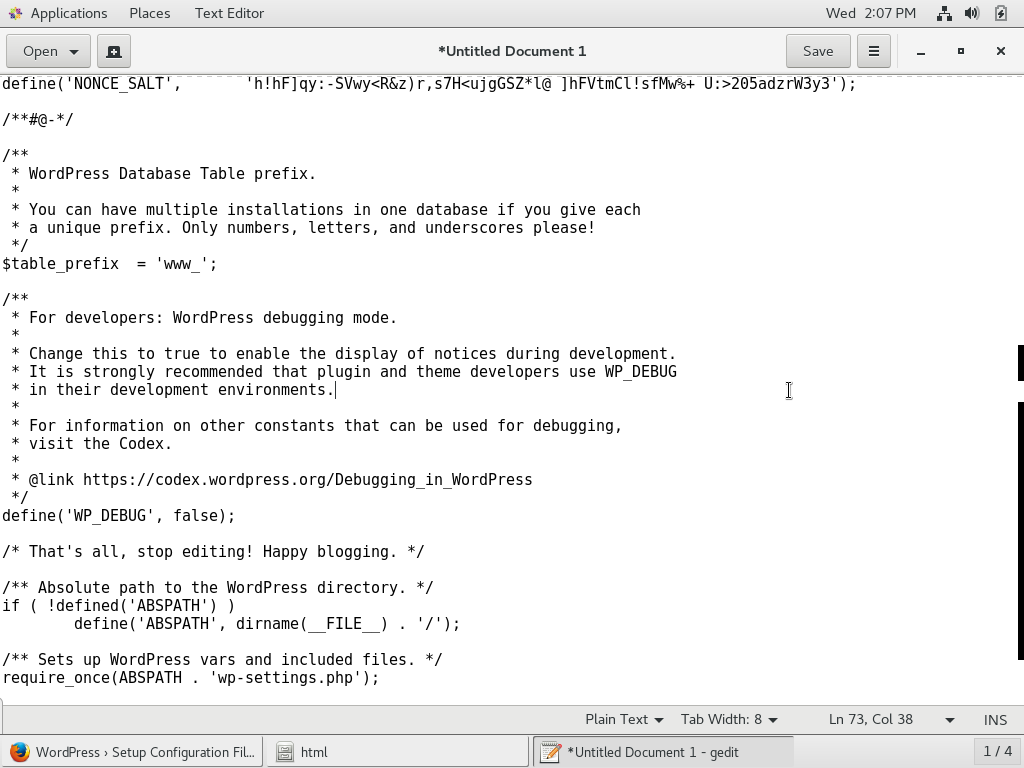
- Table Prefix: www_
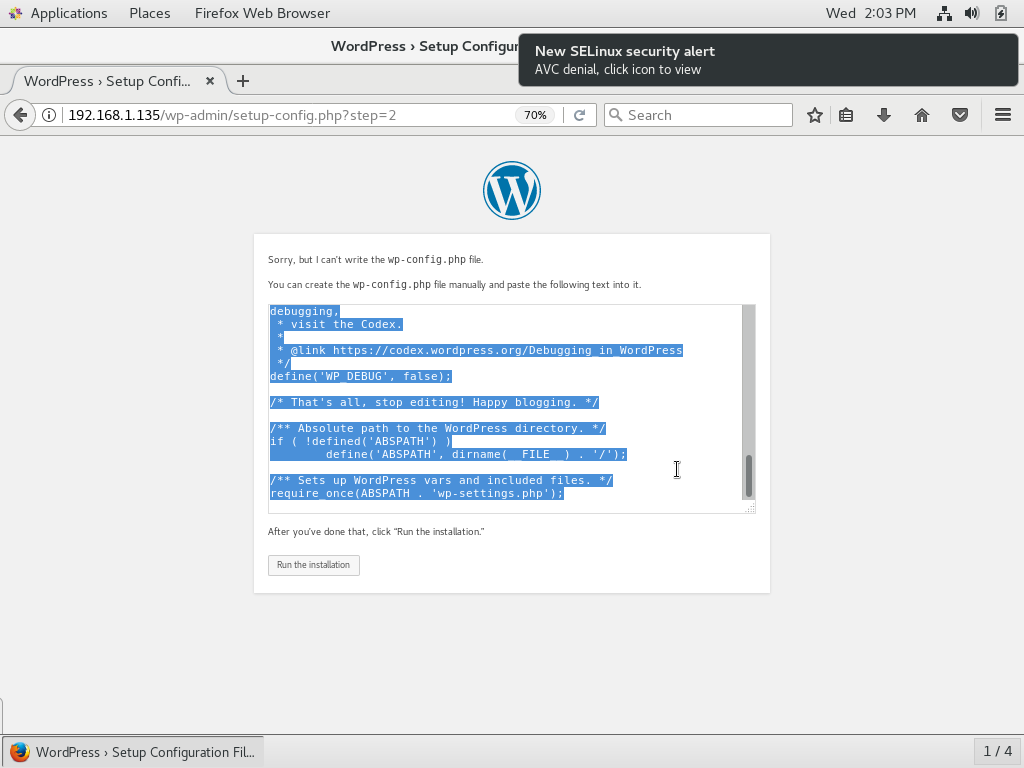
- We get a message that WordPress can’t create the wp-config.php file, and we see an alert from CentOS: New SELinux security alert. This is actually GOOD because it means SELinux is turned on and prevented a “potential attack” on our web server.
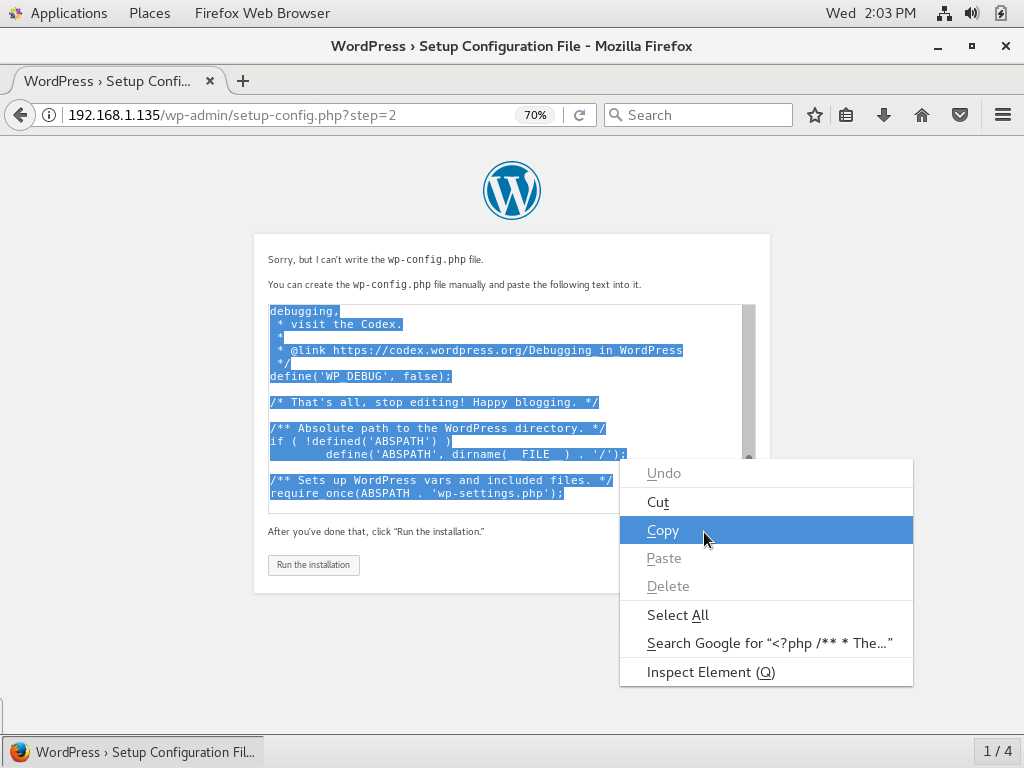
- Right-click and Copy the highlighted text
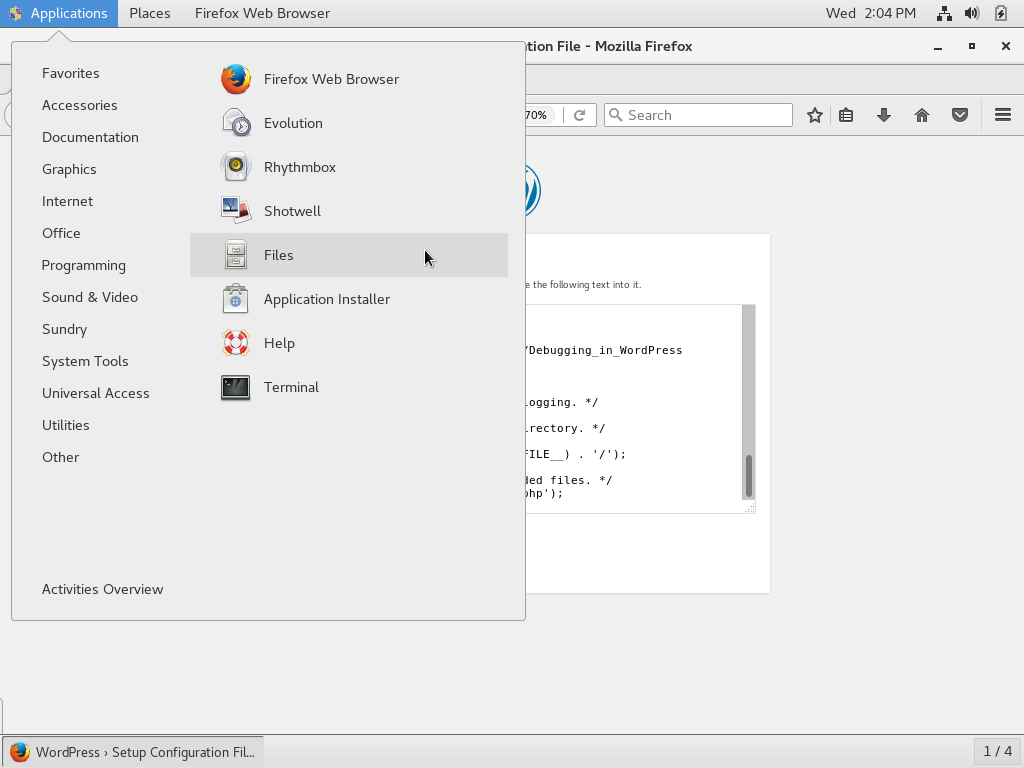
- Open /var/www/html using the “File Explorer” / Files
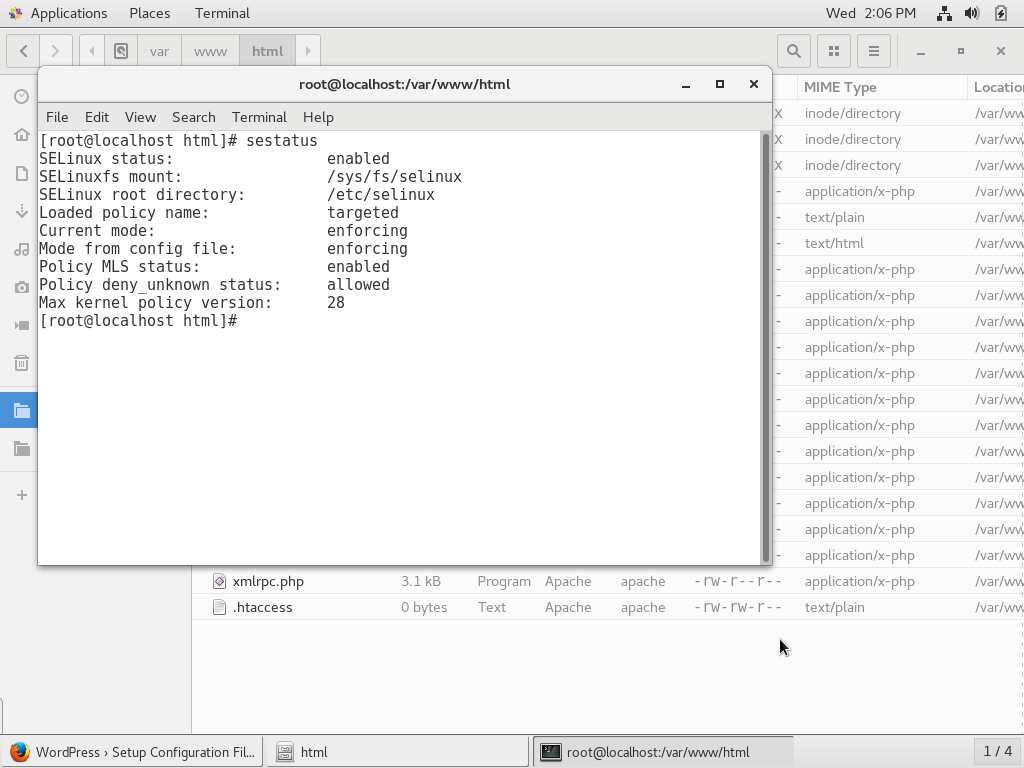
- Right-click in the white space and click Open in Terminal
- Type sestatus, and we see confirmation that SELinux is enabled and enforcing which is GOOD.
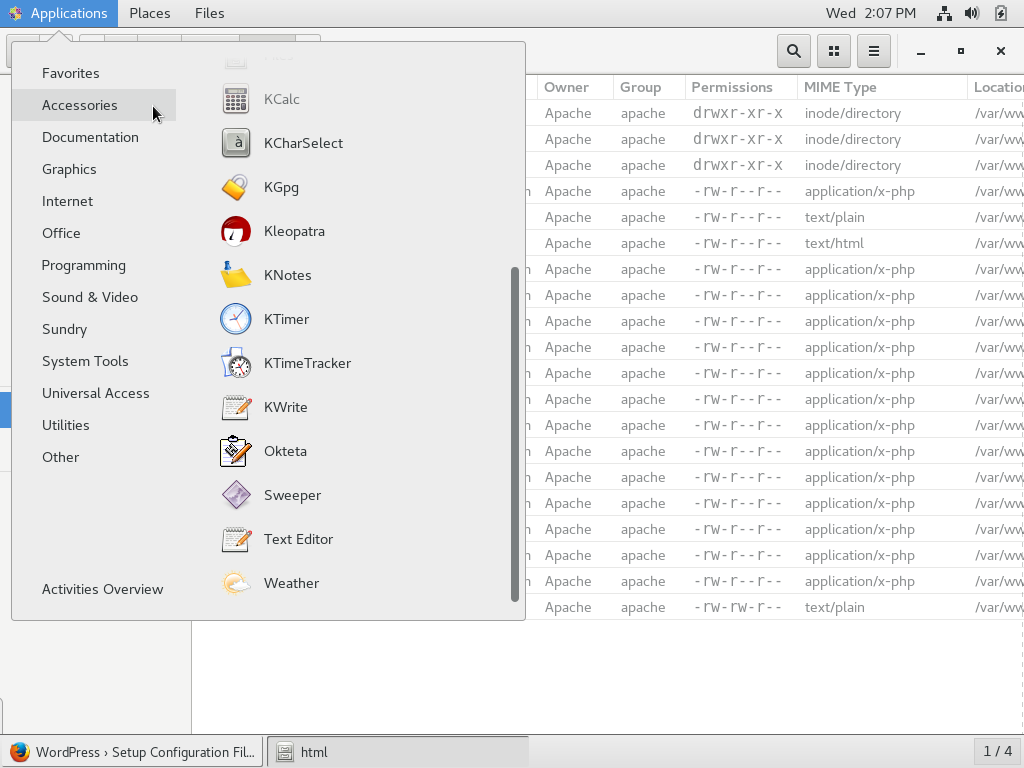
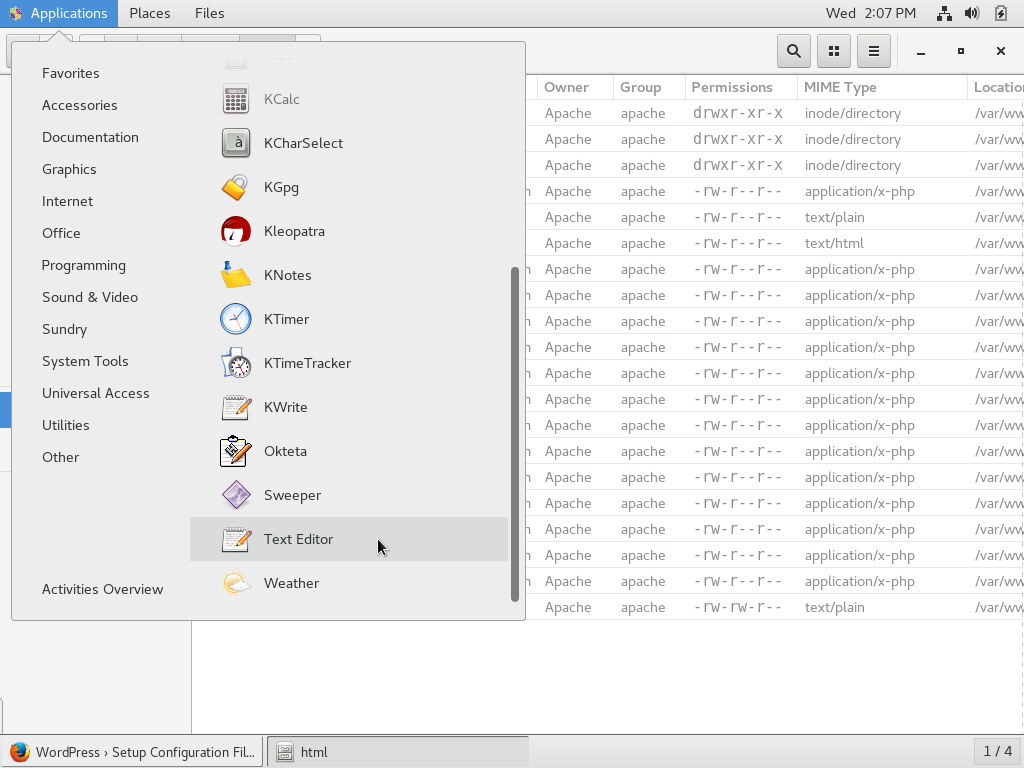
- Click Applications > Accessories > Text Editor
- Paste the content we have copied to our clipboard, and then click Save.
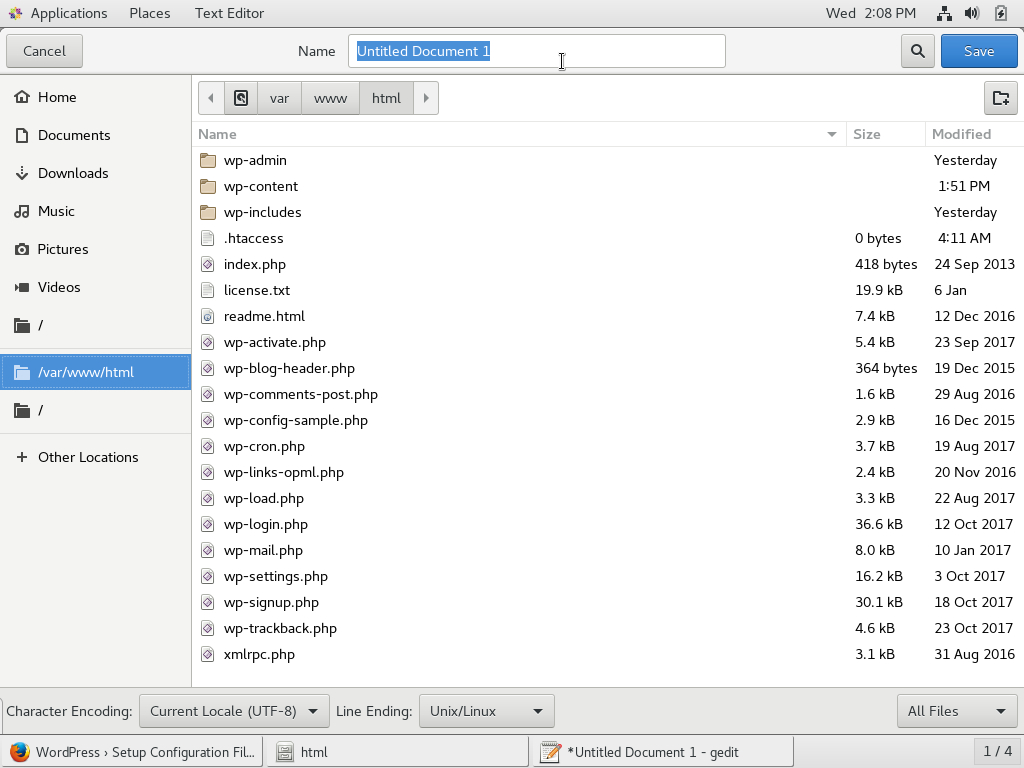
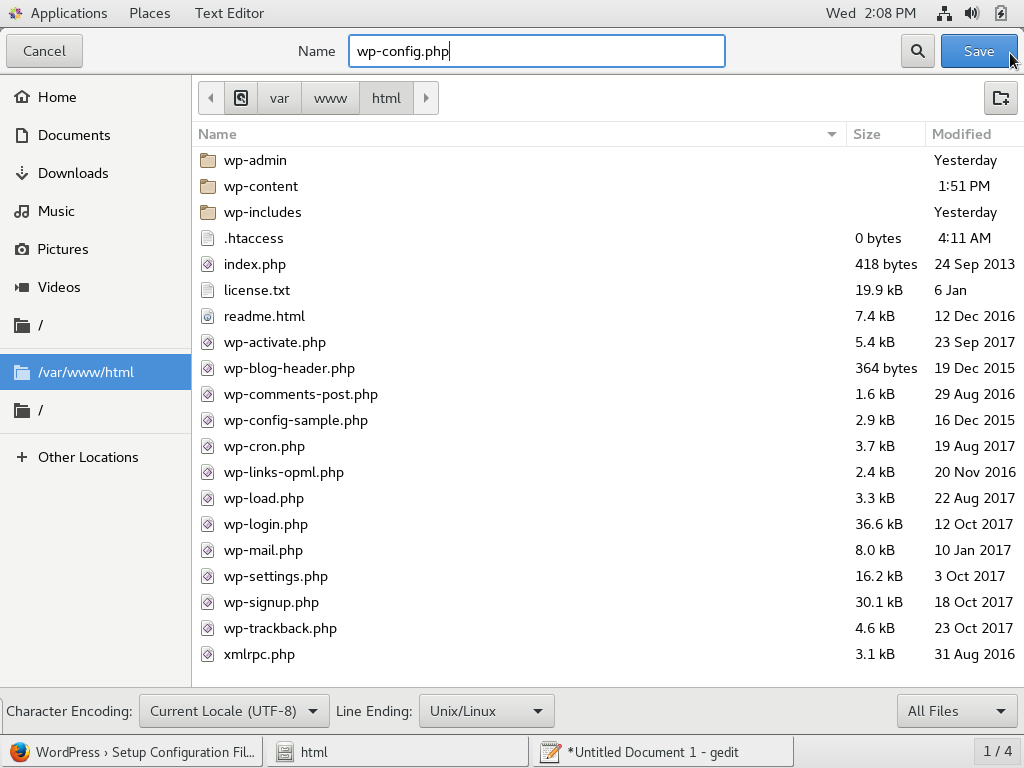
- Navigate to the /var/www/html directory and save the file as wp-config.php
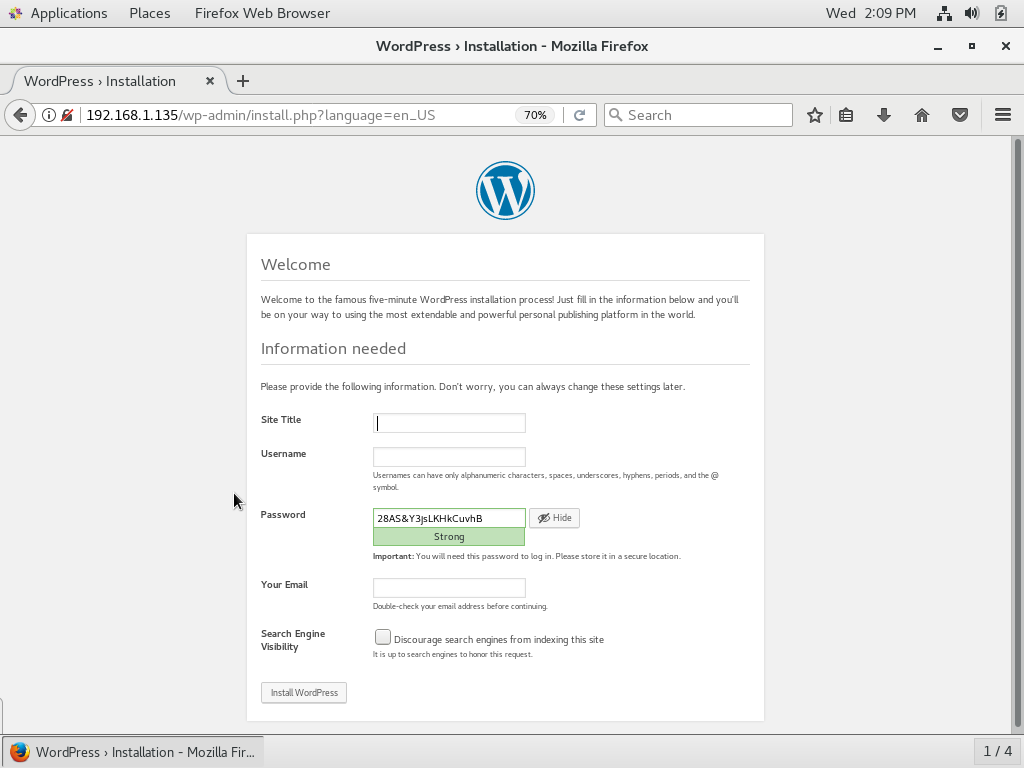
- Now we can click Run the installation
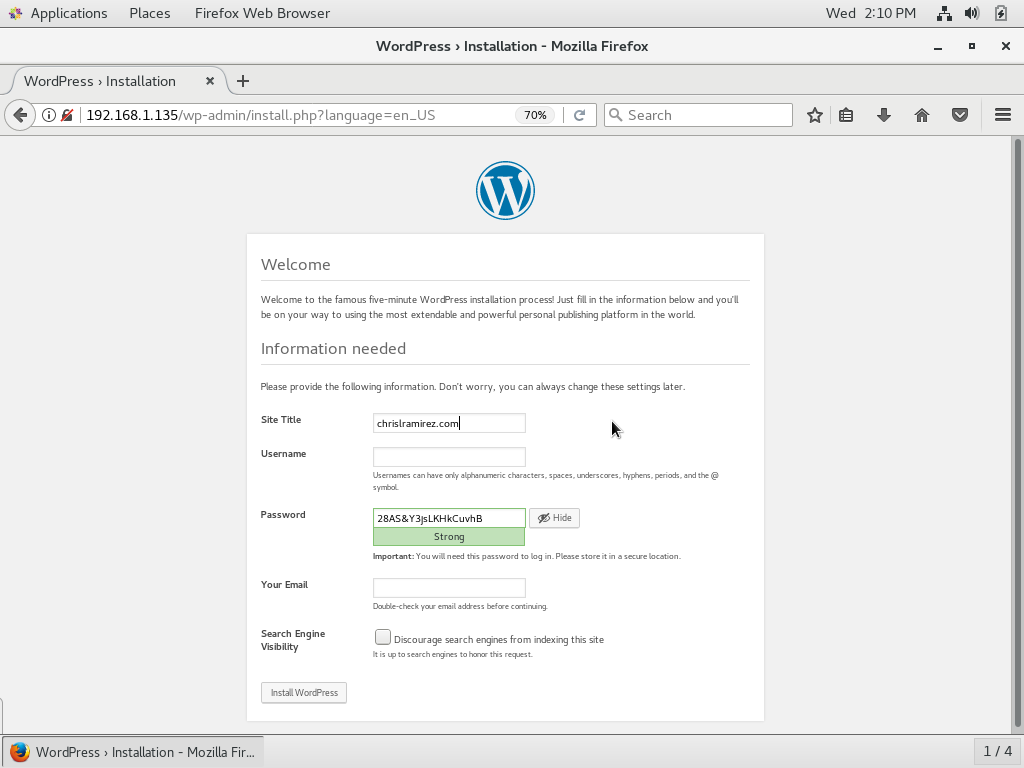
- Enter the Site Title, Username, a STRONG password, your email address, and click Install WordPress
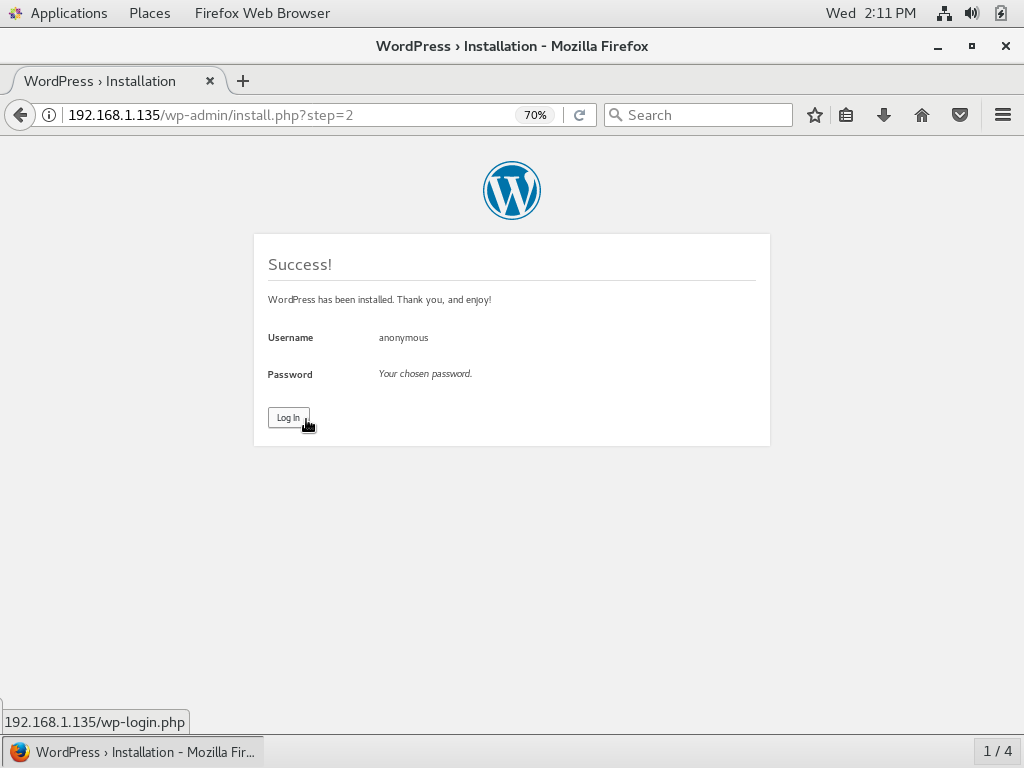
- You should get the Success! message and screen
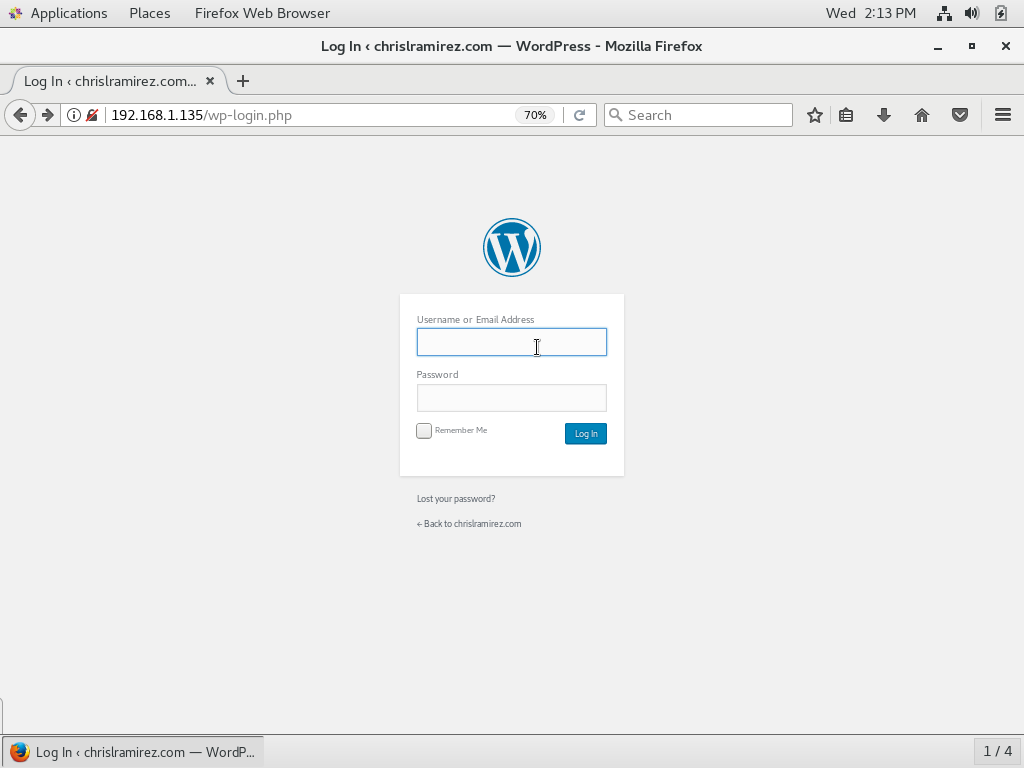
- Click Log In, enter your username & password you just created
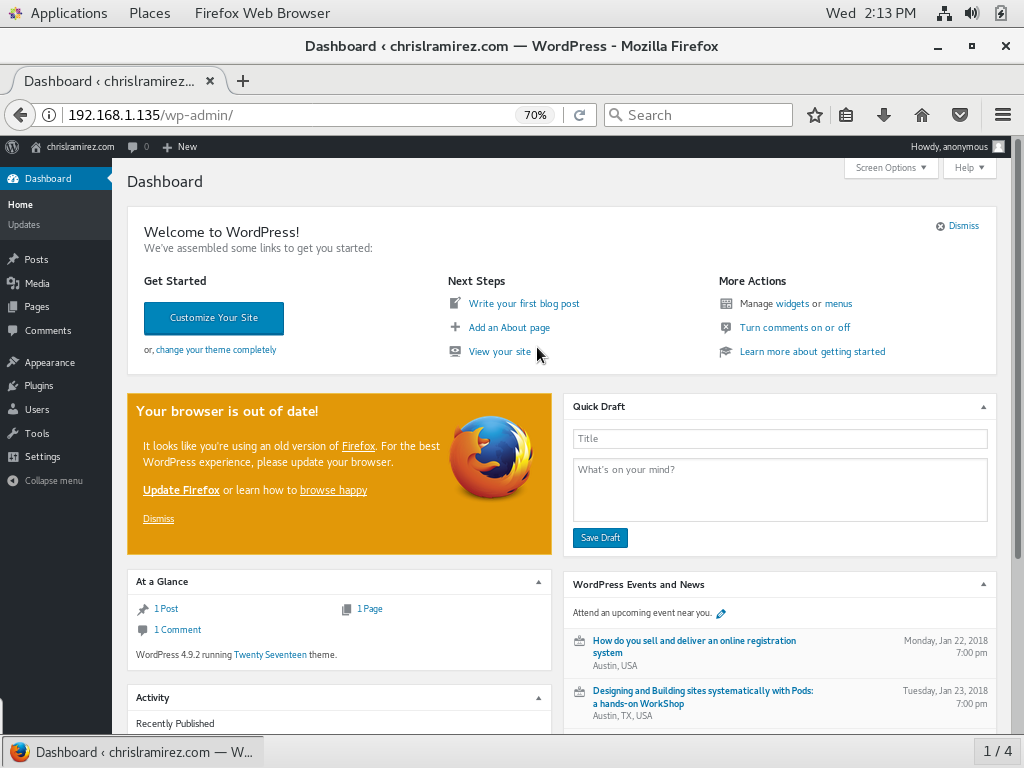
- You are now logged into the back-end of your website!
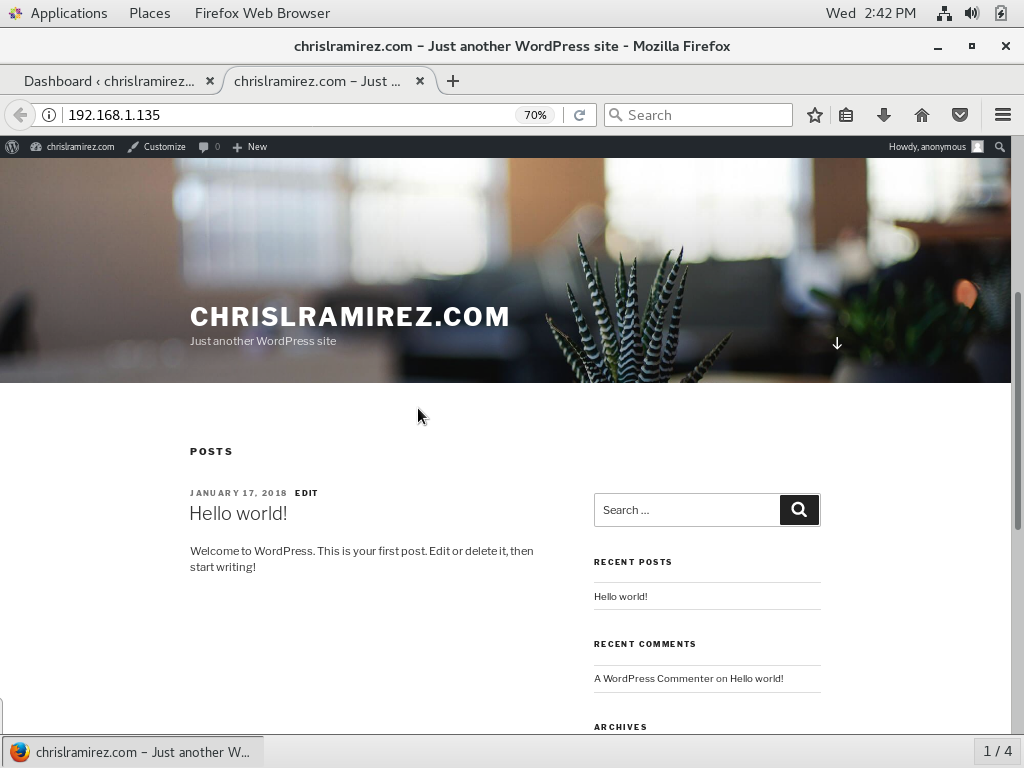
- We can see the front-end of the site is also working properly
If you get any error messages during the installation process be sure to check the following:
- Access has been enabled through the firewall for ports 80 & 443
- The httpd service is running: systemctl status httpd
- The mariadb service is running: systemctl status mariadb
- You have created a new database and database user for WordPress
- The httpd.conf file has been updated as directed above
- The php.ini file has been edited as directed above
- Finally as a last ditch effort, you can turn off SELinux, which will also allow WordPress to create the wp-config.php for you.
- To turn off SELINUX edit the following file: /etc/selinux/config
- When you open the file change SELINUX=enforcing to SELINUX=disabled
- Turning off SELINUX will require a reboot, after the reboot run the WordPress installation again.