
 https://clramirez.com/media/testing123-e1516162044438.jpeg
 Building on our 2 previous tutorials:
- How To: Create a CentOS 7 VM
- How To: RDP, WinSCP/PuTTY
… we are now going to install WordPress!
If you followed our previous tutorial(s) you will find that we already installed our Web-Server (Apache/HTTPD) and our Database Server (MariaDB), in case anybody does not follow my previous tutorials I will show the installation of Apache (httpd), MariaDB, and PHP as though it had never been installed.
For this task I am logging on as root directly onto my webserver which has a GUI (graphical user interface). If you do not have the GUI enabled your server please follow the tutorial here How To: Enable GUI on CentOS 7.
*** This step is not necessary on your end, I am removing the software currently installed on my server to show the necessary steps it takes to install the needed software from a fresh installation. If you do not have apache/httpd, mariadb, php, and the epel-release installed on your server please skip to the portion after THIS COMPLETES THE REMOVAL***
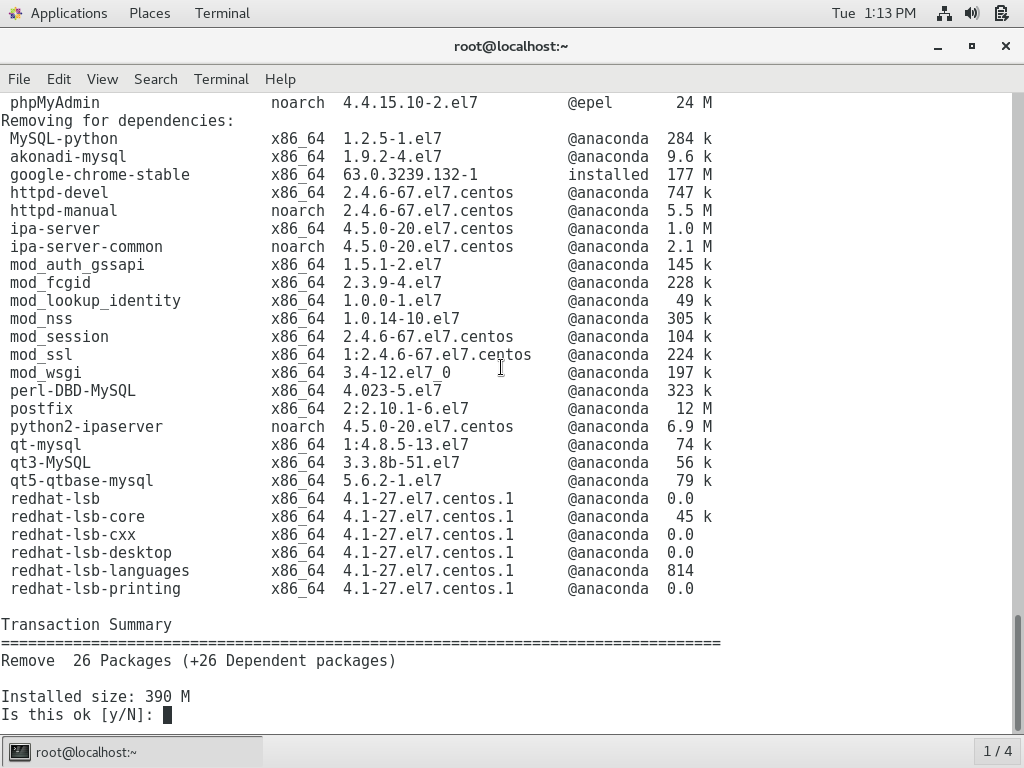
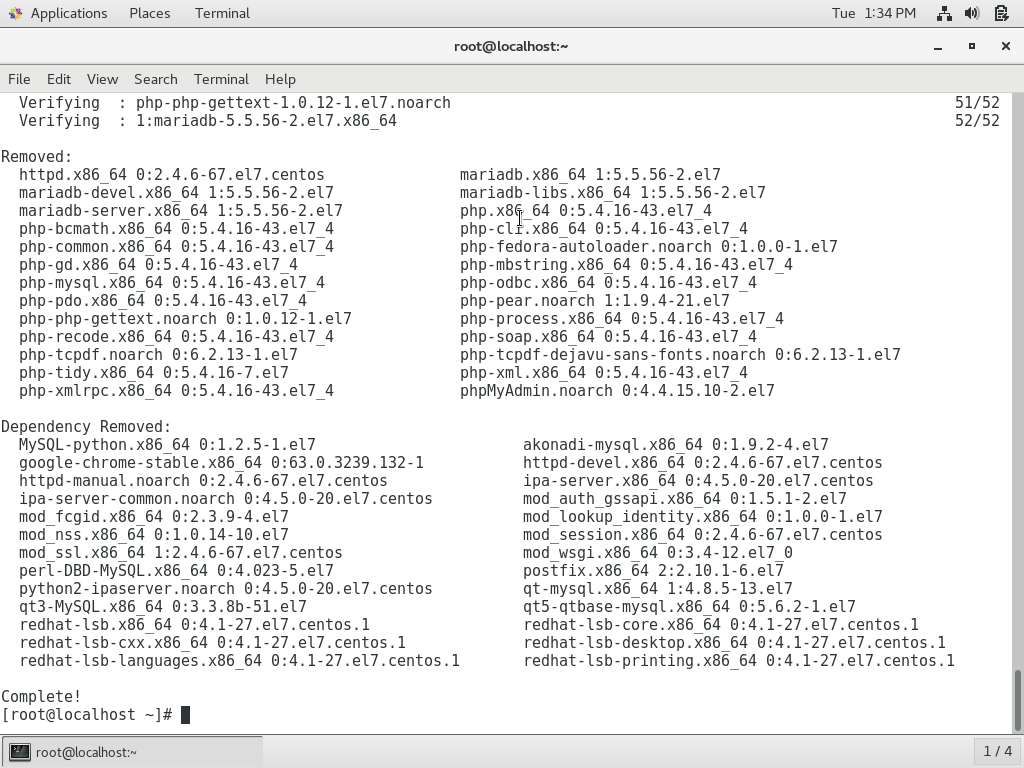
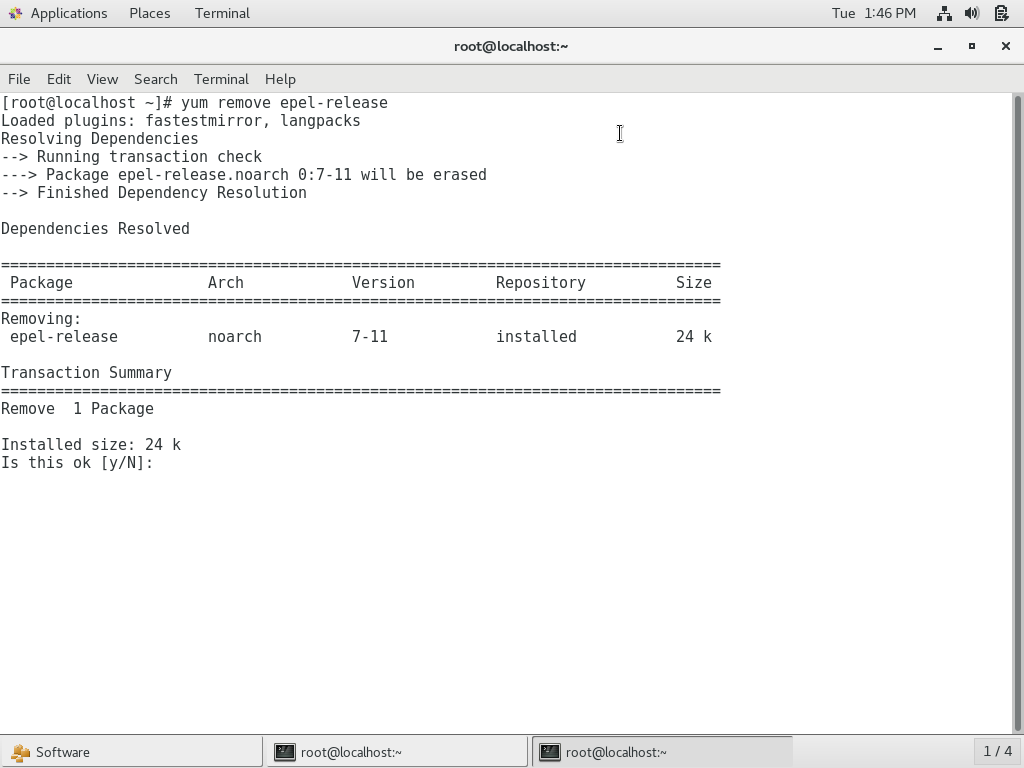
Now that I am logged in as root I will remove the following software so we can proceed as though we were doing this on a fresh installation: httpd, mariadb, php, and the epel repository. I will do this by opening Terminal and running the following command(s):
yum remove httpd mariadb* php*yum remove epel-release
I prefer to use graphical tools when possible, but there are multiple ways of doing things in Linux and this was the quickest way to achieve what we wanted for this particular task.
*** THIS COMPLETES THE REMOVAL. ***
Since I previously removed EPEL Repository(EPEL means Extra Packages for Enterprise Linux) or let’s assume you have not installed this already, we can install the EPEL in 1 of 2 ways: GUI method or through Command Line. I use both methods and want to show you both ways.
CentOS comes with a software search/installer that you can get to by navigating through: Applications > System Tools > Software. To install the epel release through terminal you would enter the following command:

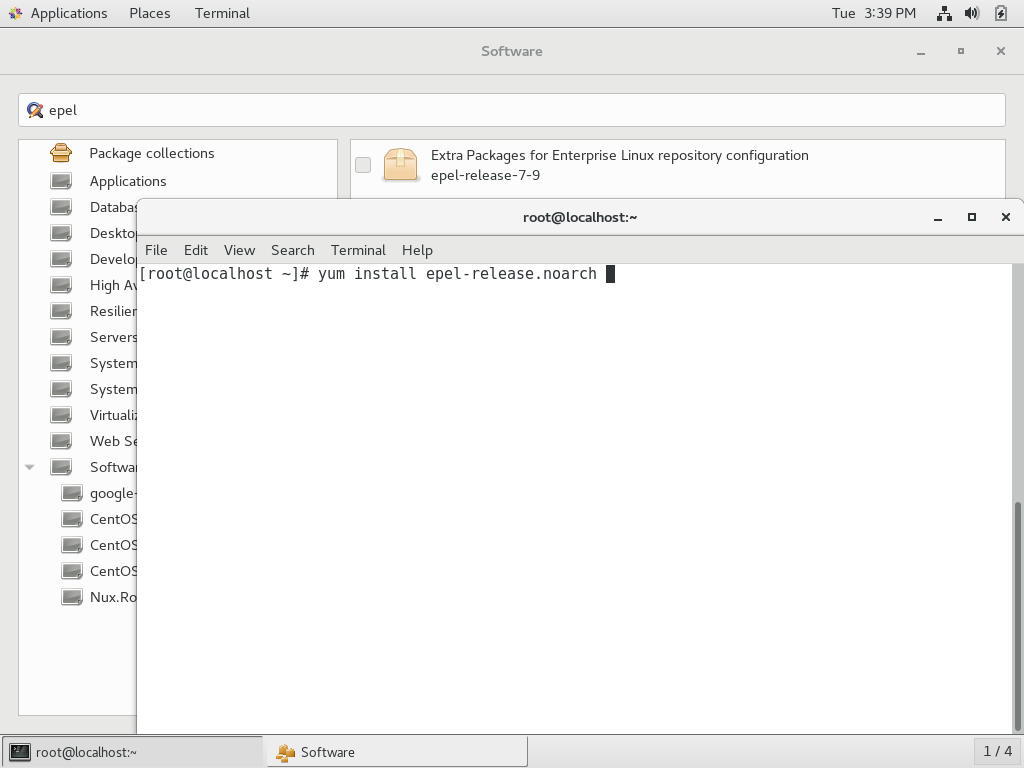

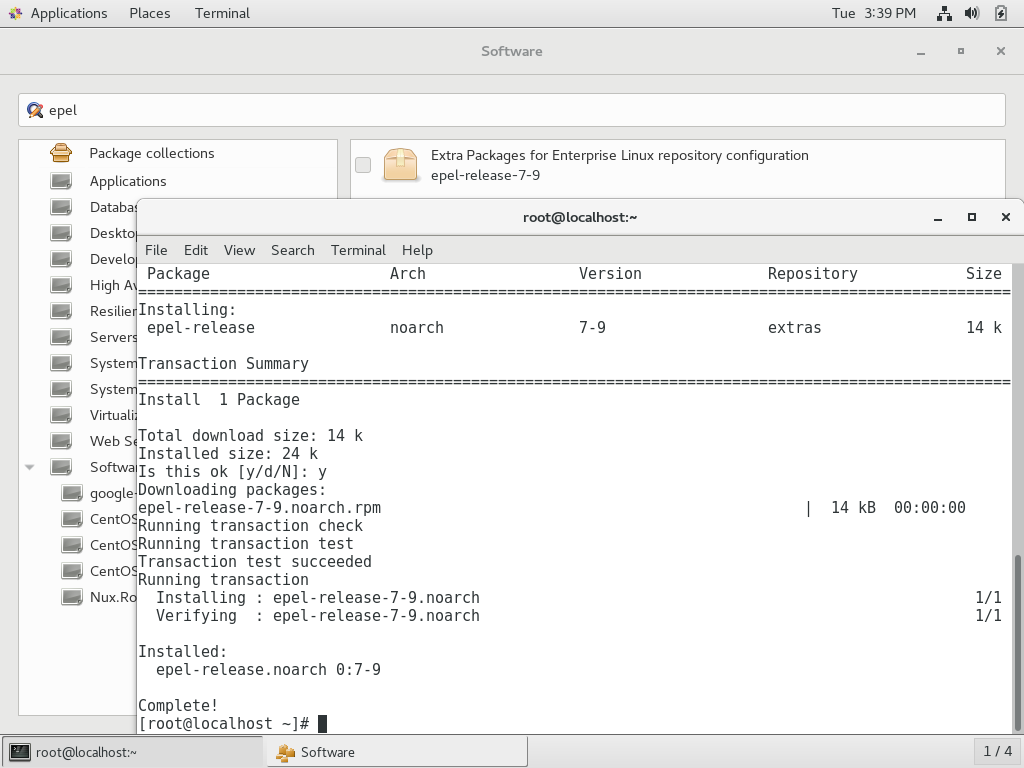
yum install epel-release
- If you notice in the first screenshot I typed yum install epel, but in the second screenshot you see yum install epel-release.noarch. This happened because I used “tab completion” after typing yum enable epel I pushed the [Tab] key and the rest of the command was completed.
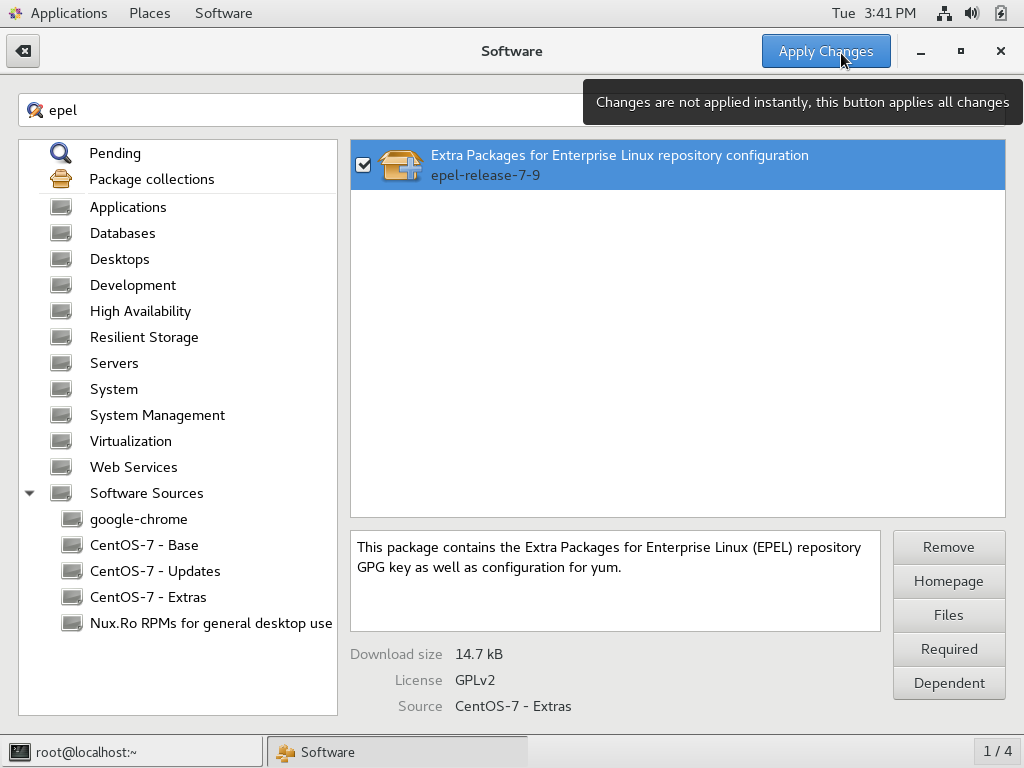
- In the background you also see the GUI method in which I searched for “epel” using Applications > System Tools > Software
- Check the box next to it and then click the Apply Changes button
Although the Software Installer that comes default with CentOS 7 is pretty good, I prefer to install and use yumex. You can install yumex through Software or through Terminal


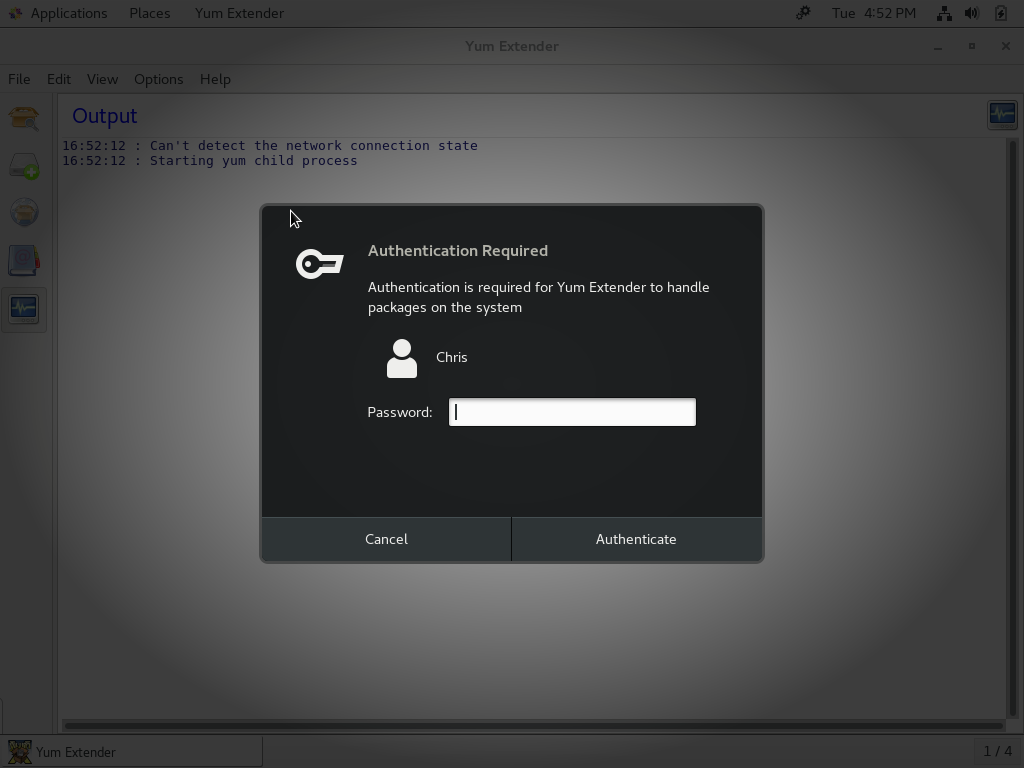
- Software: search for yumex, check the box, and then click Apply Changes
- Terminal as root:
yum install yumex -y
- Terminal not as root:
sudo yum install yumex -y
Now that we have YumEx installed, we can begin installing the software needed for our Web Server:
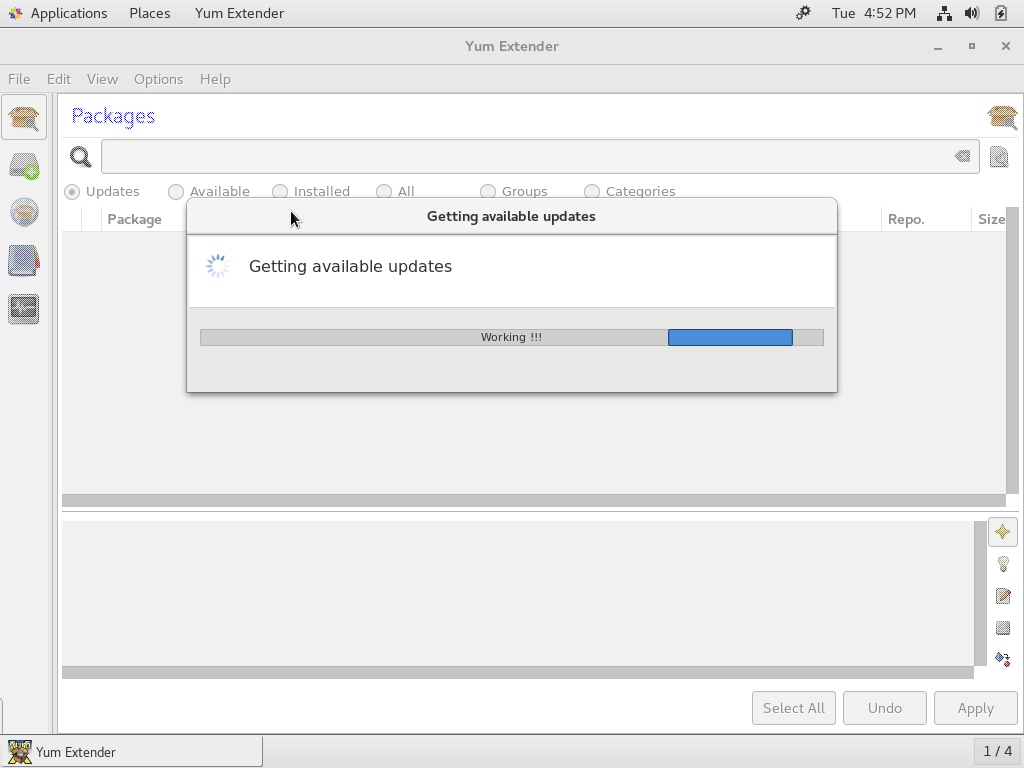
- Open YumEx, you will see “Getting available updates” any available updates are listed in red. You can/should update any that appear.
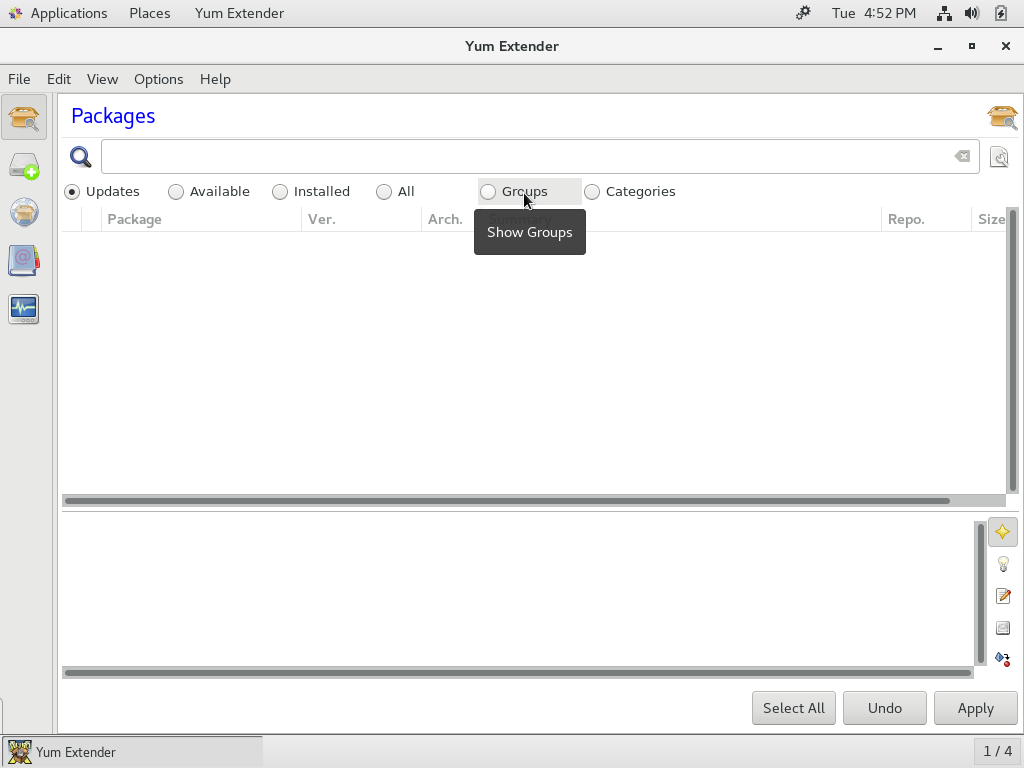
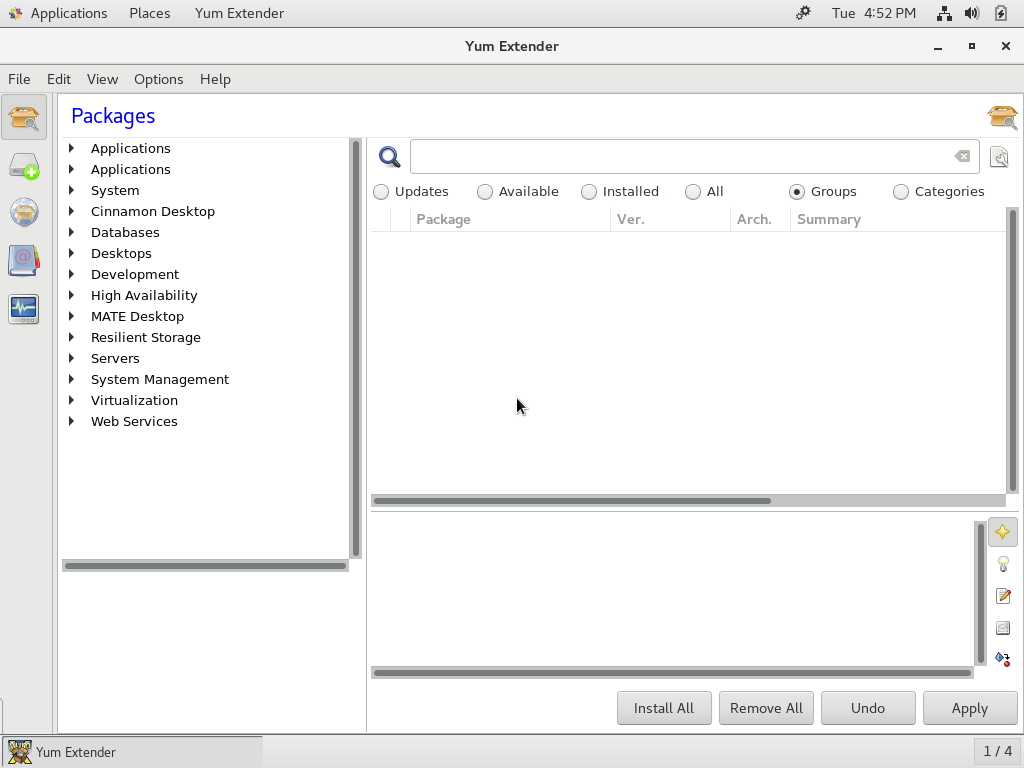
- Navigate to Groups, here you will find software based on specific categories
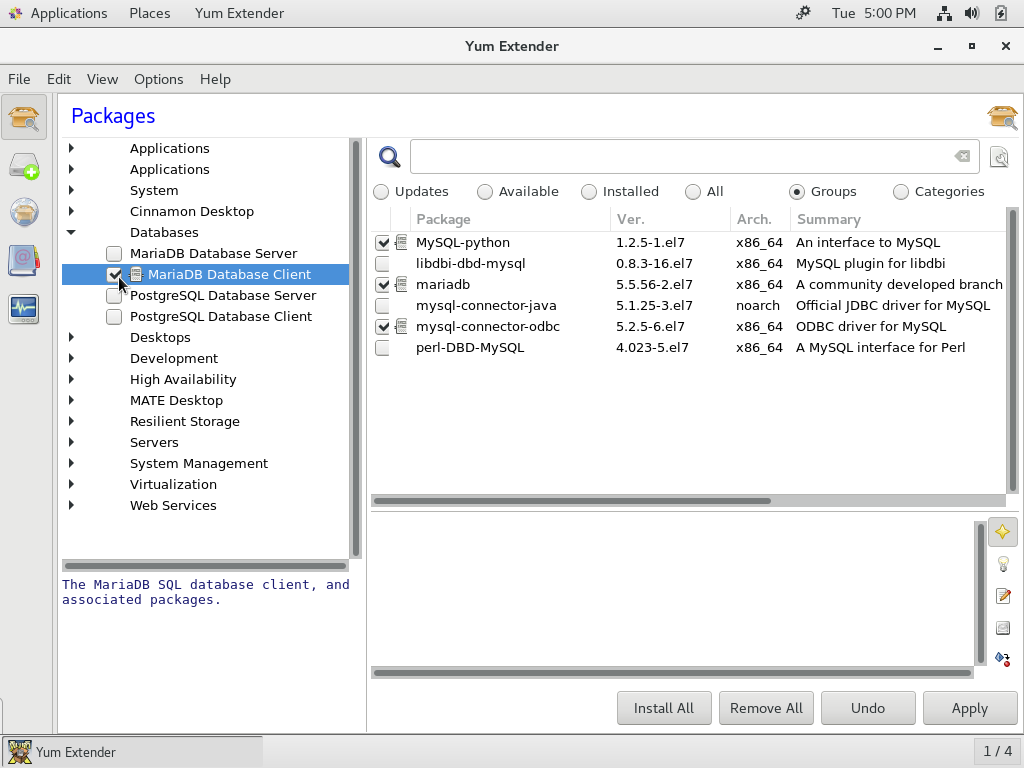
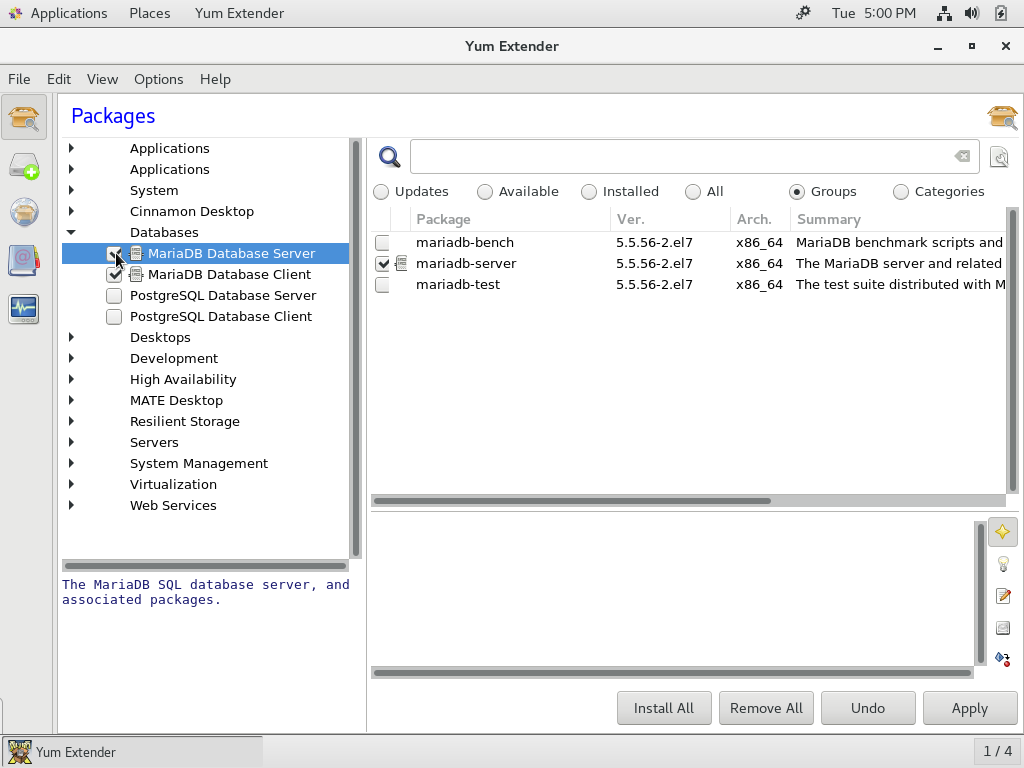
- Click Databases and check the box next to MariaDB Database Client & Server. Checking the boxes selects needed software for each.
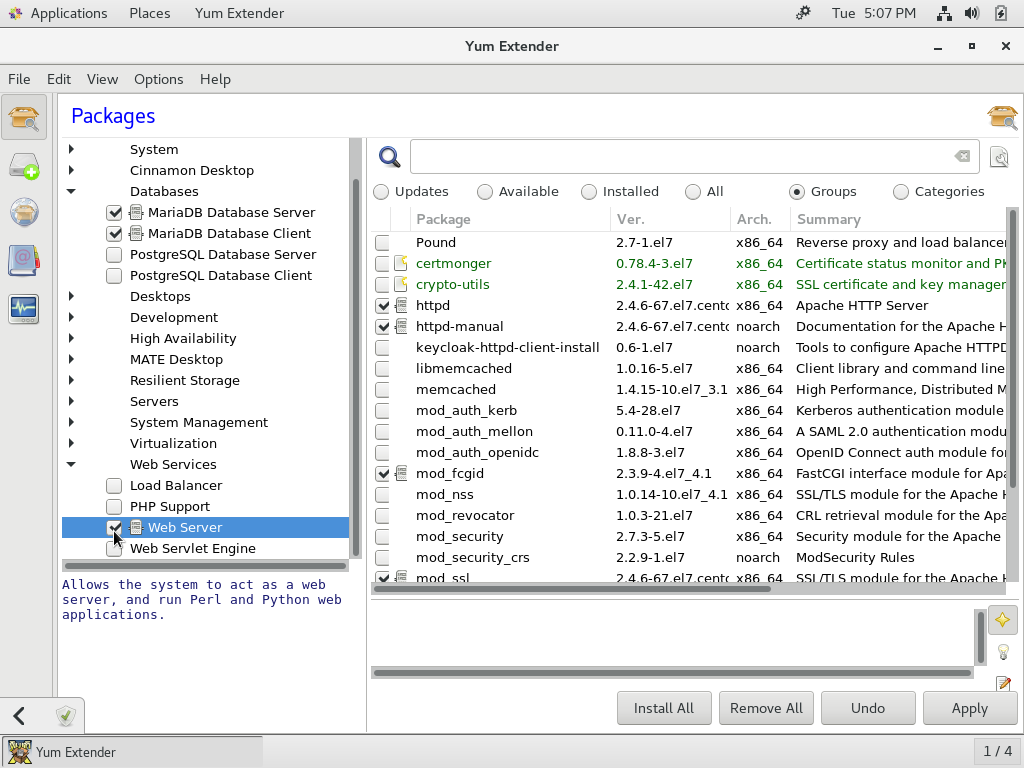
- Next click Web Services and check the box next to Web Server. You will see that the necessary software is added when you check this box.
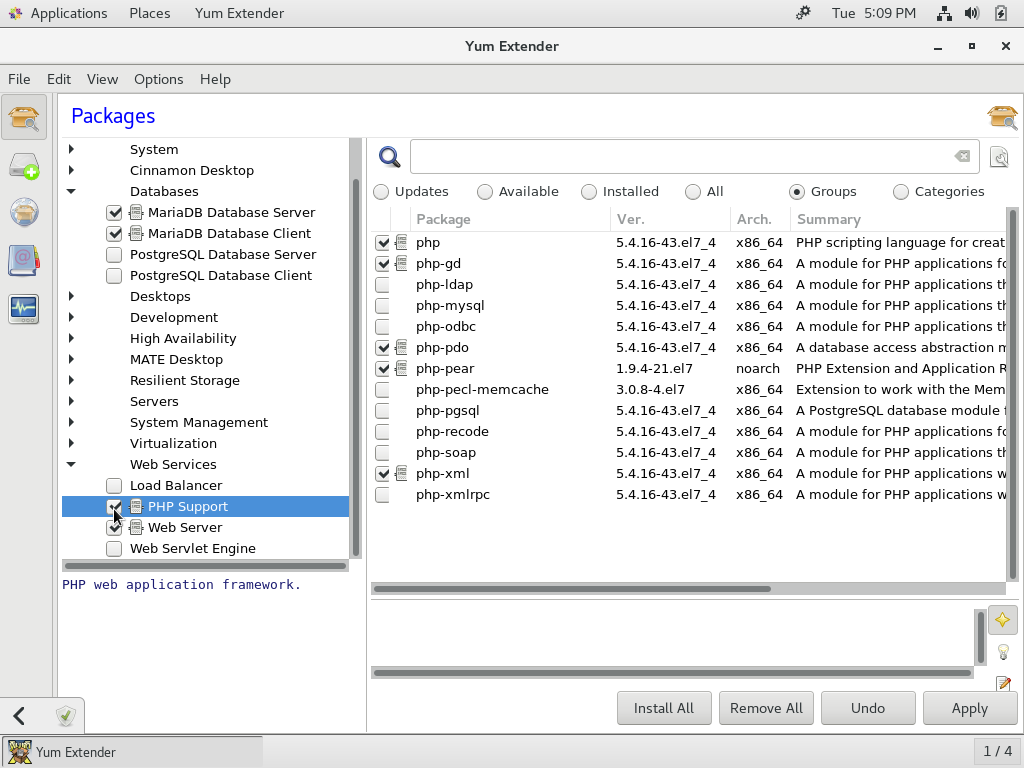
- Afterwards check the box next to PHP Support, again software is selected for you.
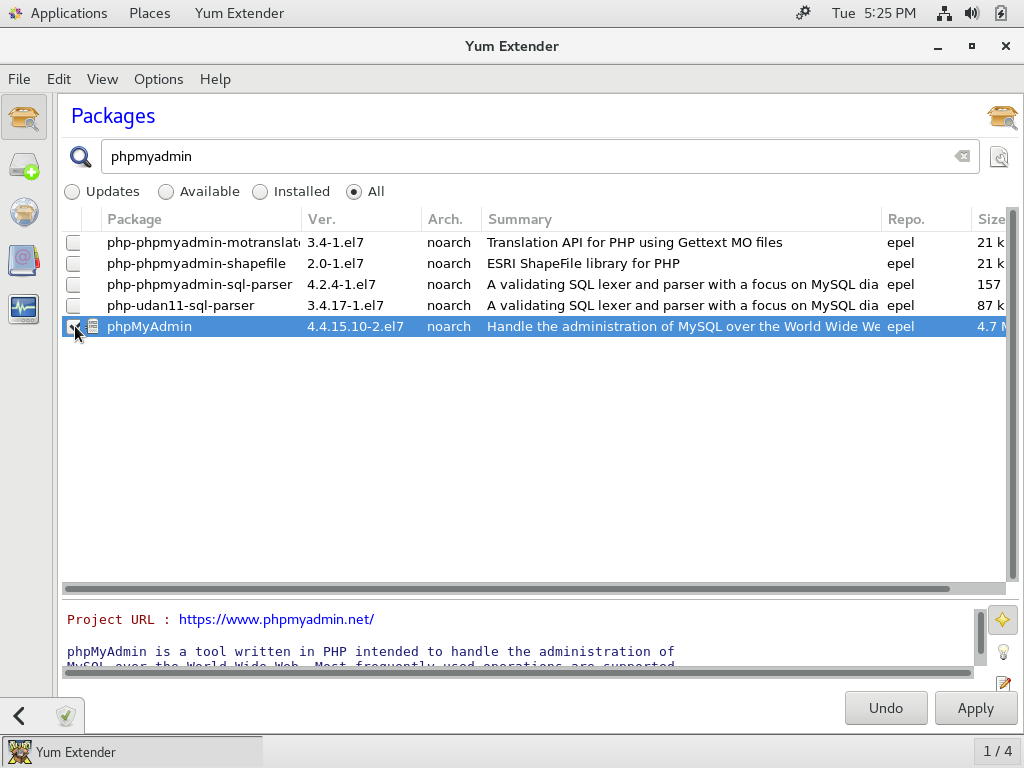
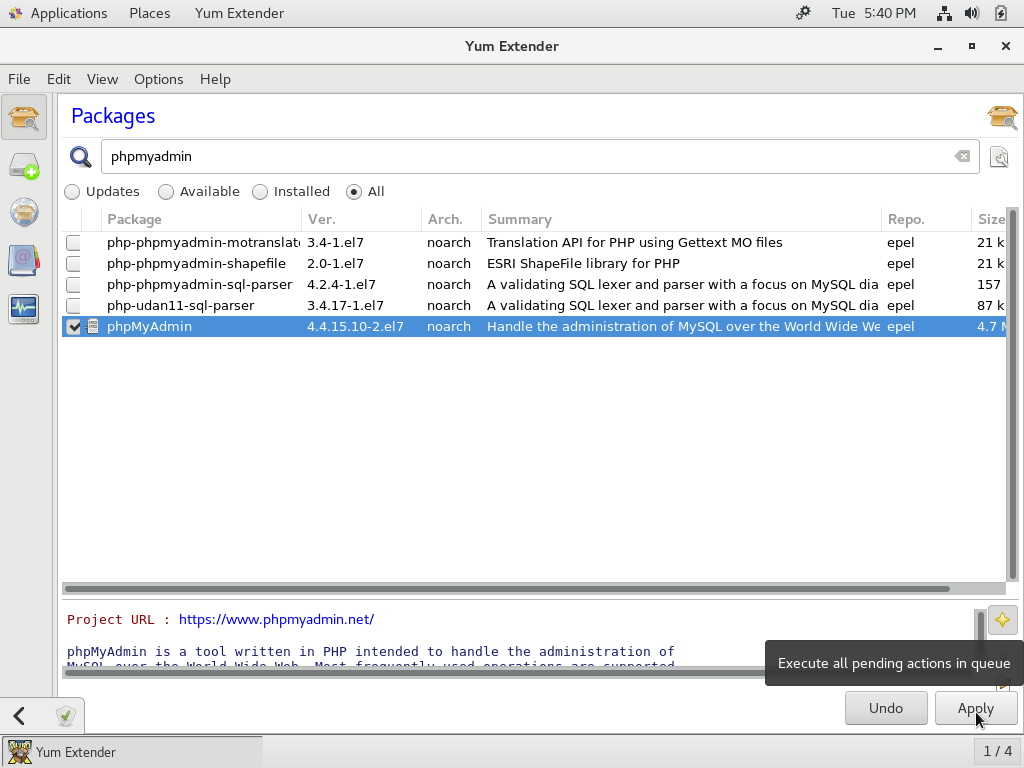
- And the last software needed… we search for phpmyadmin and check the box
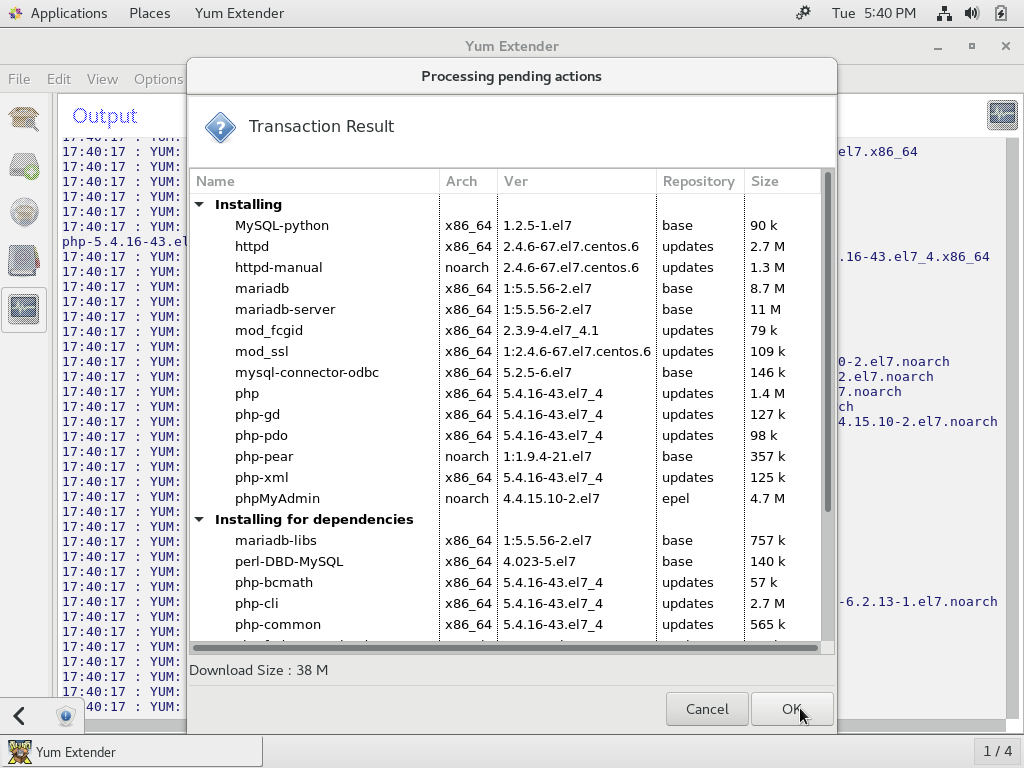
- Finally click Apply to “Execute all pending actions in queue”, review the software to be installed and click OK to install all the software we selected in the previous steps
Now that our software is installed, we have a few configuration steps we need to perform before we can start & enable the services. This is a job that is best achieved using terminal, but for future use if we want to turn a service on, off, or simply restart a service we will also be able to do this through the GUI.
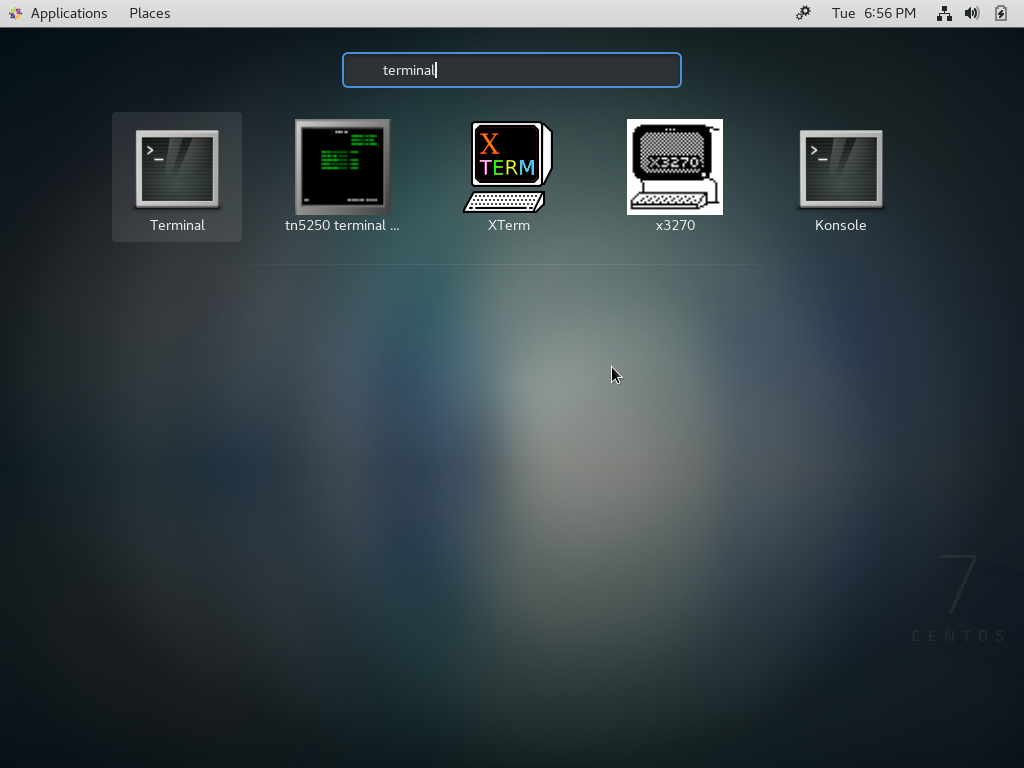
- Click the Windows key on your keyboard and then type terminal and enter
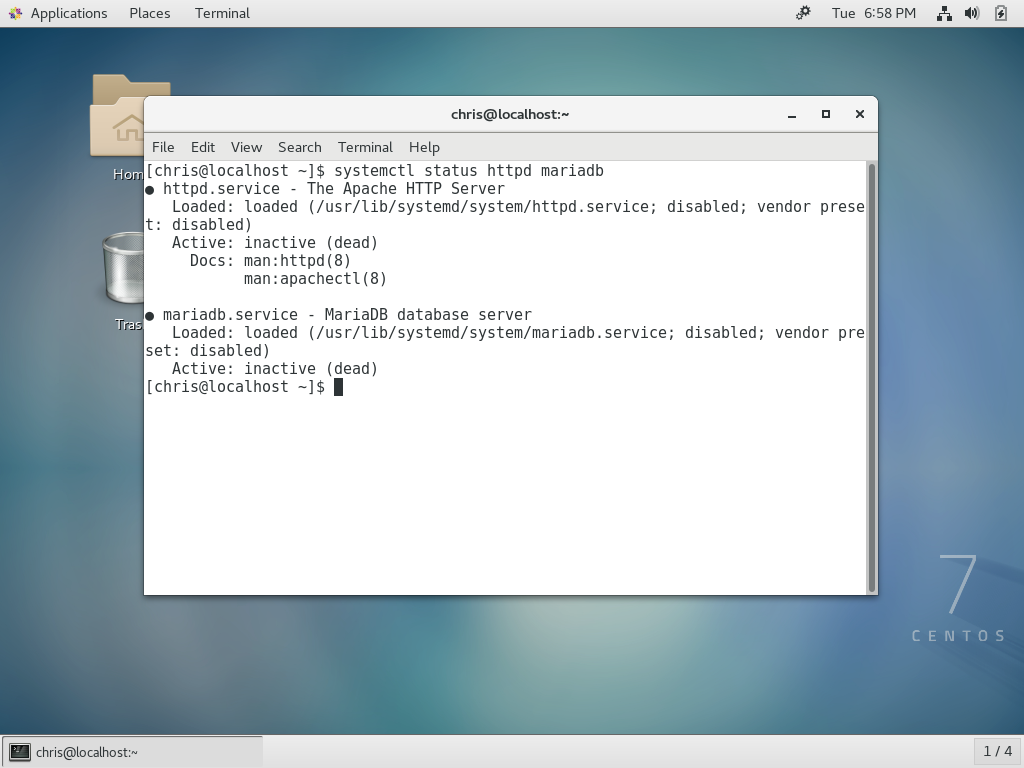
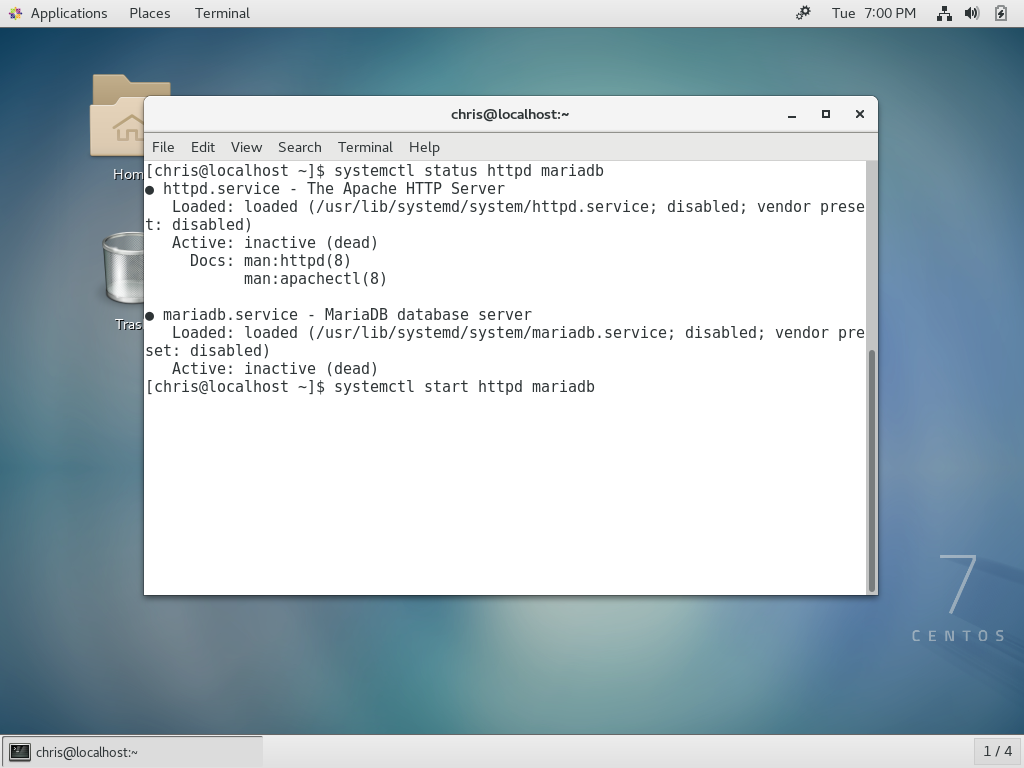
systemctl status httpd mariadb
- Unless you started these services you should see both are inactive/dead
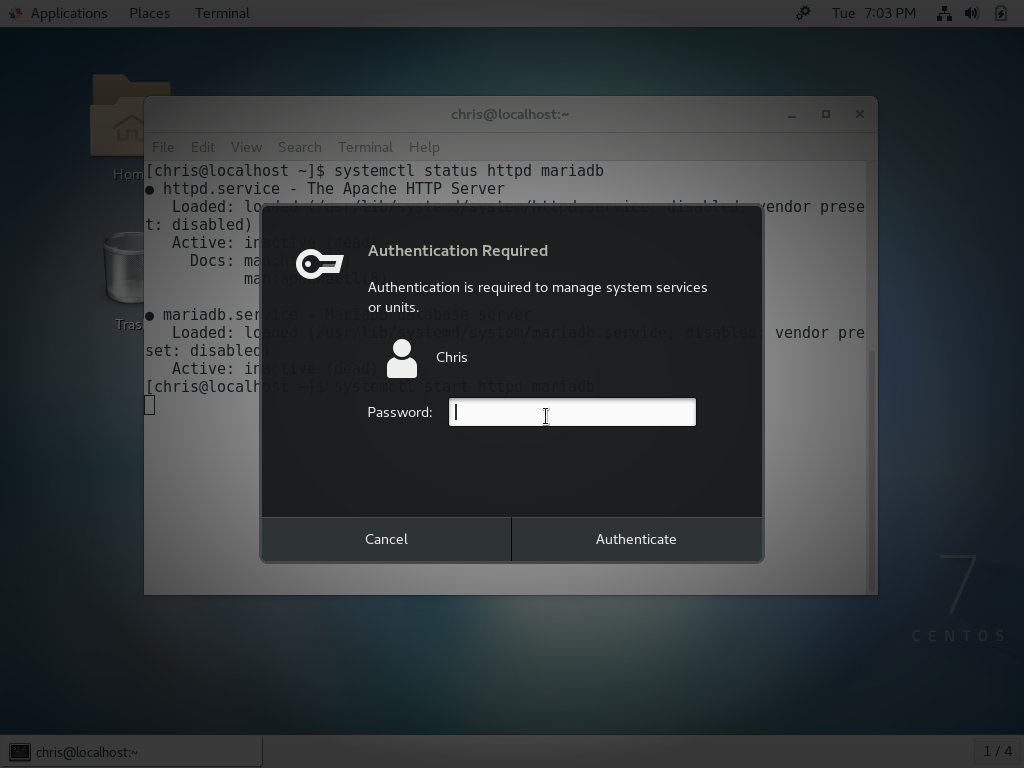
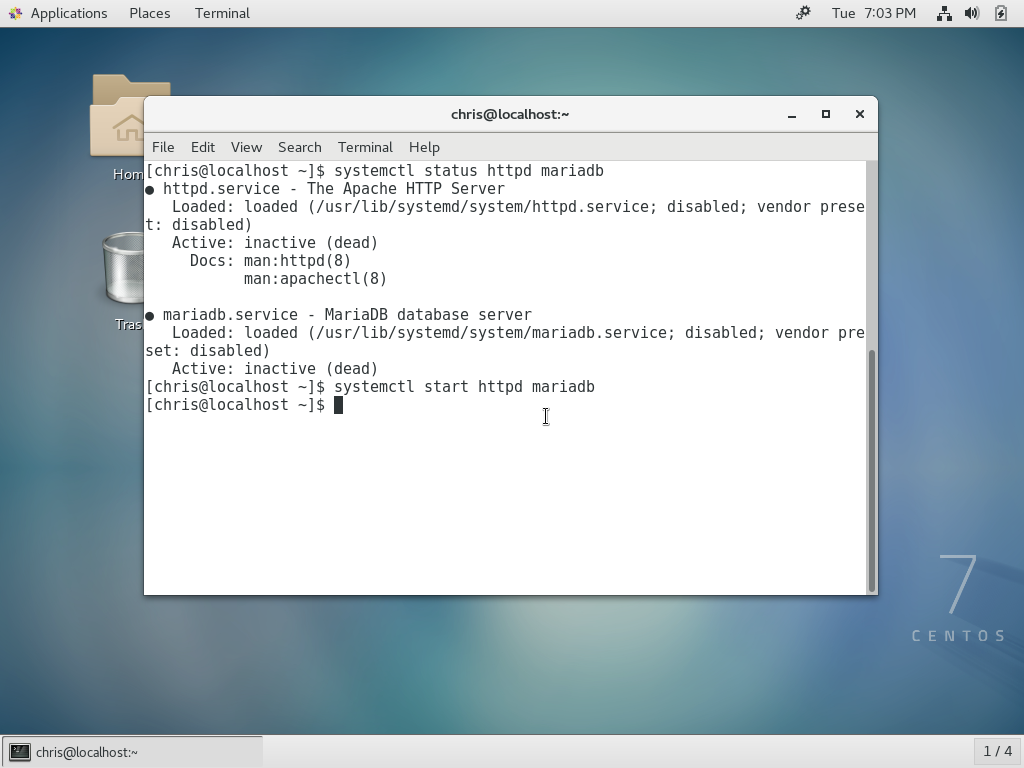
systemctl start httpd mariadb
- If you are root, both services should start immediately, if you are logged in as an admin you will be required to type in your password
Now we will enable the services so they start automatically when the server starts/reboots:
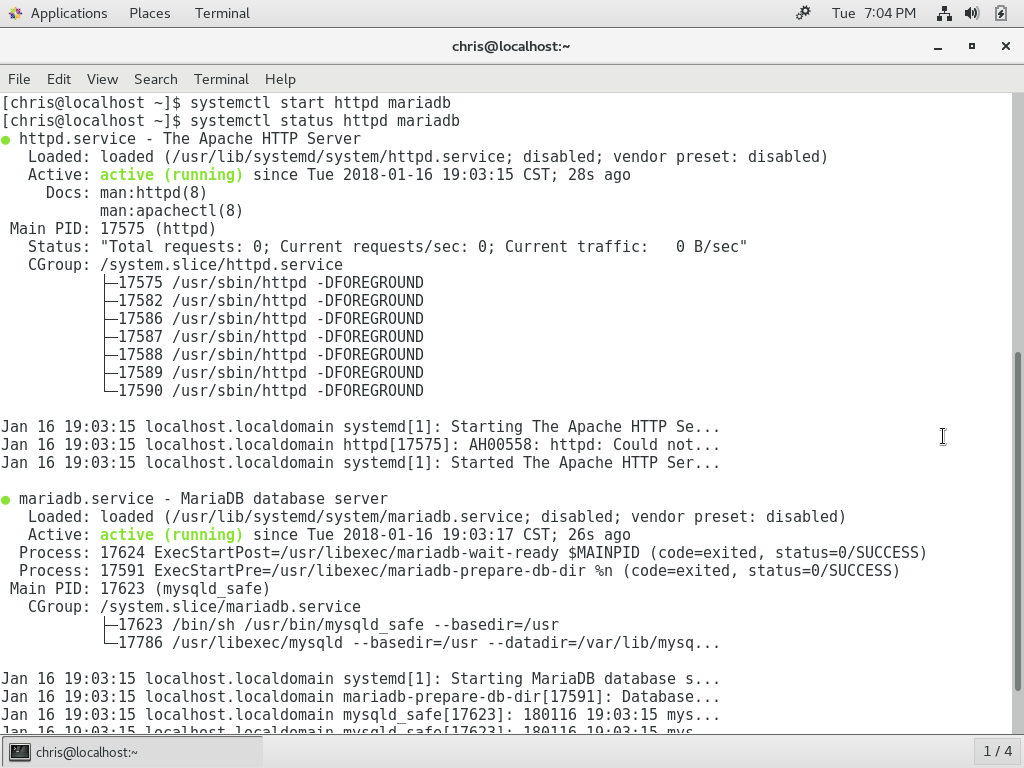
- Push the up arrow on your keyboard to run the previous command again
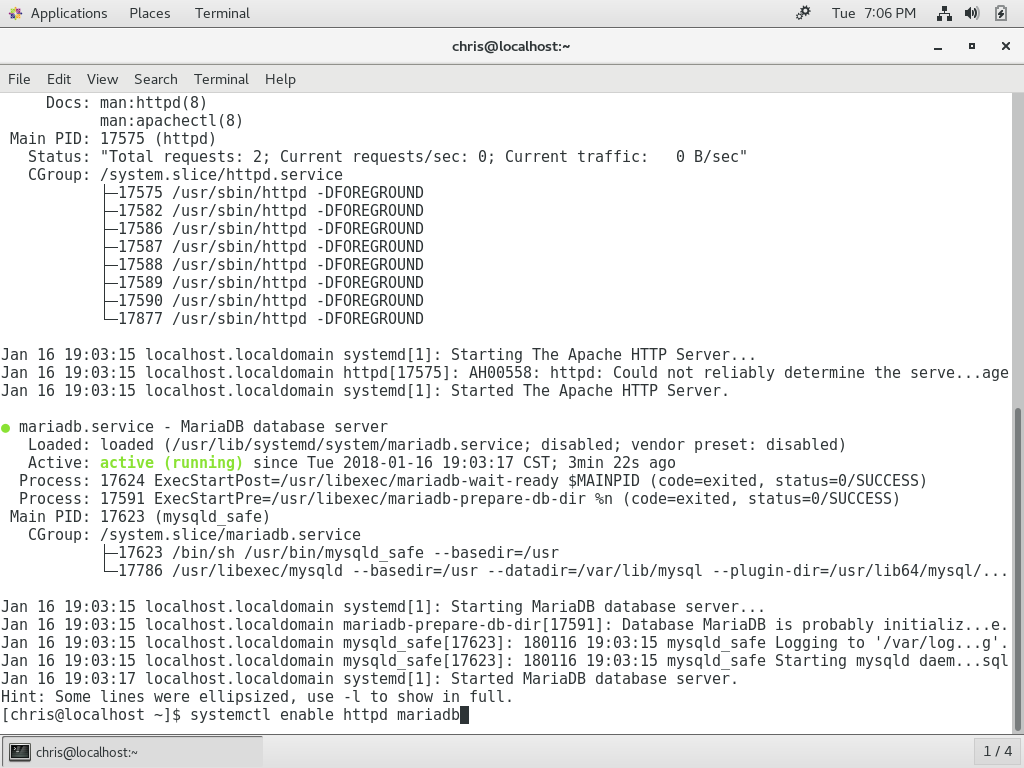
systemctl status httpd mariadb
- You should see both services are now active (running)
- We want httpd & mariadb to start automatically when the server starts/reboots
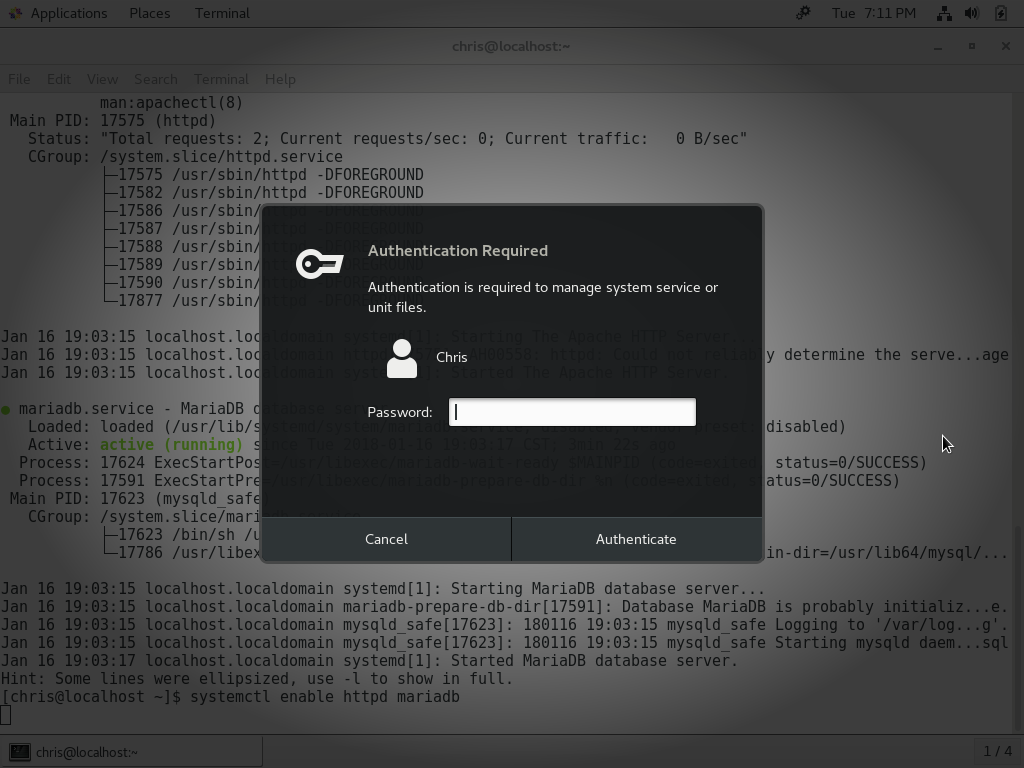
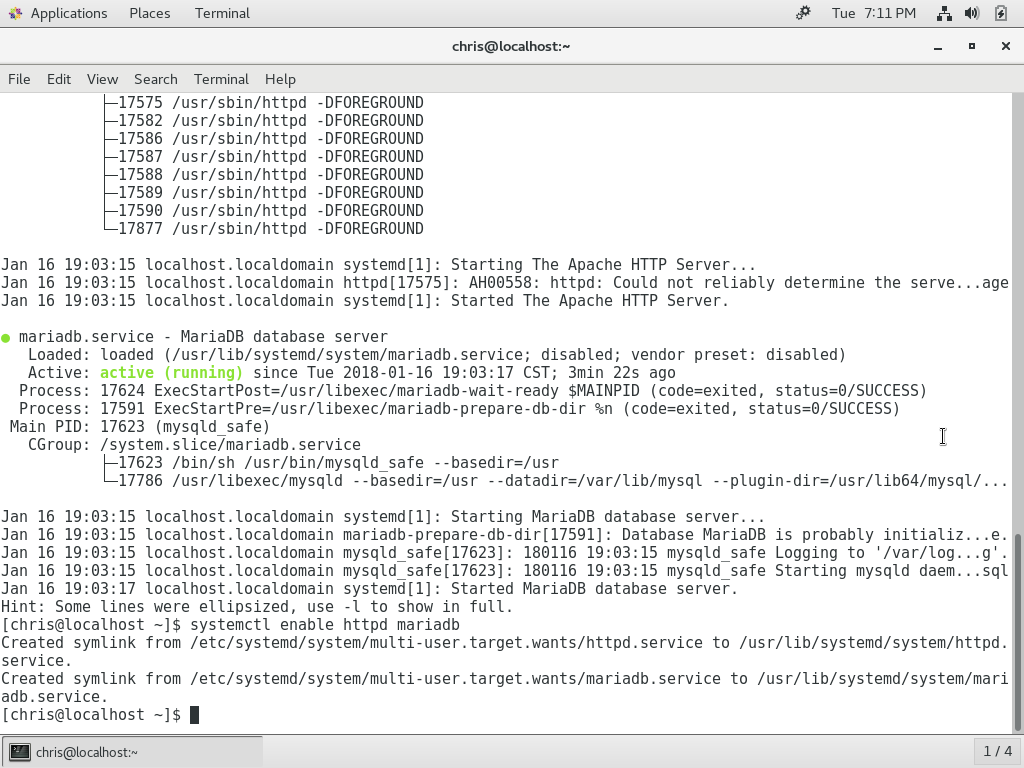
systemctl enable httpd mariadb
- If you are not root you will need to enter your password for each service
- Afterwards you will see a symlink is created for each service
We need to setup a password for our database account
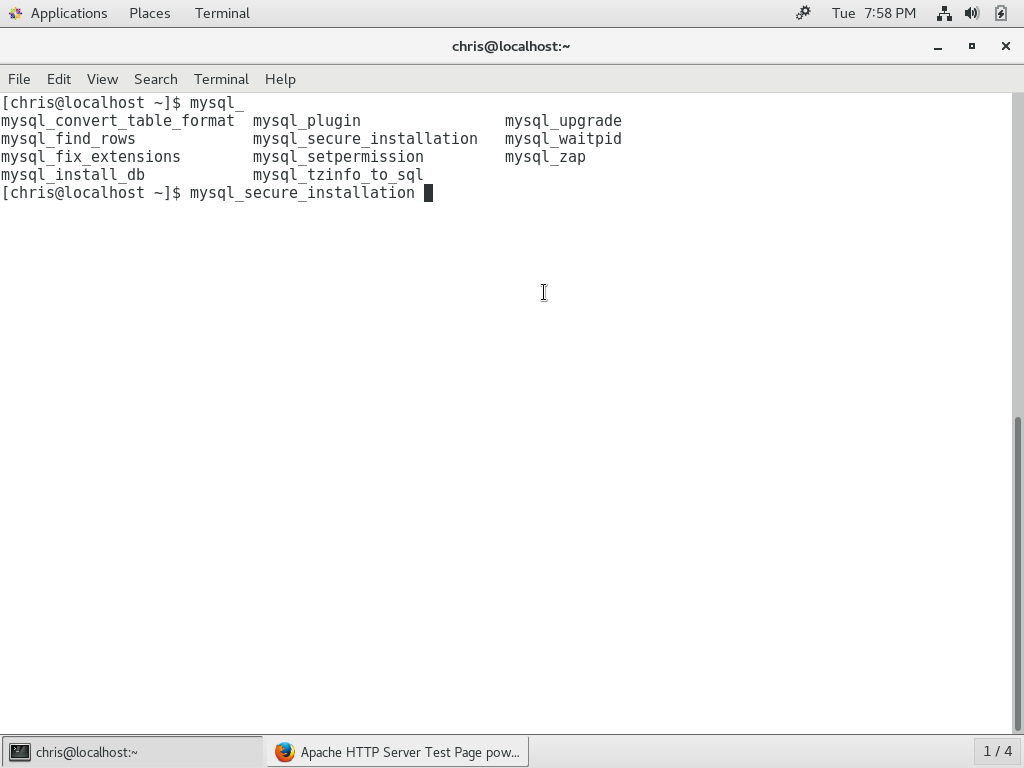
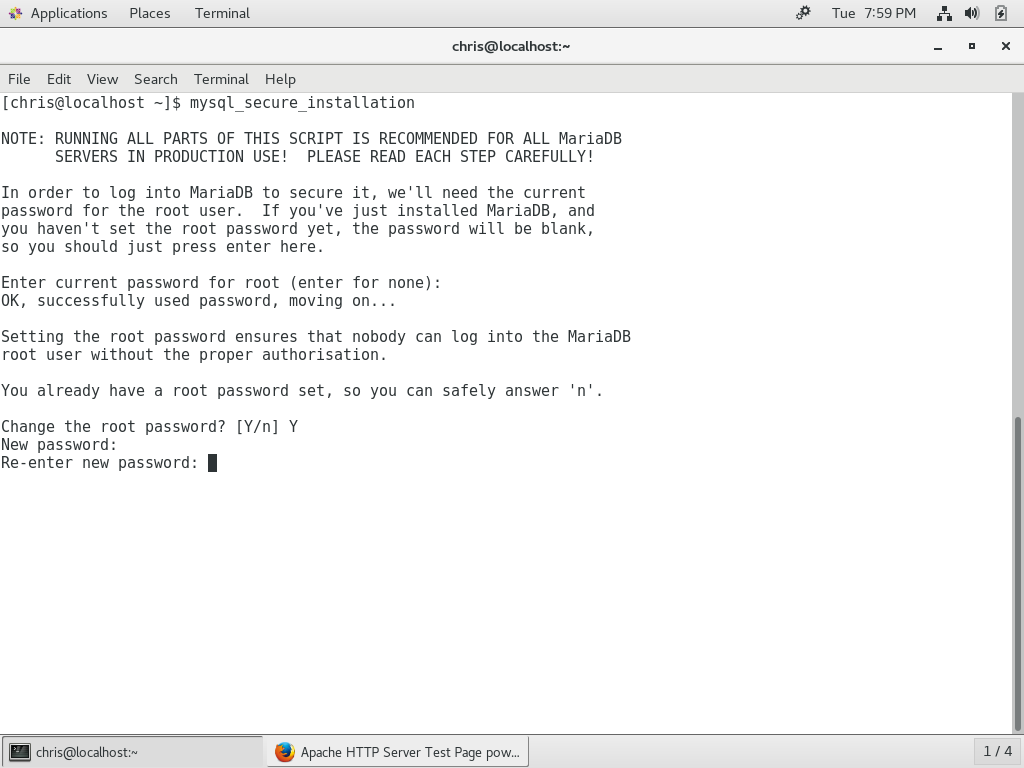
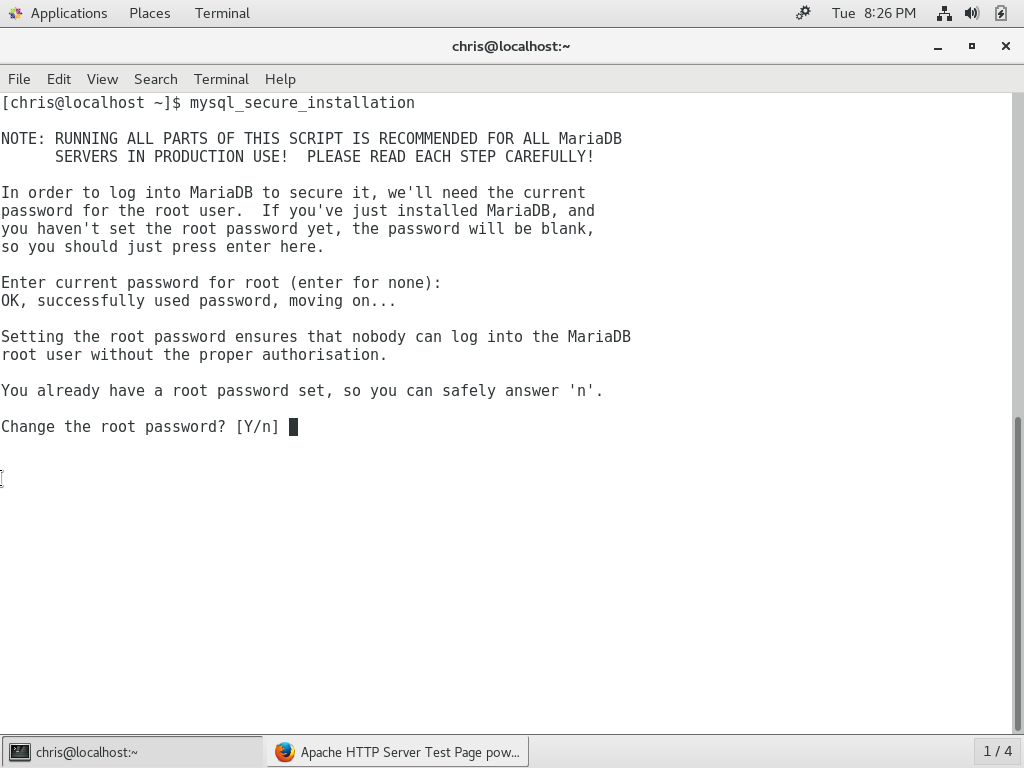


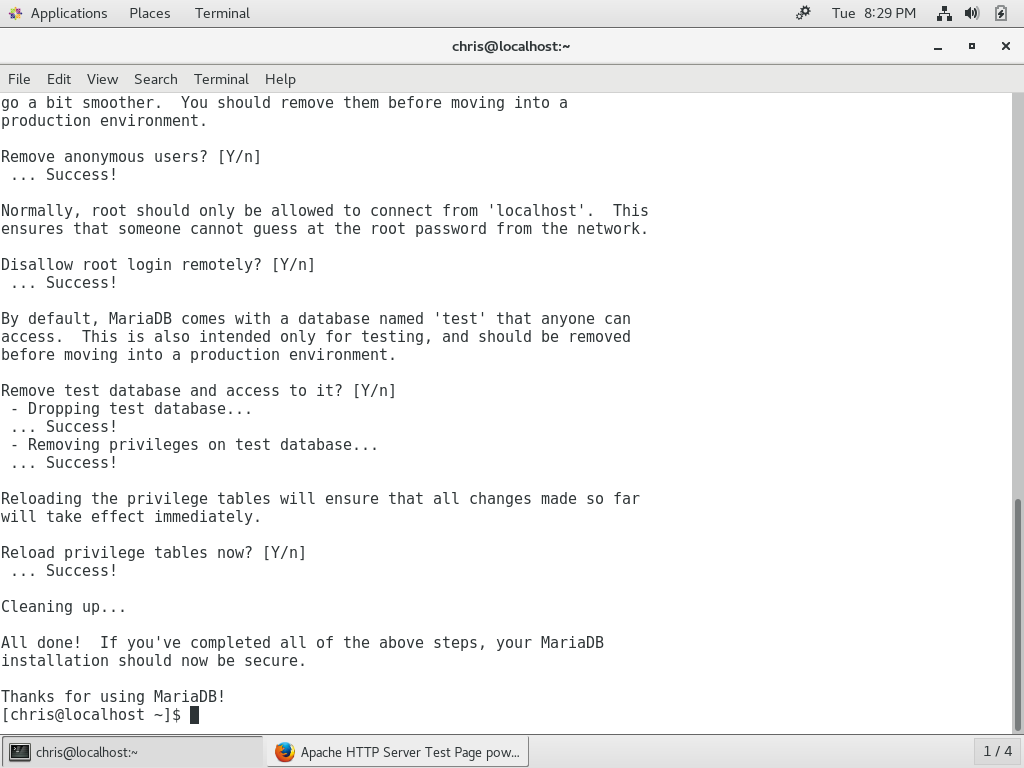
mysql_secure_installation
push [tab] after typing mysql_sec, the command will autocomplete
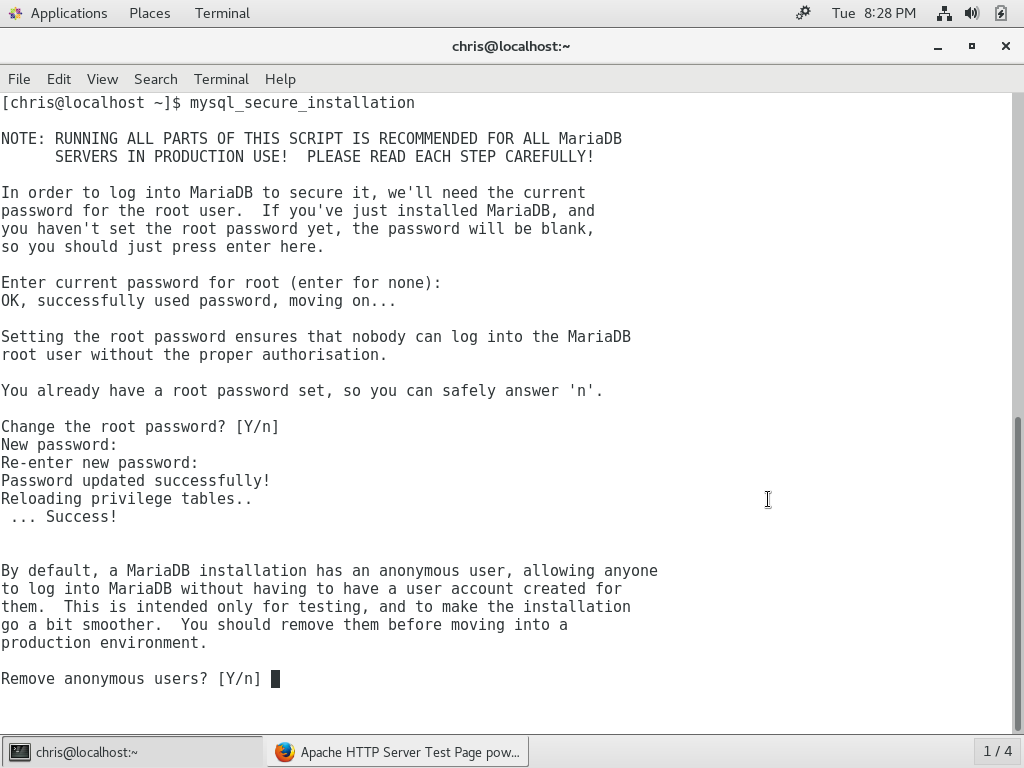
Change the root password? [Y/n] ENTEREnter your password & confirm it
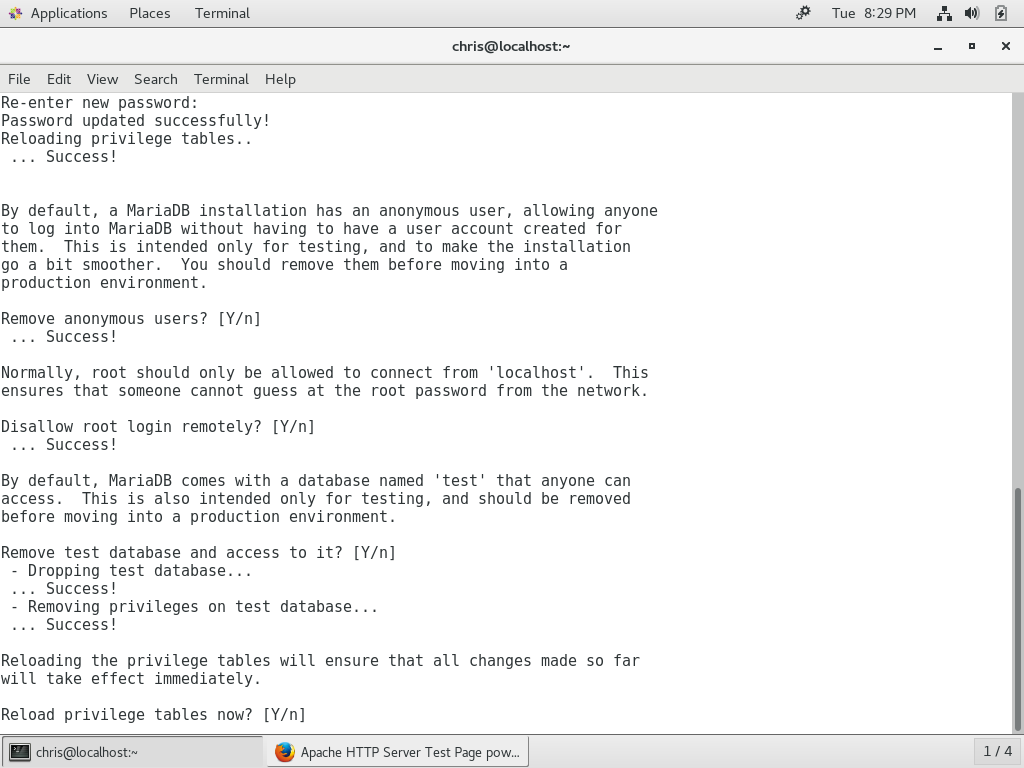
Remove anonymous users? [Y/n] ENTER
Disallow root login remotely? [Y/n] ENTER
Remove test database and access to it? [Y/n] ENTER
Reload privilege tables now? [Y/n] ENTER
Process complete
Now we need to enable access to the standard web ports http(80) and https(443) through the firewall so our future web site can be reached from another computer… I will show how to do this via terminal & GUI. For this task I will elevate to root.
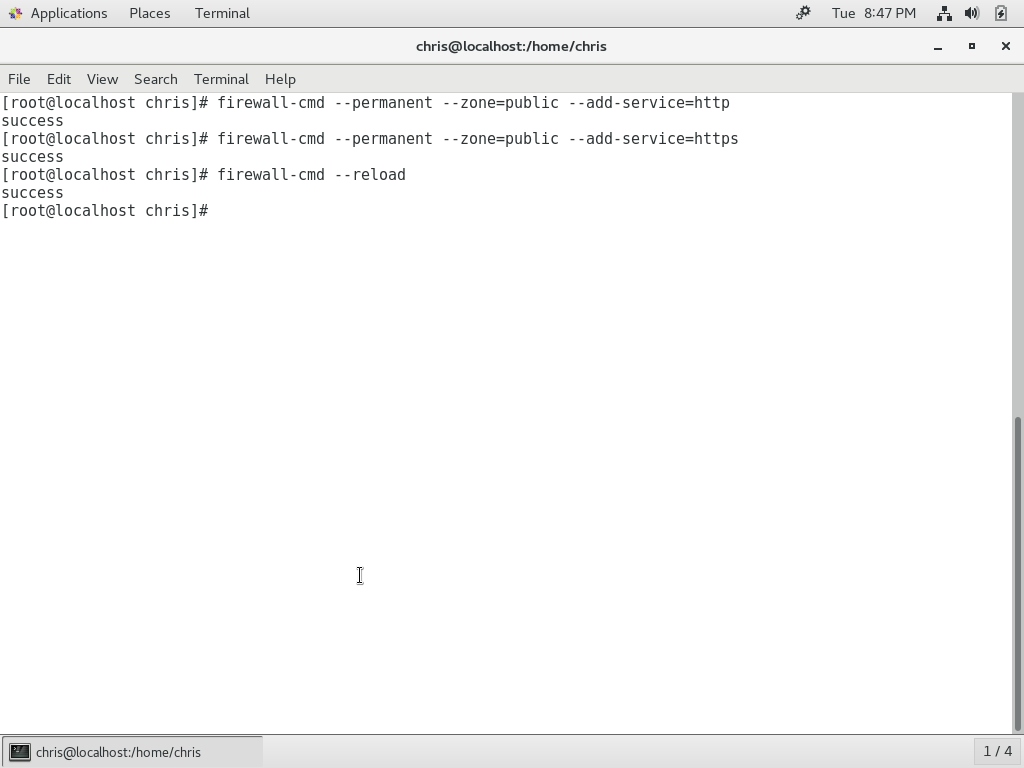
- command: su
- Enter root password
firewall-cmd –permanent –zone=public –add-service=http
firewall-cmd –permanent –zone=public –add-service=https
firewall-cmd –reload
From the GUI. Click Applications > Sundry > Firewall
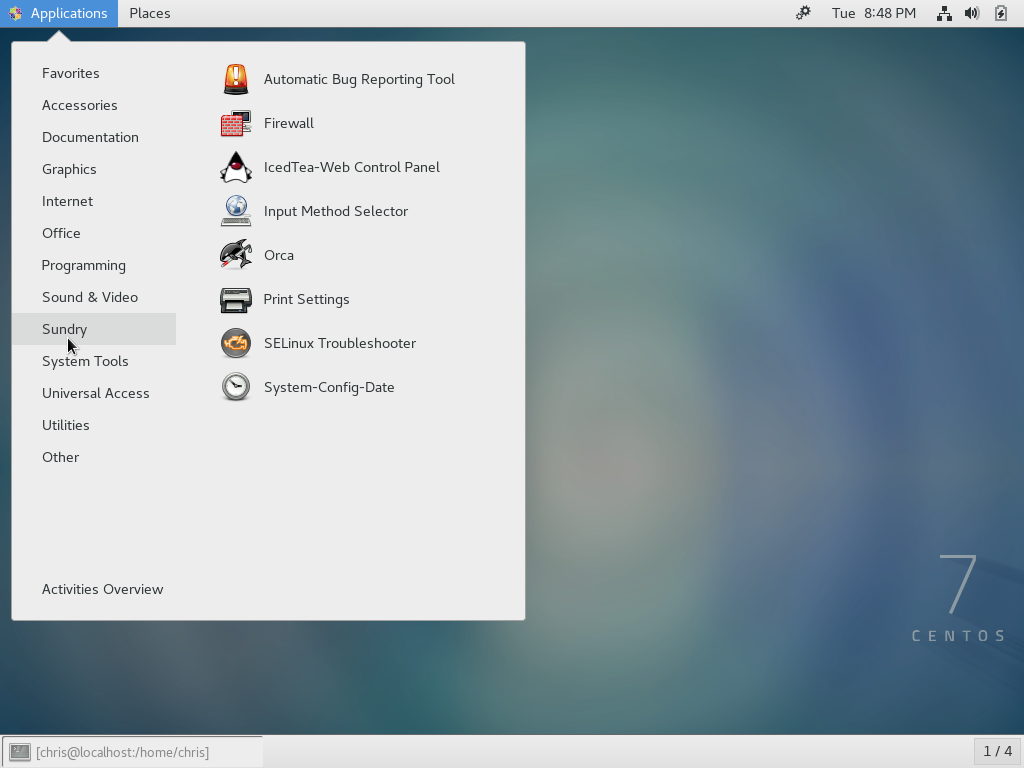
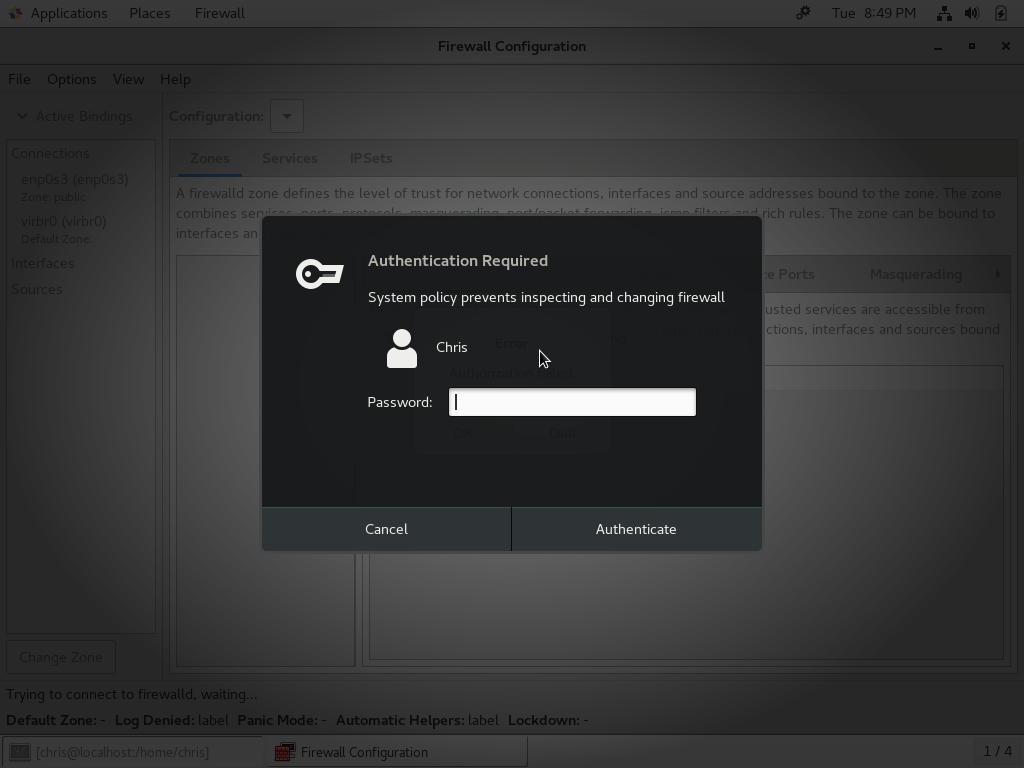


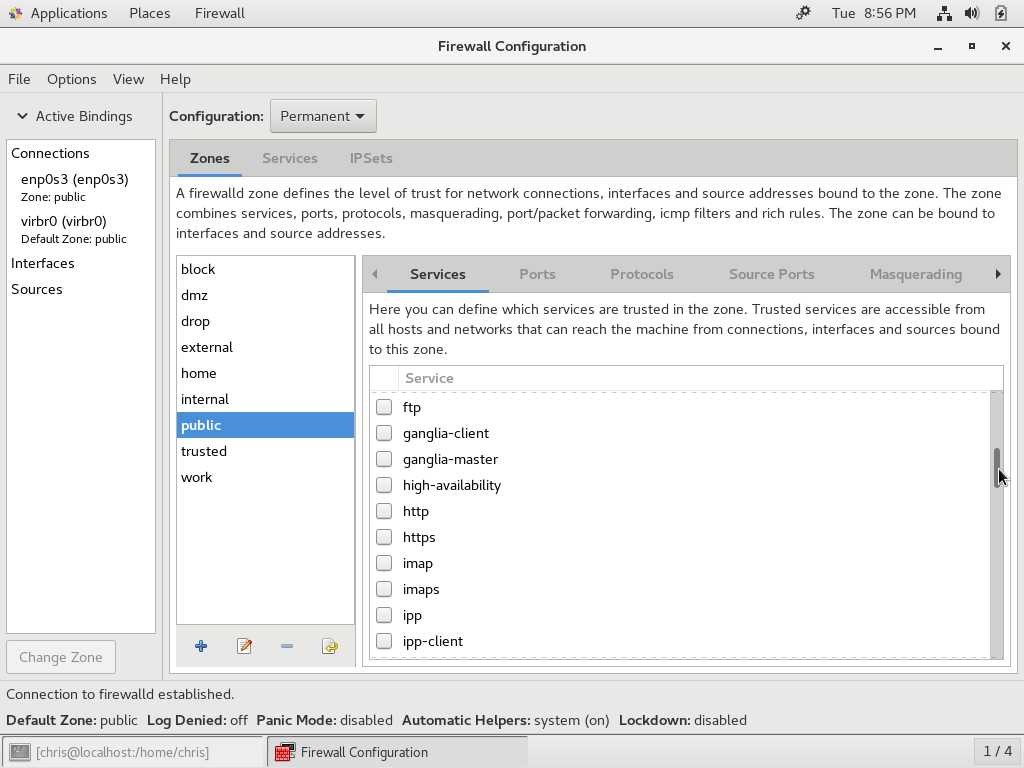
- Enter your password if you aren’t logged in as root
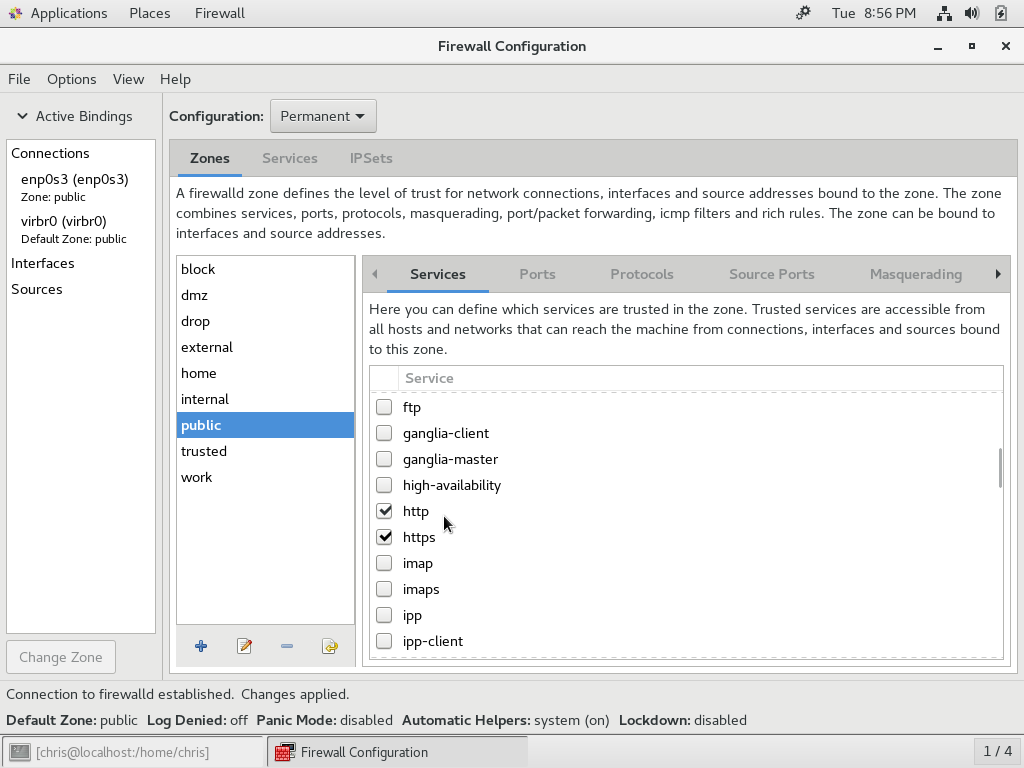
- Click the Configuration: Runtime dropdown box, and select Permanent
- Scroll down to http & https and check the box next to each of them
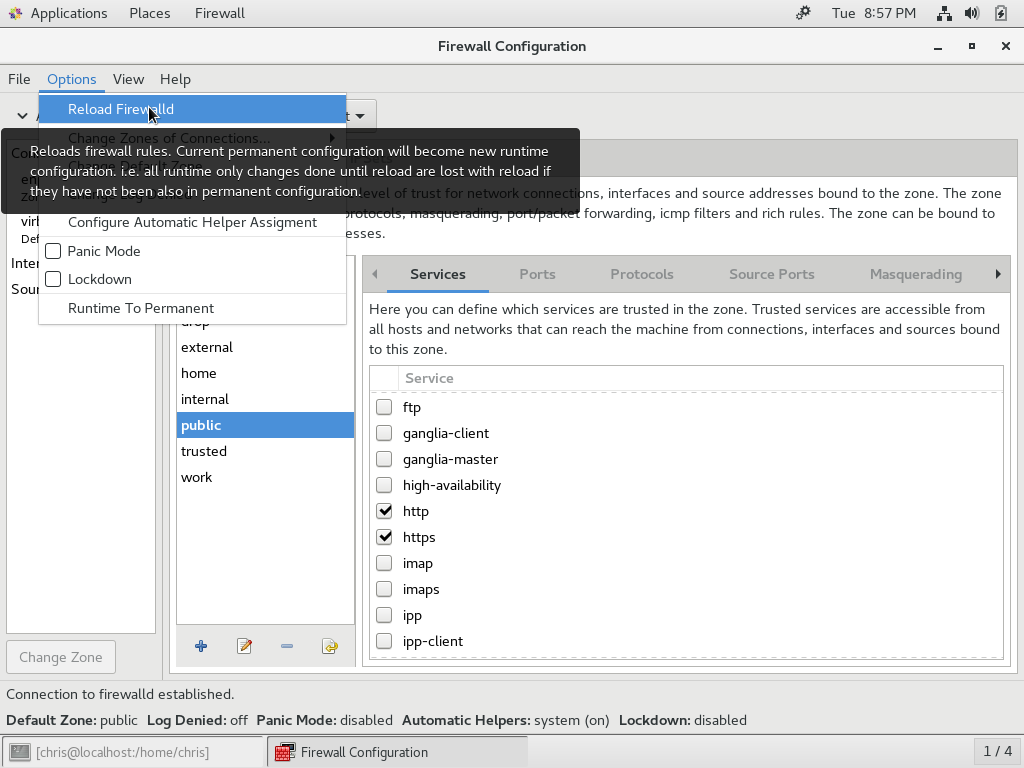
- To finish the configuration click Options > Reload Firewalld
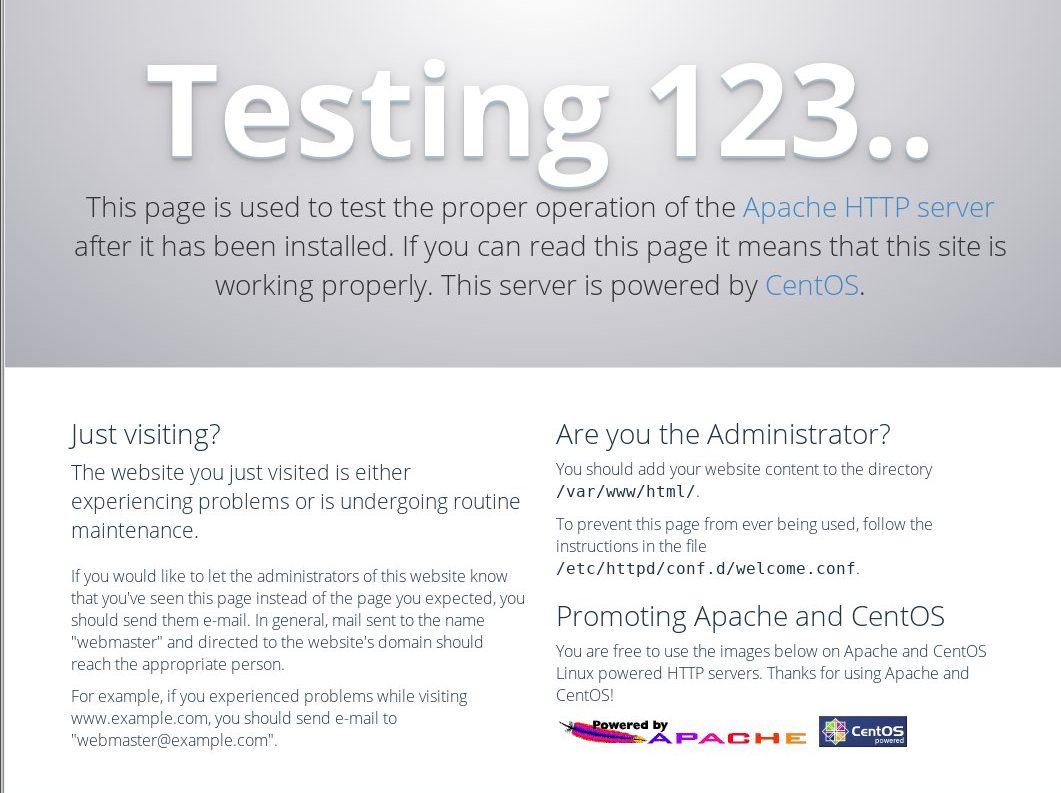
Check your IP address with terminal “ifconfig” or if you’re using the GUI you can click the network icon at the top right of your screen > Wired Connected > Wired Settings
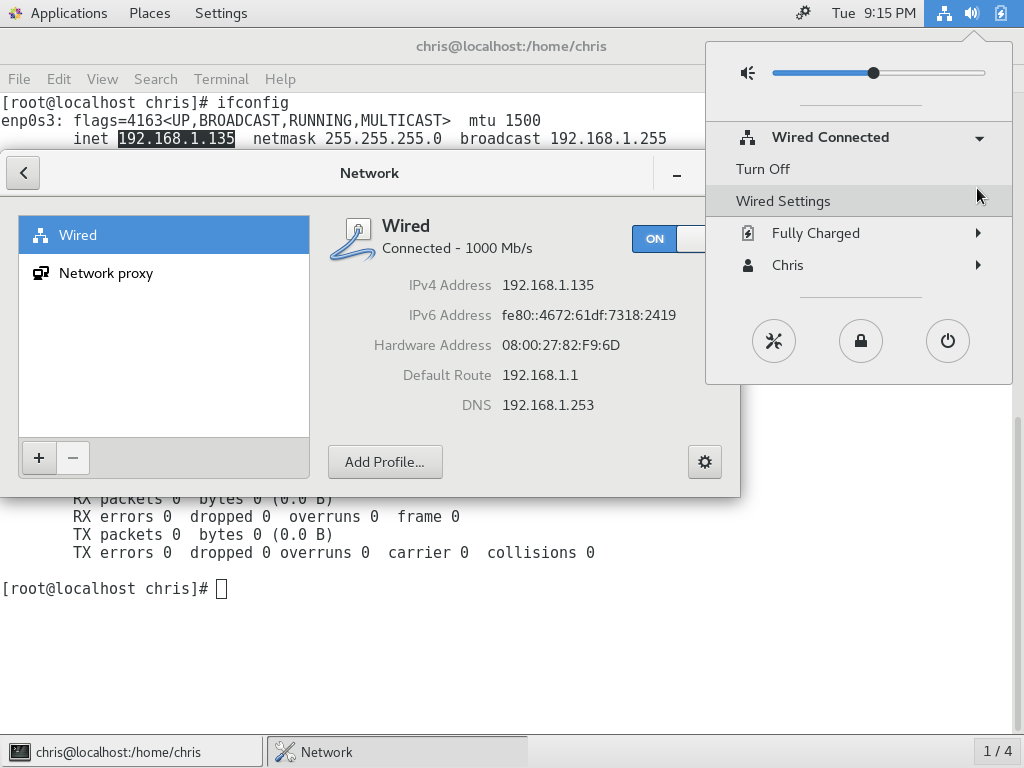

My server’s IP address is 192.168.1.135. Using another computer on my network I should be able to put http://192.168.1.135 into my web browser and I should get the Apache Test Page… we get the test page meaning our web server is configured properly.
The Next step & tutorial: “Installing WordPress – the EASY way”